


When and How to Harden Off Seedlings (Without Losing Them)
/If you’ve ever brought home healthy-looking seedlings or nurtured your own indoors, only to watch them wilt, stall, or die after transplanting, you’re not alone. This is one of the earliest lessons I’ve learned the hard way: if you move plants from indoors to the outdoors too quickly, you can easily undermine them or even lose them altogether. When you’re growing an edible garden from seed, it’s important to make sure your seedlings will be able to handle the transition to a new climate and growing condition.
The solution is simple but often neglected: hardening off.

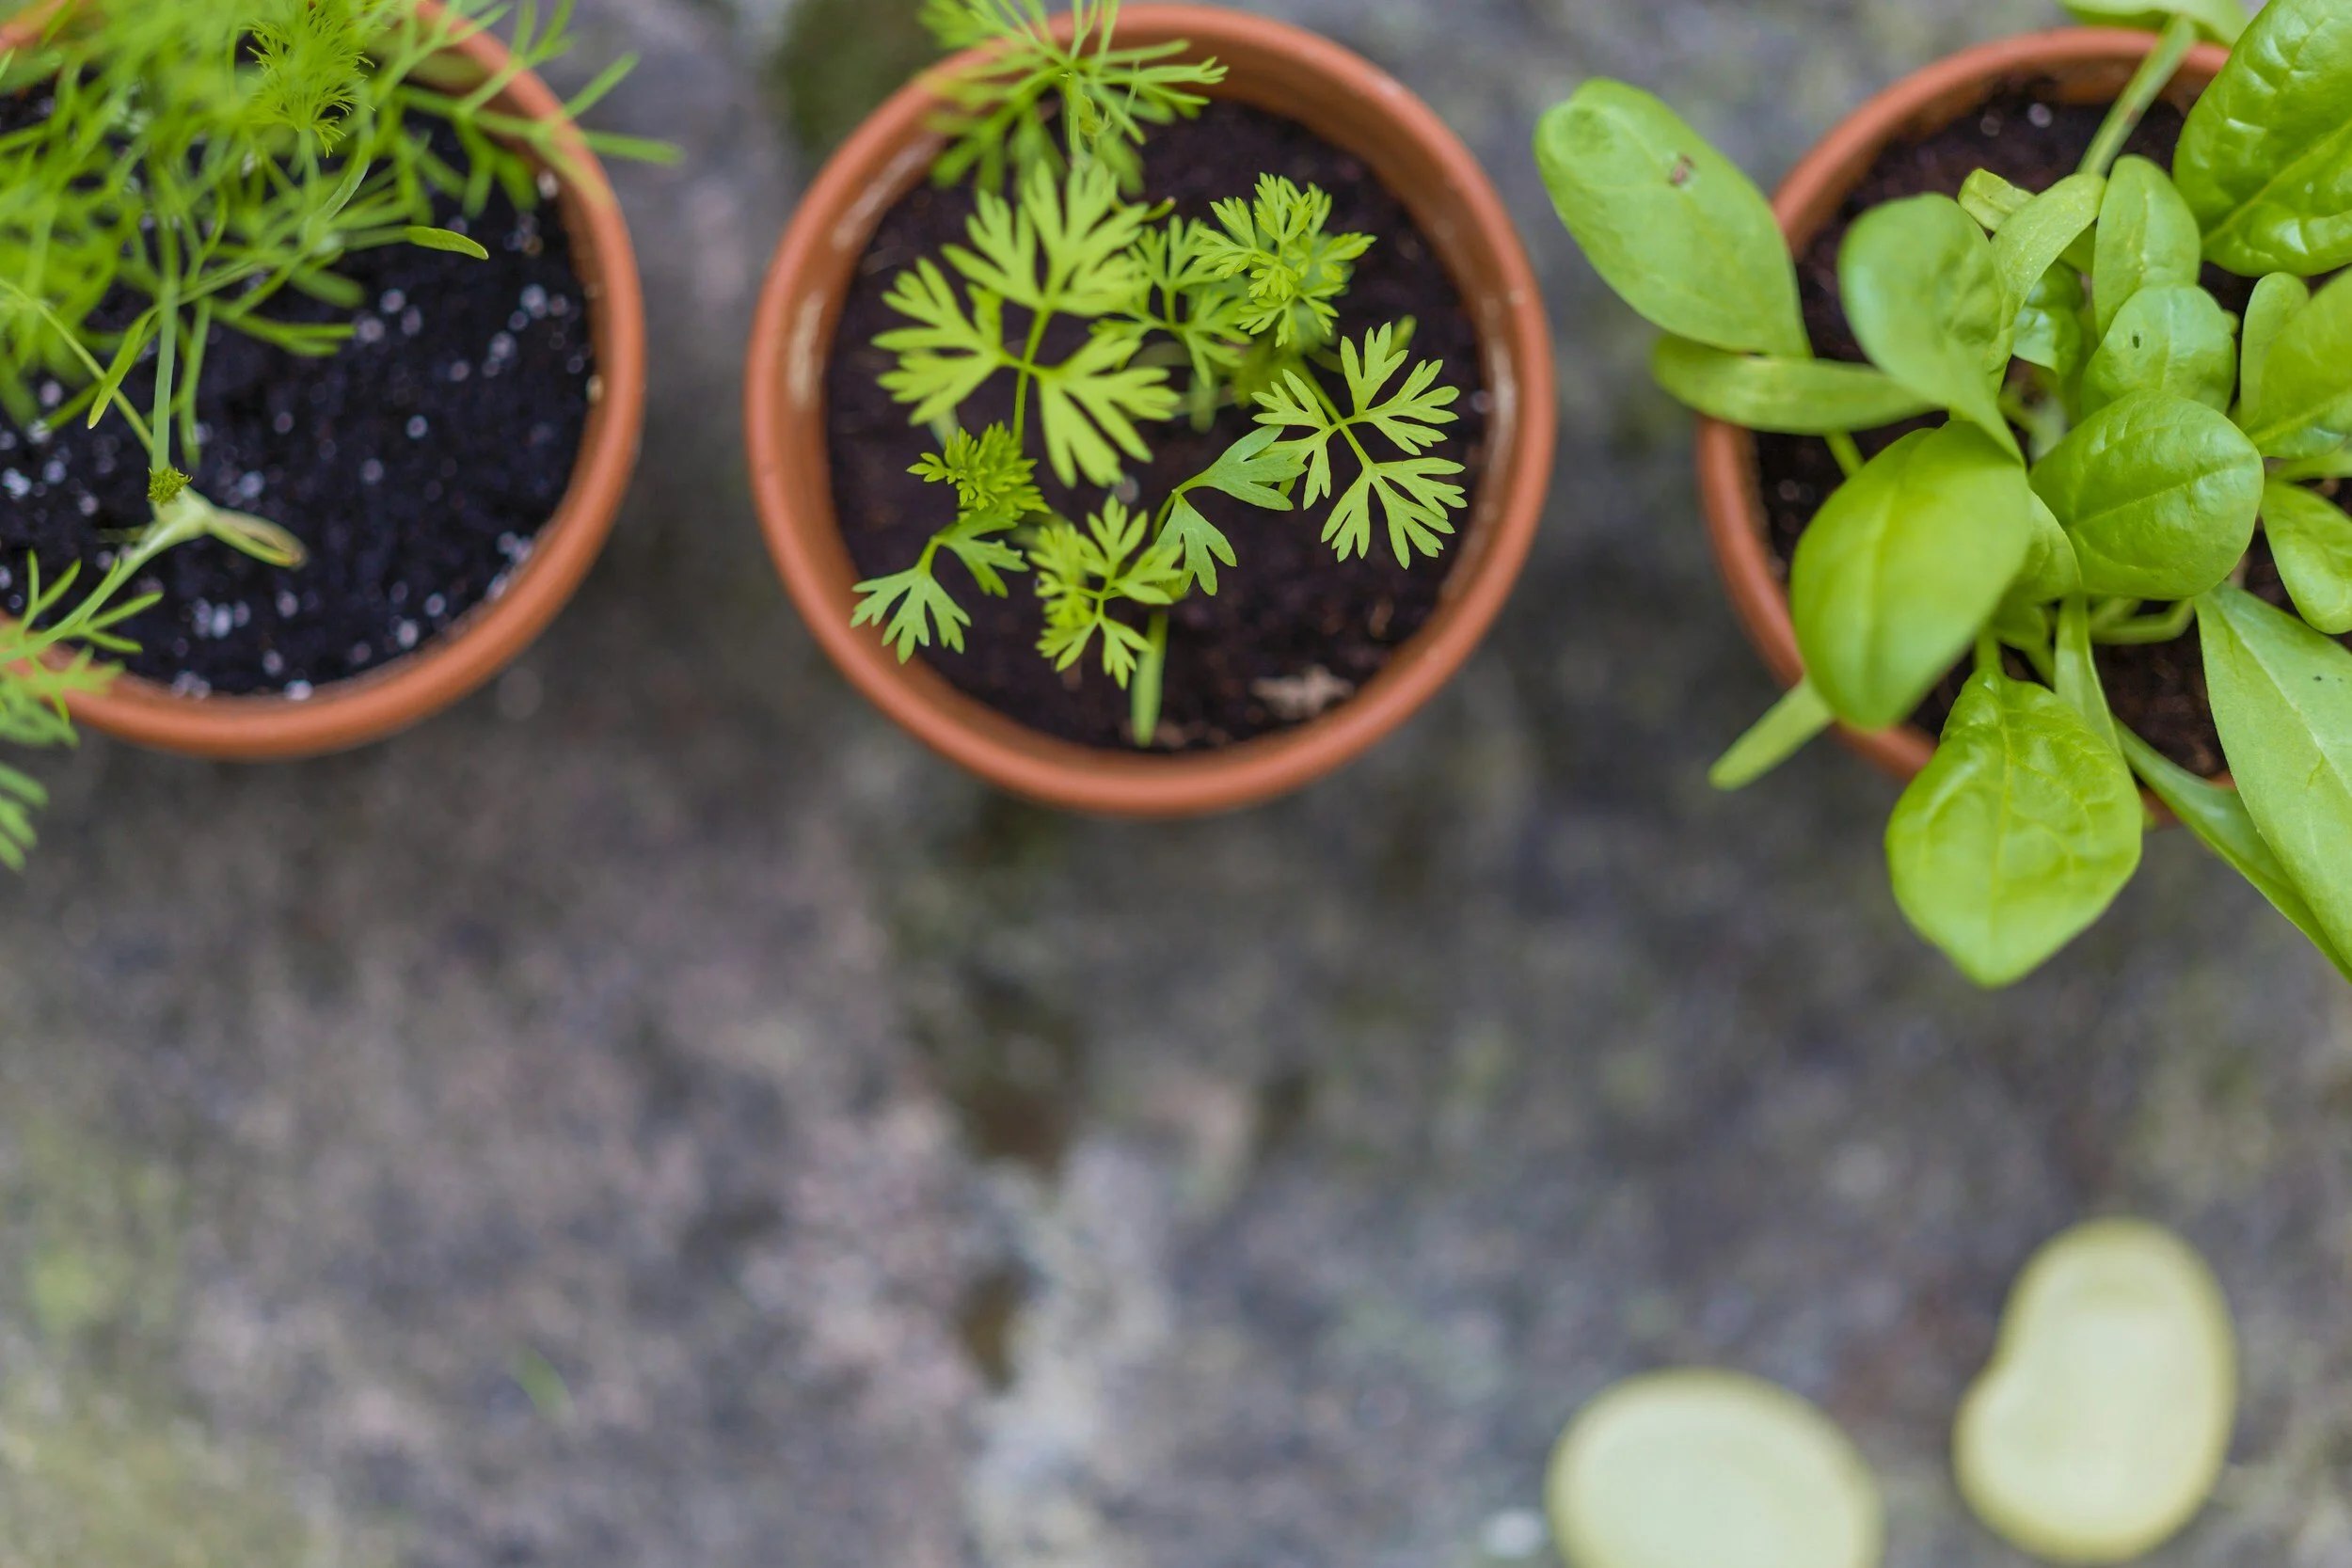
Annemarie Schaepman @unsplash
Hardening off seedlings means gradually introducing young plants to outdoor conditions, including sunlight, wind, temperature fluctuations, and lower humidity. Done correctly, it strengthens plants and prepares them for life in your garden. Done poorly, it can undo weeks of careful seed-starting. Watching your tender seedlings wilt, go brown at the edges, or even die is not only frustrating; it can set you back by weeks, if you’ve been germinating seeds indoors before transferring them to an outdoors spot.
In this guide, you’ll learn exactly when to harden off seedlings, how to do it step-by-step, and how to avoid the most common mistakes so your plants make a smooth transition and thrive.
What Does “Hardening Off” Mean?
Indoor-grown seedlings live a relatively sheltered life. They’re protected from harsh sunlight, strong winds, and major temperature swings. Even seedlings grown in greenhouses or under grow lights are not fully prepared for direct outdoor exposure.
Hardening off works by gradually “training” plants to:
Tolerate direct sunlight without scorching
Withstand wind without snapping or drying out
Adjust to cooler nighttime temperatures
Regulate water loss in less humid conditions
Think of it as building resilience. Instead of shocking your plants, you’re giving them time to adapt.
When to Start Hardening Off Seedlings
Timing is critical. Start too early, and cold temperatures can damage or kill your plants. Start too late, and your seedlings may become root-bound or leggy.
Here’s how to get it right:
1. Check Your Last Frost Date
Begin hardening off about 7–14 days before your area’s last expected frost date. This gives your seedlings time to adjust before transplanting.
2. Watch the Weather
Choose a period with relatively mild conditions:
Daytime temperatures consistently above 50°F (10°C) for most crops
Light winds (avoid very gusty days at the start)
No severe storms or temperature drops
Cool-season crops like peas, kale, and lettuce can tolerate lower temperatures, while warm-season plants like tomatoes, peppers, and cucumbers need more stable warmth.
3. Look at Your Seedlings
Your plants should be:
At least 2–3 inches tall
Showing several true leaves (not just seed leaves)
Healthy, sturdy, and not overly leggy
How to Harden Off Seedlings: Step-by-Step
Hardening off seedlings is most successful when approached as a gradual, day-by-day transition rather than a rigid checklist. Over the course of about 7 to 10 days, your goal is to steadily increase your plants’ exposure to outdoor conditions without overwhelming them.
Days 1-2
During the first couple of days, begin by placing your seedlings outside in a shaded, sheltered location for a short period of time, typically one to two hours. At this early stage, it’s really important to protect them from direct sunlight, strong winds, and heavy rains, all of which can quickly damage tender leaves. After this brief exposure, bring the seedlings back indoors to their usual growing environment.
Days 3-4
By days three and four, you can begin extending the amount of time your seedlings spend outdoors. Aim for about three to four hours each day, still keeping them in partial shade or filtered light. Morning conditions tend to be gentler, making this an ideal time for their outdoor exposure. The goal here is to gently acclimate them without introducing stress.
Days 5-6
As you move into days five and six, you can start introducing small amounts of direct sunlight. Begin with an hour or two of mild morning sun, which is less intense than midday light, while continuing to increase the total amount of time spent outdoors. At this stage, you may notice your plants beginning to strengthen, with sturdier stems and more resilient leaves.
Days 7-8
During days seven and eight, your seedlings should be ready for longer periods outside, typically four to six hours per day. You can gradually increase their exposure to direct sunlight, again focusing on morning or late afternoon sun to avoid the harshest conditions. By now, the plants are actively adapting to their new environment and building tolerance to both light and air movement.
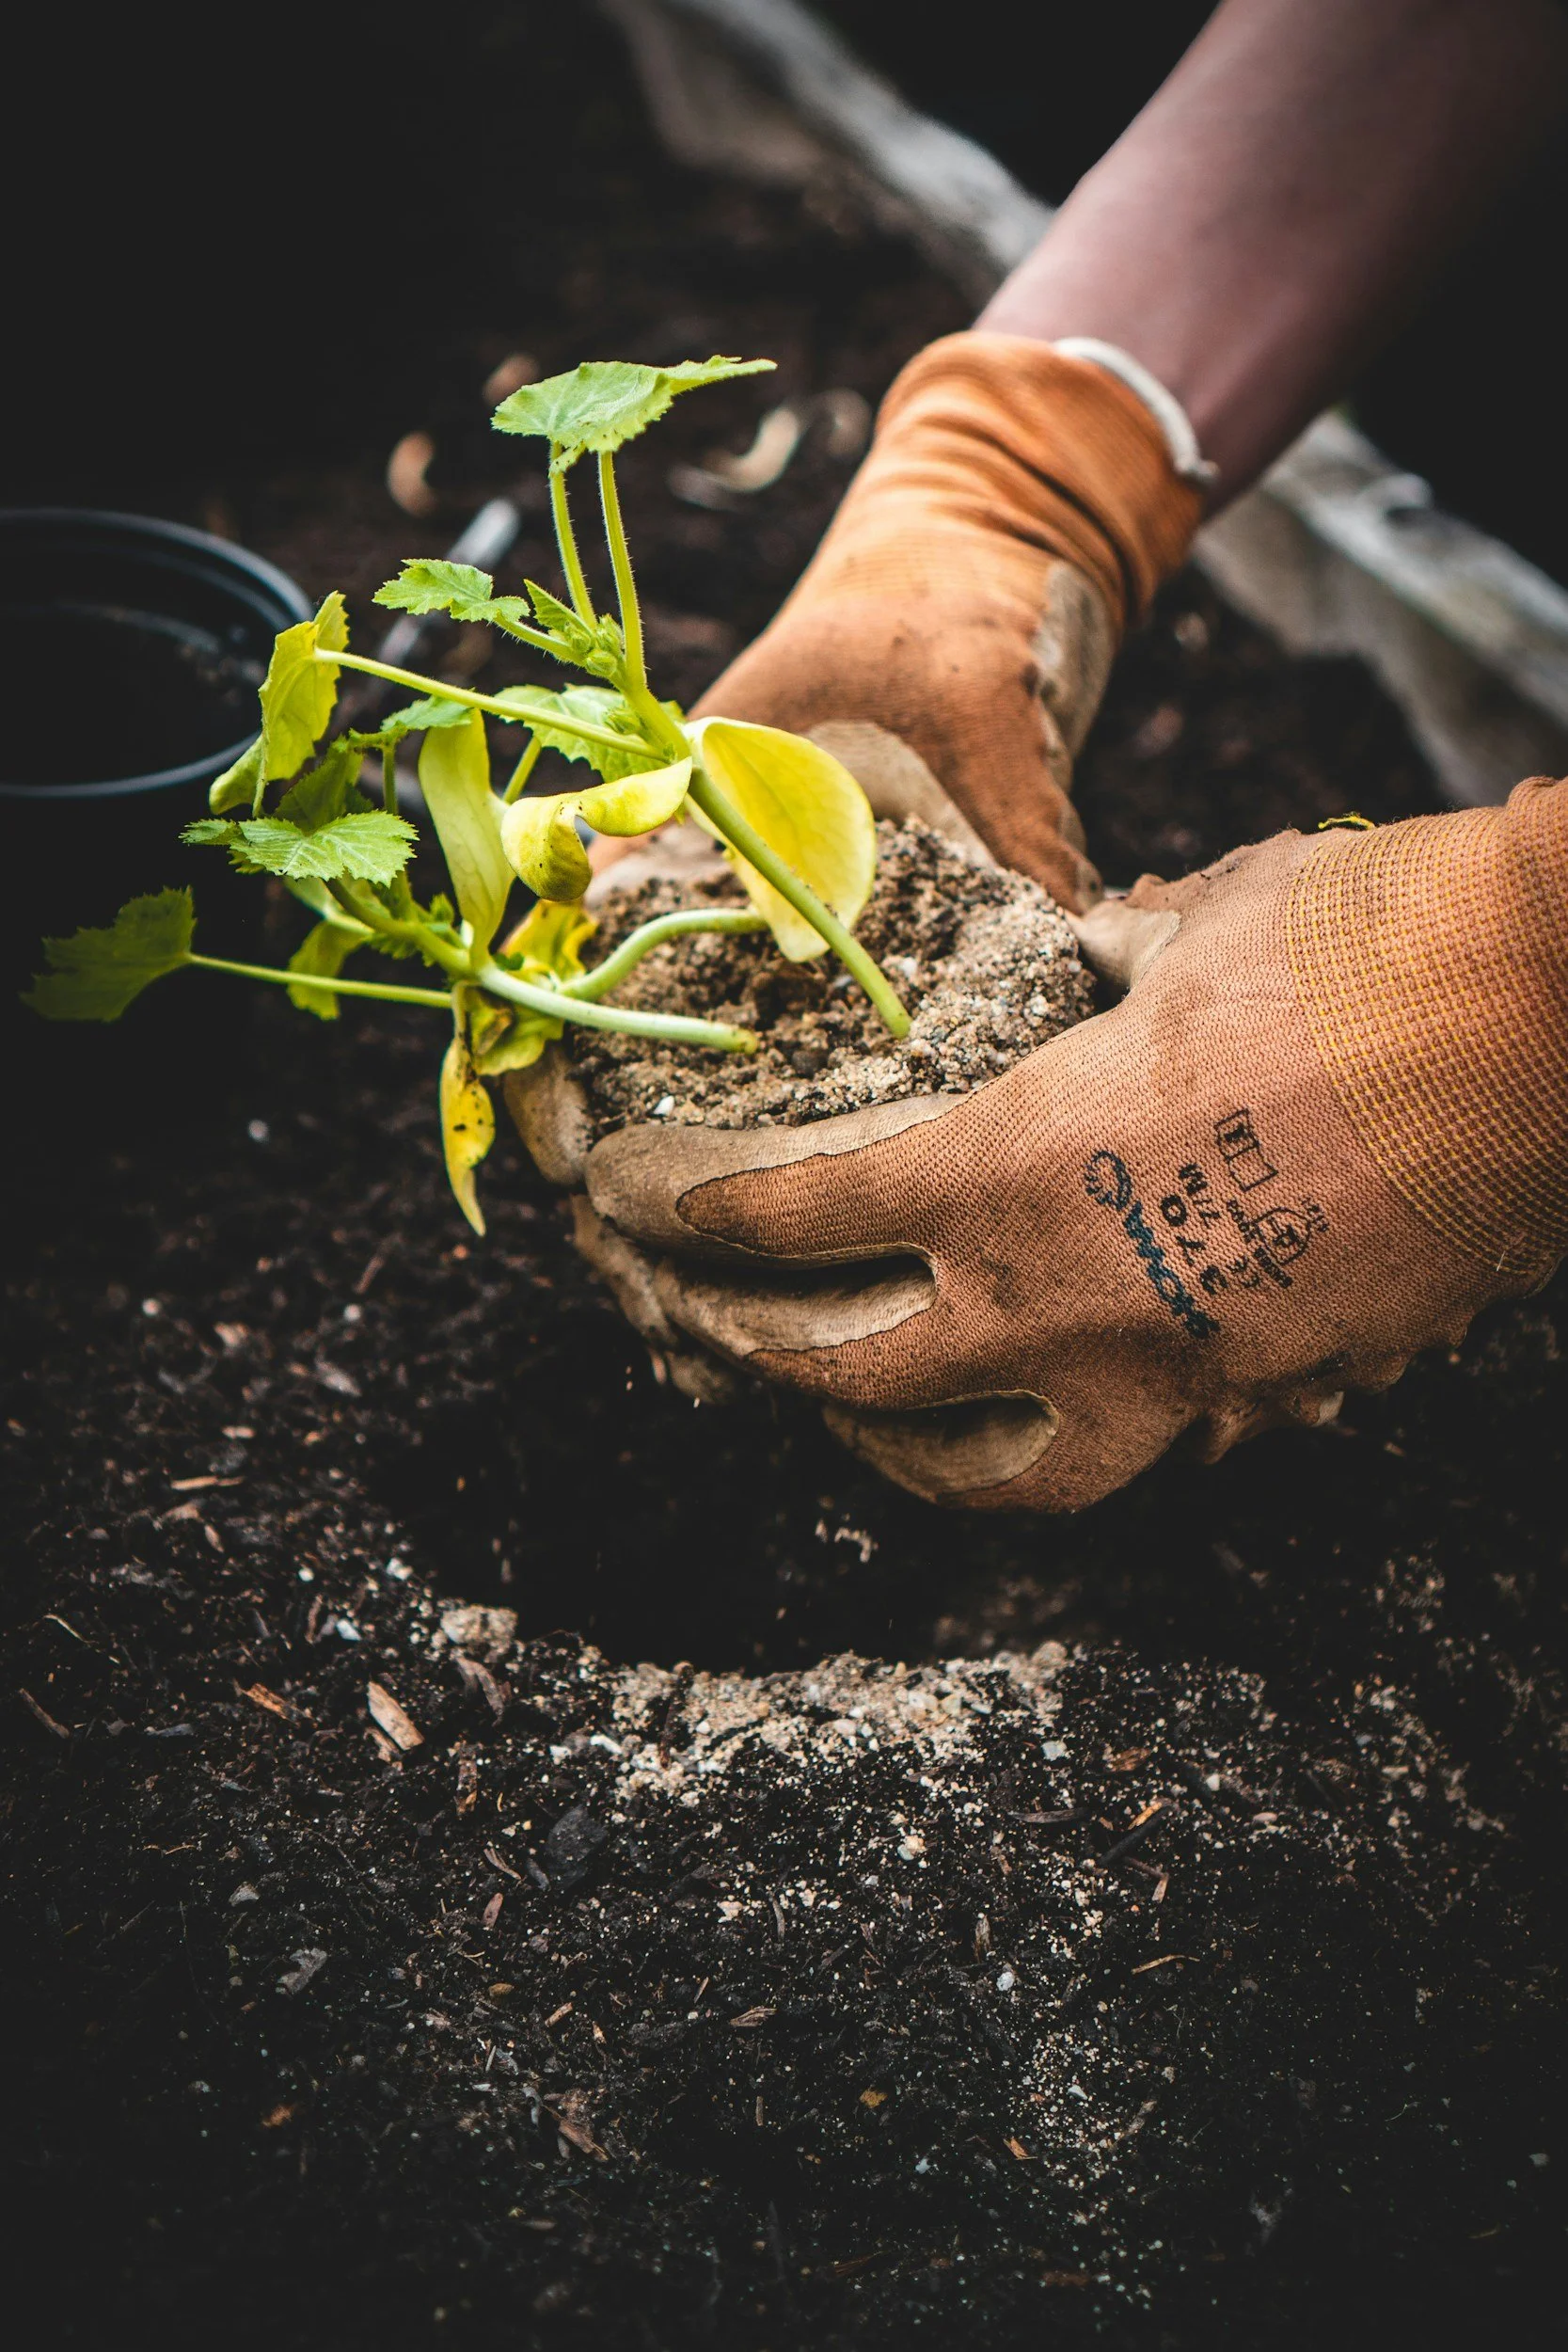
Jonathan Kemper @unsplash
Days 9-10
By days nine and ten, most seedlings can handle spending a full day outdoors under normal garden conditions. At this point, they should be exposed to a range of typical outdoor elements, including moderate sunlight and gentle breezes. If nighttime temperatures are appropriate for the type of plants you are growing, you can begin leaving them outside overnight. Successfully making it through a full day and night outdoors without signs of stress is a strong indicator that your seedlings are ready to be transplanted into the garden.
Final Step: Overnight Stay
If nighttime temperatures are suitable for your crop, leave seedlings outside overnight. Once they handle this without stress, they’re ready for transplanting.
Where to Harden Off Seedlings
Choosing the right location makes a significant difference.
Look for:
A sheltered area (near a wall, fence, under a tree, or even against a wall of your home, if it has an overhang)
Protection from strong winds
Easy access to bring plants in and out
Avoid placing seedlings directly on hot surfaces like concrete or asphalt, which can overheat roots quickly.
Watering During the Hardening Off Process
Seedlings dry out faster outdoors, especially as they’re exposed to sun and wind.
To keep them healthy:
Check moisture daily (sometimes twice a day)
Water when the top inch of soil feels dry
Avoid letting seedlings wilt, but also avoid soggy soil
Consistent moisture helps reduce stress and supports root development.
Common Mistakes That Kill Seedlings
Even experienced gardeners can lose plants during this stage. Here are the most common pitfalls to avoid:
1. Too Much Sun Too Soon
Sudden exposure to full sun can cause sunscald, leaving leaves bleached or burned. Always start in shade and increase exposure gradually.
2. Skipping the Process Entirely
Transplanting seedlings directly from indoors to the garden often leads to transplant shock, stunted growth, or plant death.
3. Ignoring Wind Stress
Wind can be just as damaging as sunlight, especially for tender seedlings. Early exposure should always be in a protected area.
4. Letting Seedlings Dry Out
Outdoor conditions increase evaporation. Dry soil stresses plants quickly, and tender seedlings may not be able to survive even a single experience of drying out.
5. Hardening Off in Cold Snaps
Unexpected cold temperatures can undo your progress. Bring seedlings indoors if temperatures drop suddenly.
Tips for Success (Especially for Busy Gardeners)
If your schedule makes daily movement difficult, these strategies can help:
Use a covered porch or patio for gradual exposure
Place seedlings in a cold frame to simplify the process
Group plants in trays for easy transport
Set a reminder on your phone to move plants in and out
Consistency matters more than perfection. Even a slightly extended hardening-off period is better than rushing.
Special Considerations for Different Plants
Not all seedlings respond the same way.
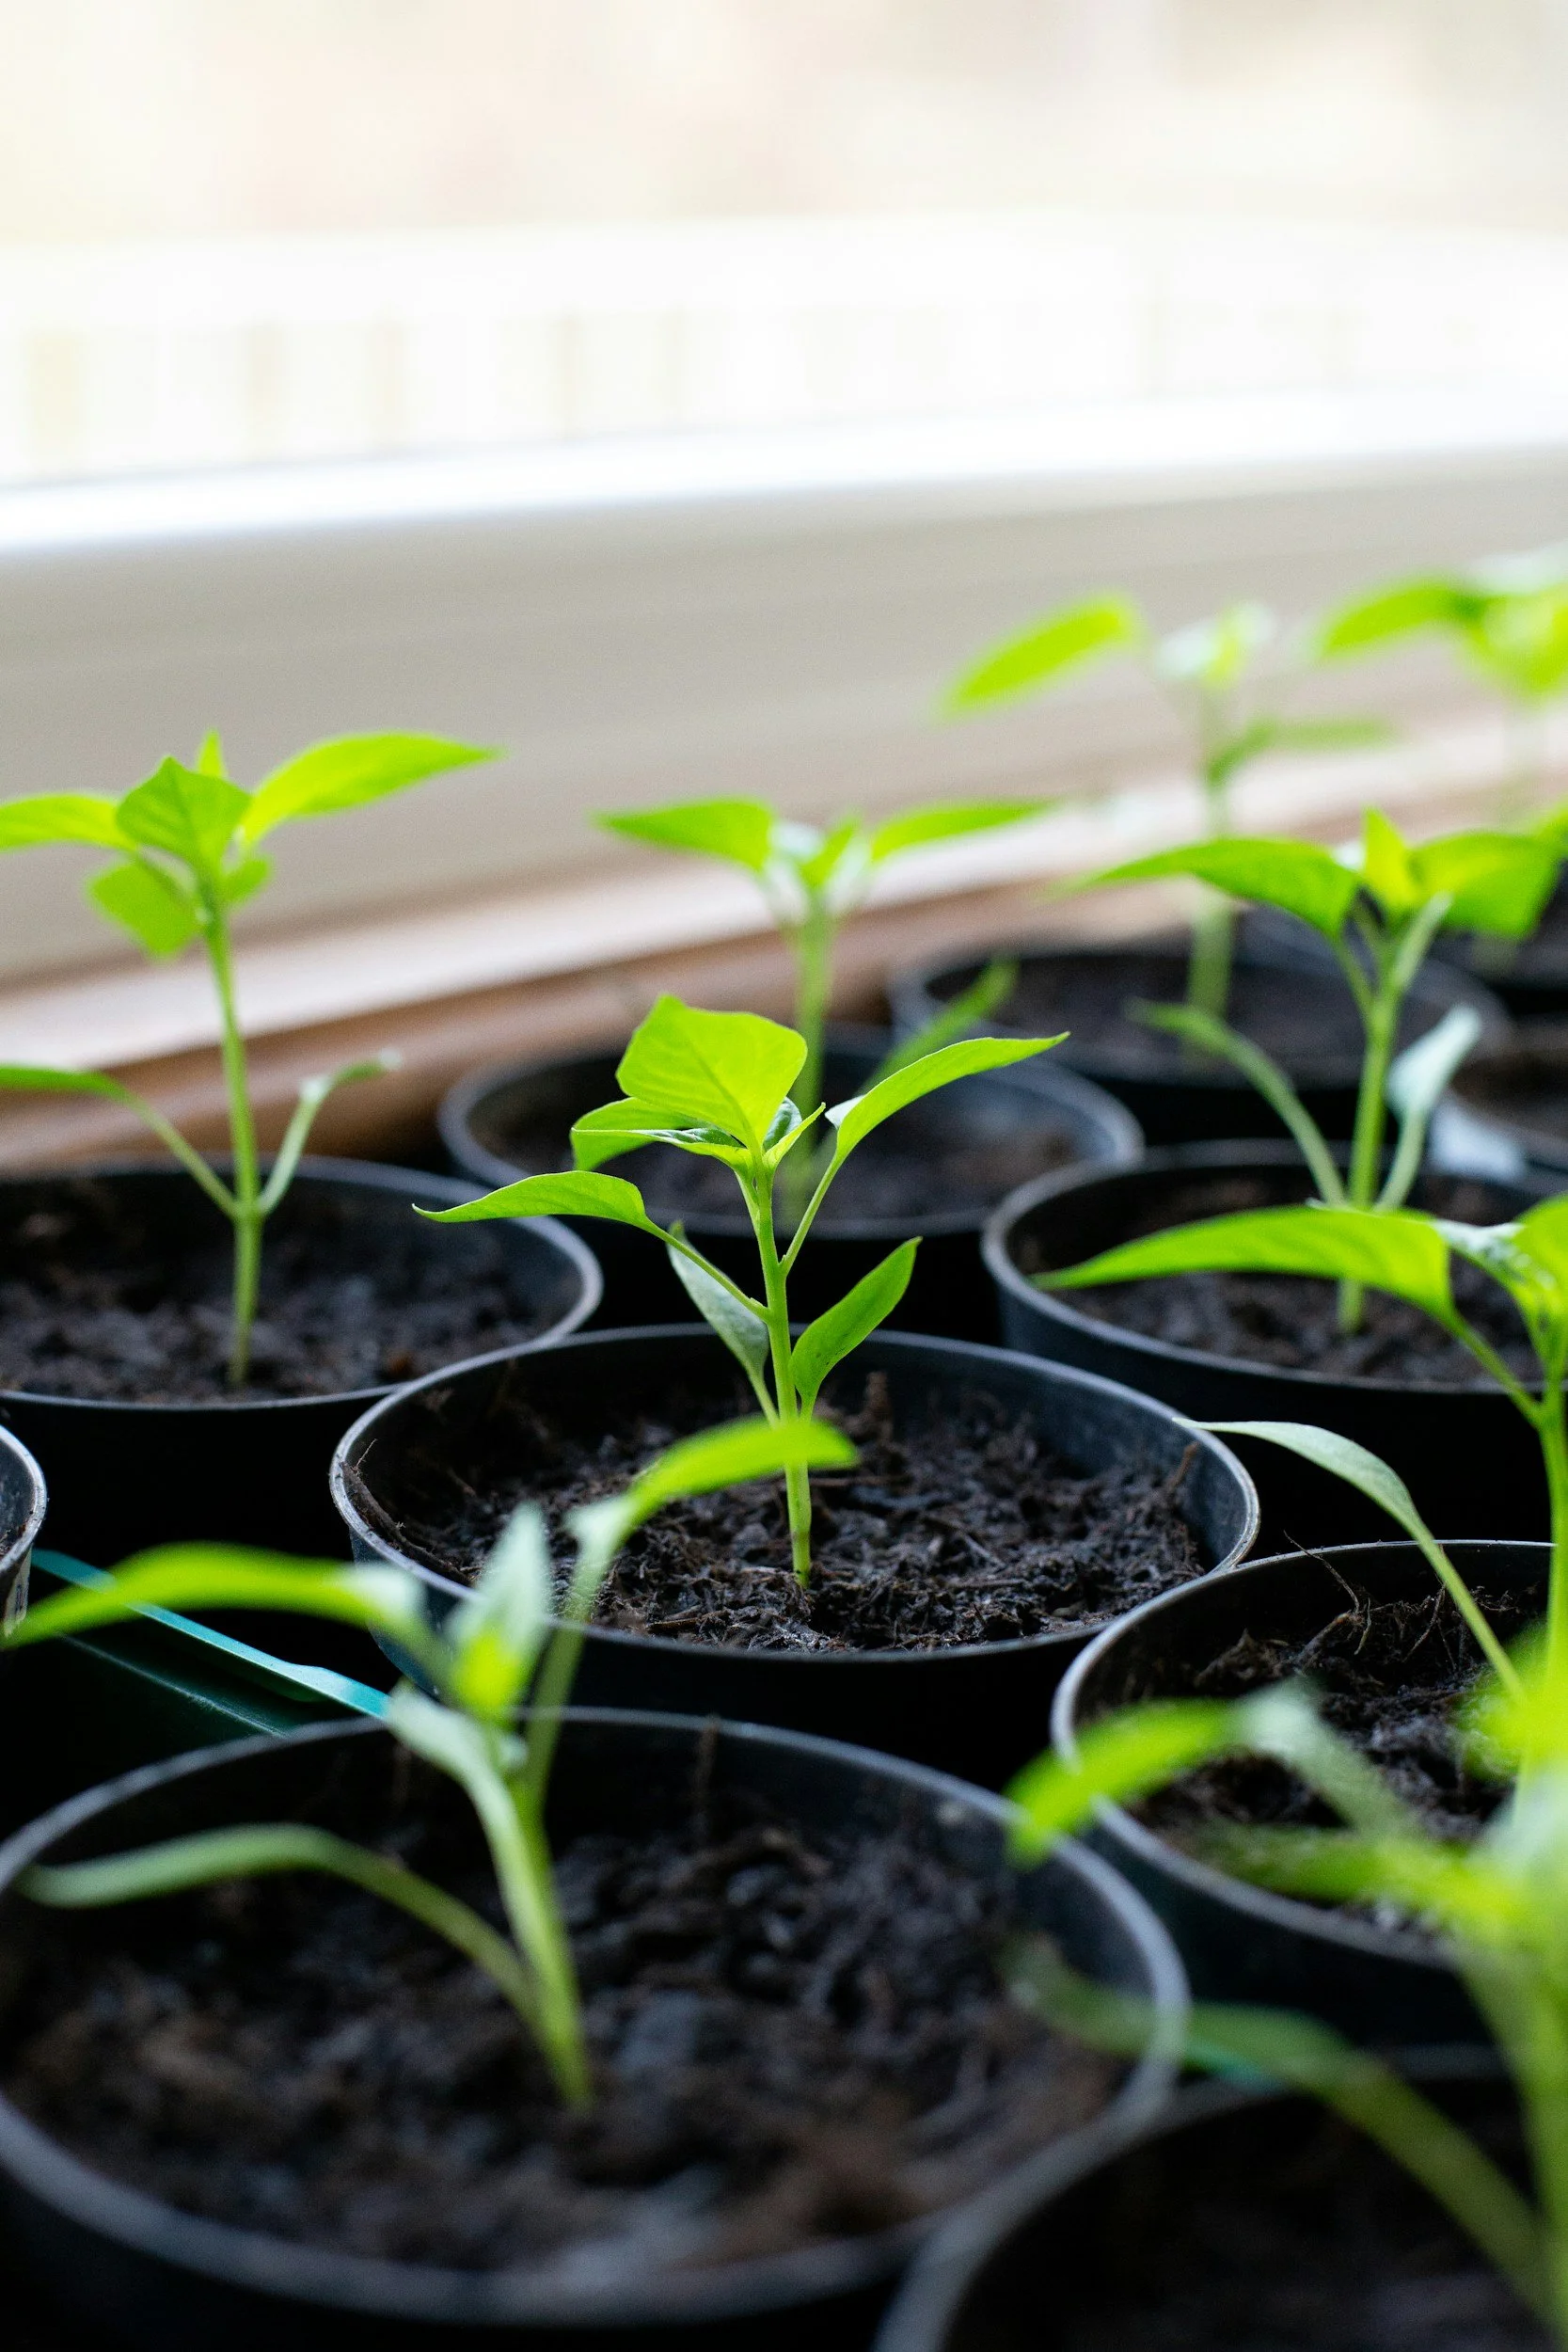
Zoe Richardson @unsplash
Cool-season crops (peas, spinach, kale): More tolerant of cold, easier to harden off
Warm-season crops (tomatoes, peppers, cucumbers): Require warmer temperatures and more gradual exposure
Herbs (basil, parsley): Basil is especially sensitive to cold, so take extra care with it
Adjust your timeline slightly based on plant type and weather conditions.
When Seedlings Are Ready to Transplant
Your plants are ready when they:
Remain upright and healthy after full sun exposure
Show no signs of wilting or leaf burn
Have adjusted to outdoor temperature swings
At this point, transplant them into your garden, ideally on a cloudy day, or in the late afternoon or early evening. This reduces stress and gives plants time to settle in before facing intense sun.
An extra step – but a necessary one
Hardening off seedlings may feel like an extra step, but it is one of the most important investments you can make in your garden’s success.
By taking 7–10 days to gradually introduce your plants to the outdoors, you dramatically increase their chances of thriving, producing, and resisting stress later in the season.
If you’ve struggled with transplant shock in the past, this is likely the missing piece.
Take it slow, stay consistent, and your seedlings will reward you with strong growth and a productive harvest.
You may also be interested in…


Direct sowing seeds in spring is one of the simplest and most rewarding ways to grow a productive garden. Instead of starting seeds indoors and transplanting them later, direct sowing means planting seeds straight into your garden soil, raised bed, or container where they will grow to maturity.