


How to Direct Sow Seeds Successfully in Spring (Without Wasting Seeds)
/Direct sowing seeds in spring is one of the simplest and most rewarding ways to grow a productive garden. Instead of starting seeds indoors and transplanting them later, direct sowing means planting seeds straight into your garden soil, raised bed, or container where they will grow to maturity.
Zoe Richardson @unsplash
It sounds easy, and sometimes it is. But many gardeners waste seeds every spring because they plant too early, sow too deeply, water inconsistently, or fail to protect seeds from birds, heavy rain, or cold snaps. The good news is that direct sowing can be highly successful when you follow a few practical steps. When you’re growing an edible garden, knowing which seeds to sow directly can save you time, space and help you avoid frustrating mistakes that delay your harvest.
If you want better germination, healthier seedlings, and fewer wasted seeds this season, here’s how to direct sow seeds successfully in spring.
What Does Direct Sowing Mean?
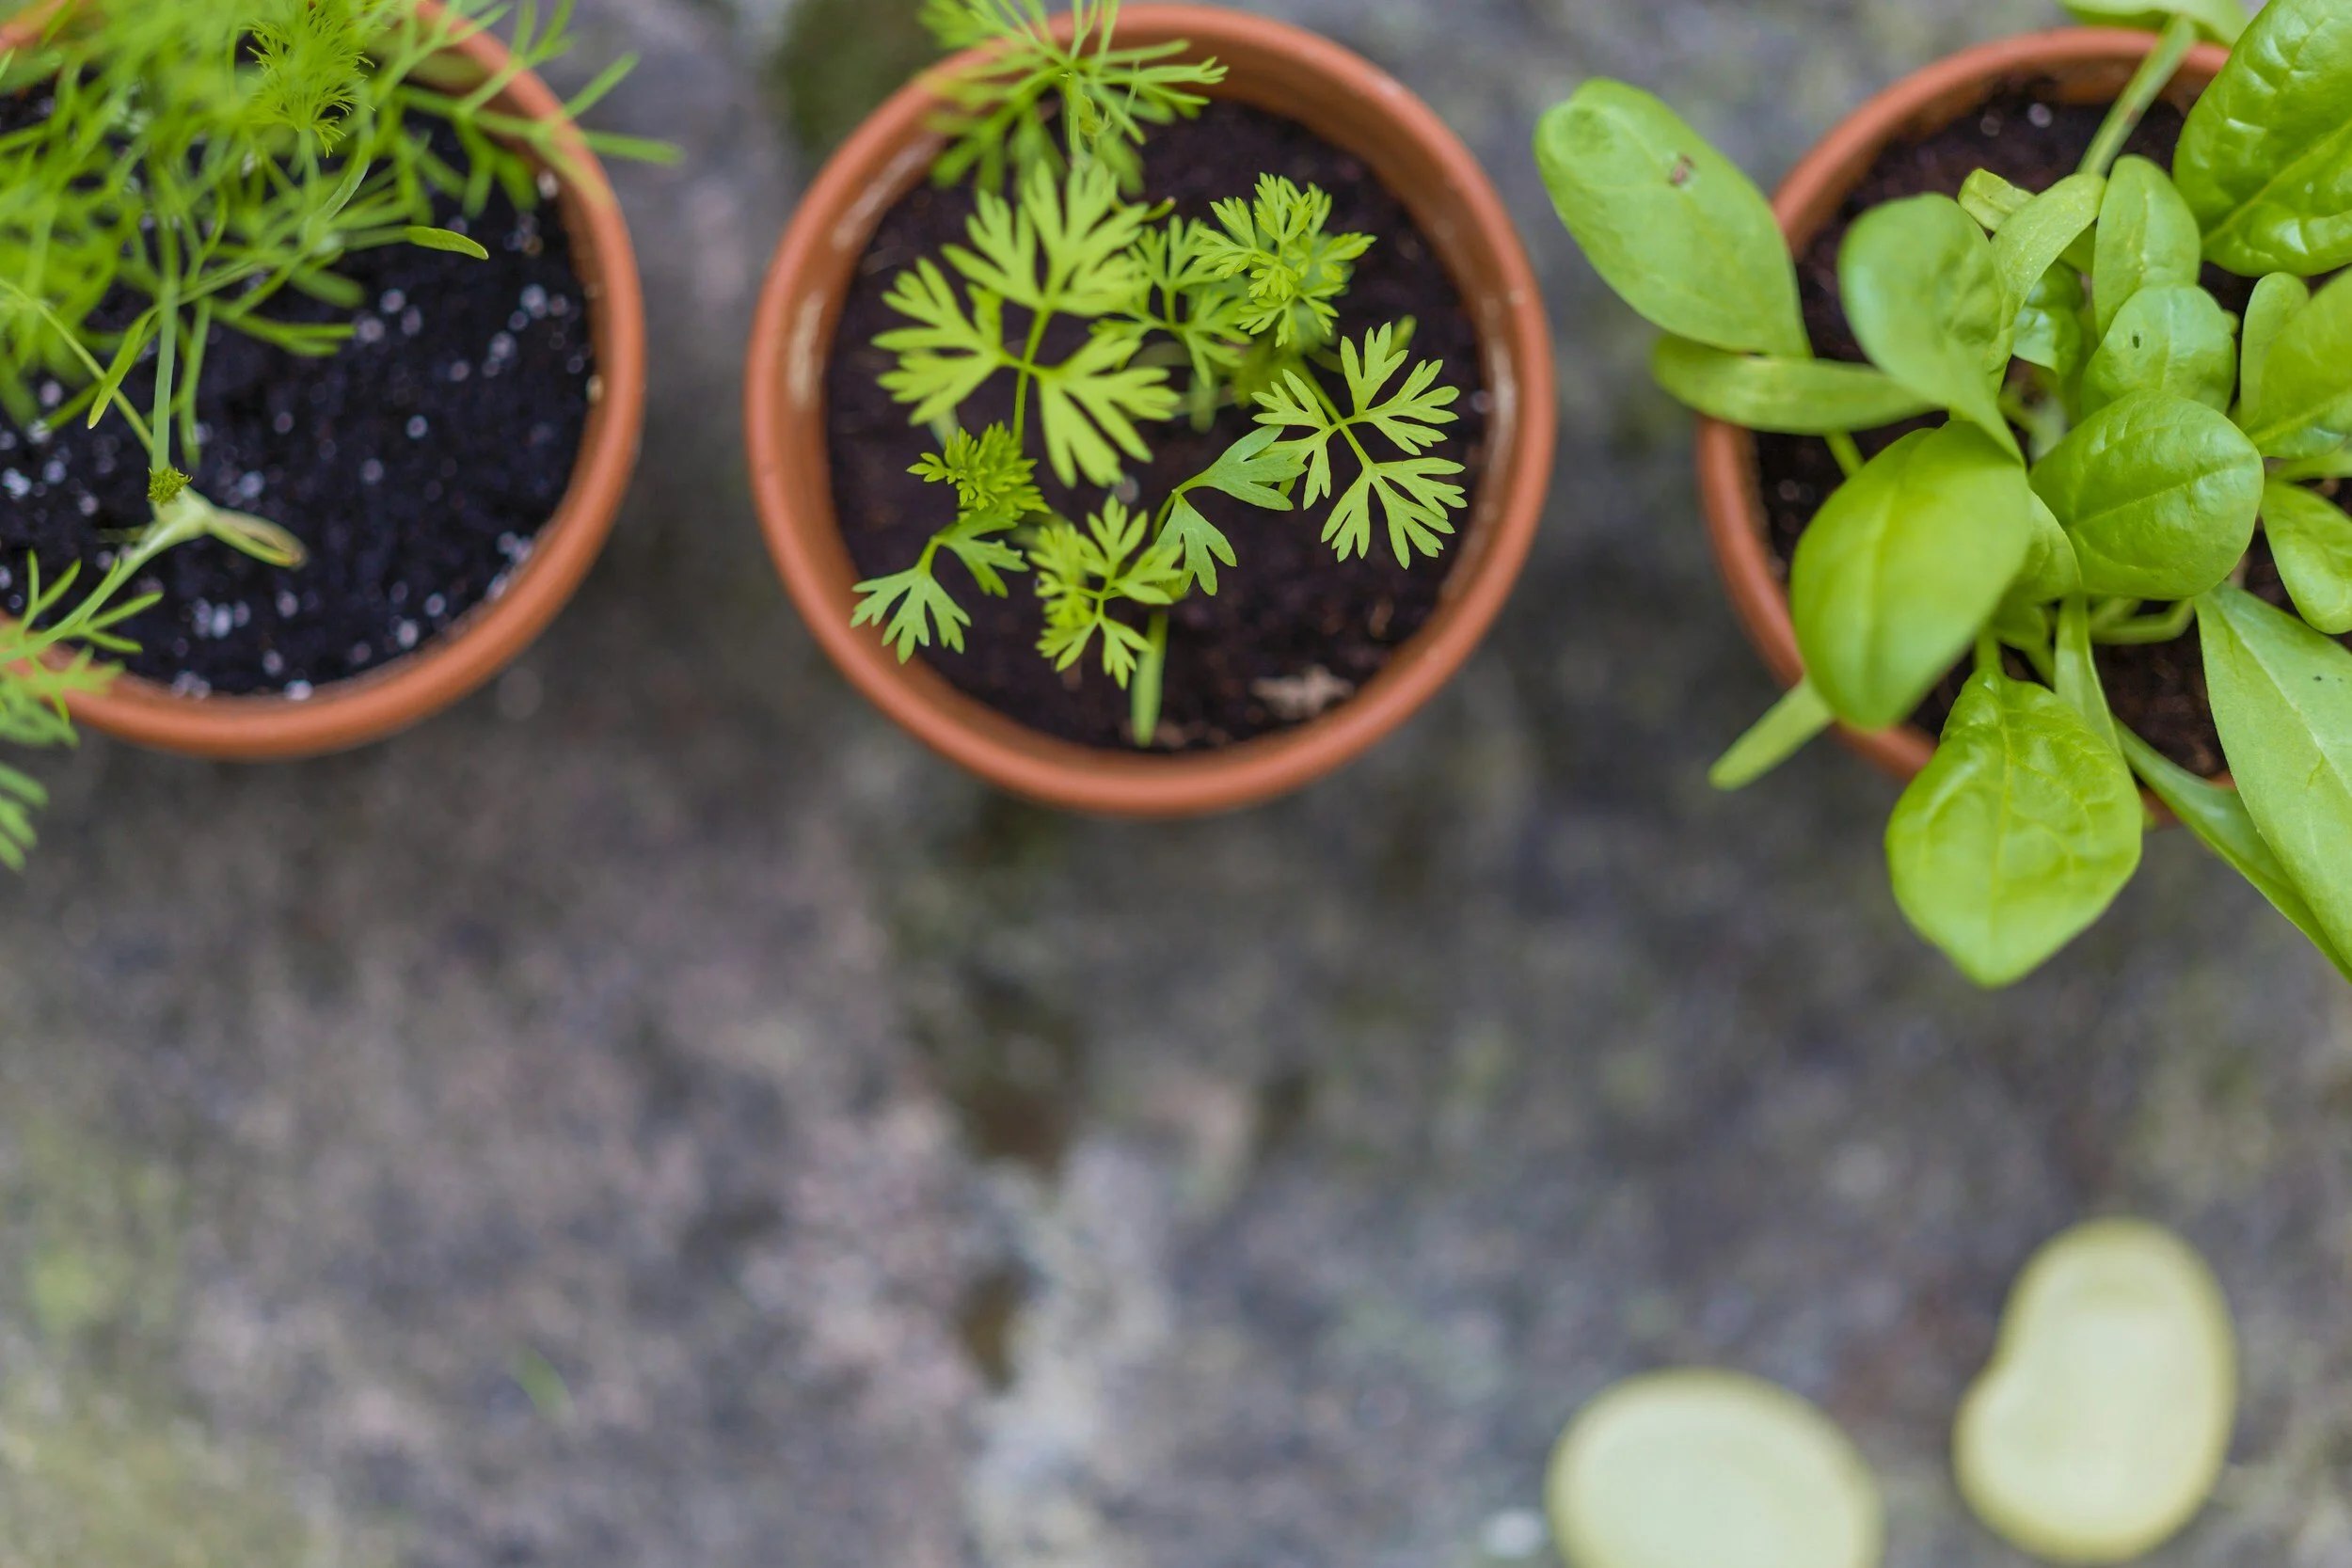
Direct sowing simply means planting seeds outdoors in their final growing location rather than starting them indoors first. Many vegetables, herbs, and flowers actually prefer this method because their roots dislike disturbance or because they grow quickly enough that indoor starting offers little advantage.
Popular crops for direct sowing include:
Beans
Peas
Carrots
Radishes
Lettuce
Spinach
Beets
Cucumbers
Squash
Dill
Cilantro
Sunflowers
Nasturtiums
If you’re growing these crops, direct sowing can save time, money, and indoor growing space.
Start With the Right Timing
Timing is one of the biggest reasons gardeners fail with direct sowing. Seeds planted into cold, soggy soil often rot before they sprout. Seeds planted too late may struggle once temperatures rise. Instead of planting by calendar date alone, pay attention to soil temperature and frost timing.
Cool-season crops such as peas, spinach, carrots, lettuce, radishes, and beets can usually be planted earlier in spring once soil can be worked. Warm-season crops such as beans, cucumbers, squash, and corn should usually wait until after danger of frost has passed and soil has warmed.
A simple soil thermometer can help but even feeling the soil matters. If it feels icy cold and muddy, wait.
Prepare the Soil Properly
Seeds need good seed-to-soil contact, moisture, and oxygen. That becomes difficult in soil that is crusted, compacted, or full of large clumps. Before sowing, take the time to prepare your soil for planting:
Remove weeds
Break up hard soil surface
Rake smooth
Remove large rocks or debris
Mix in compost if needed
Level the area lightly
You don’t need perfect soil, but a fine crumbly surface helps seeds germinate more evenly. If soil is wet enough to stick to tools in heavy clumps, wait another day or two.
Krista Bennett @unsplash
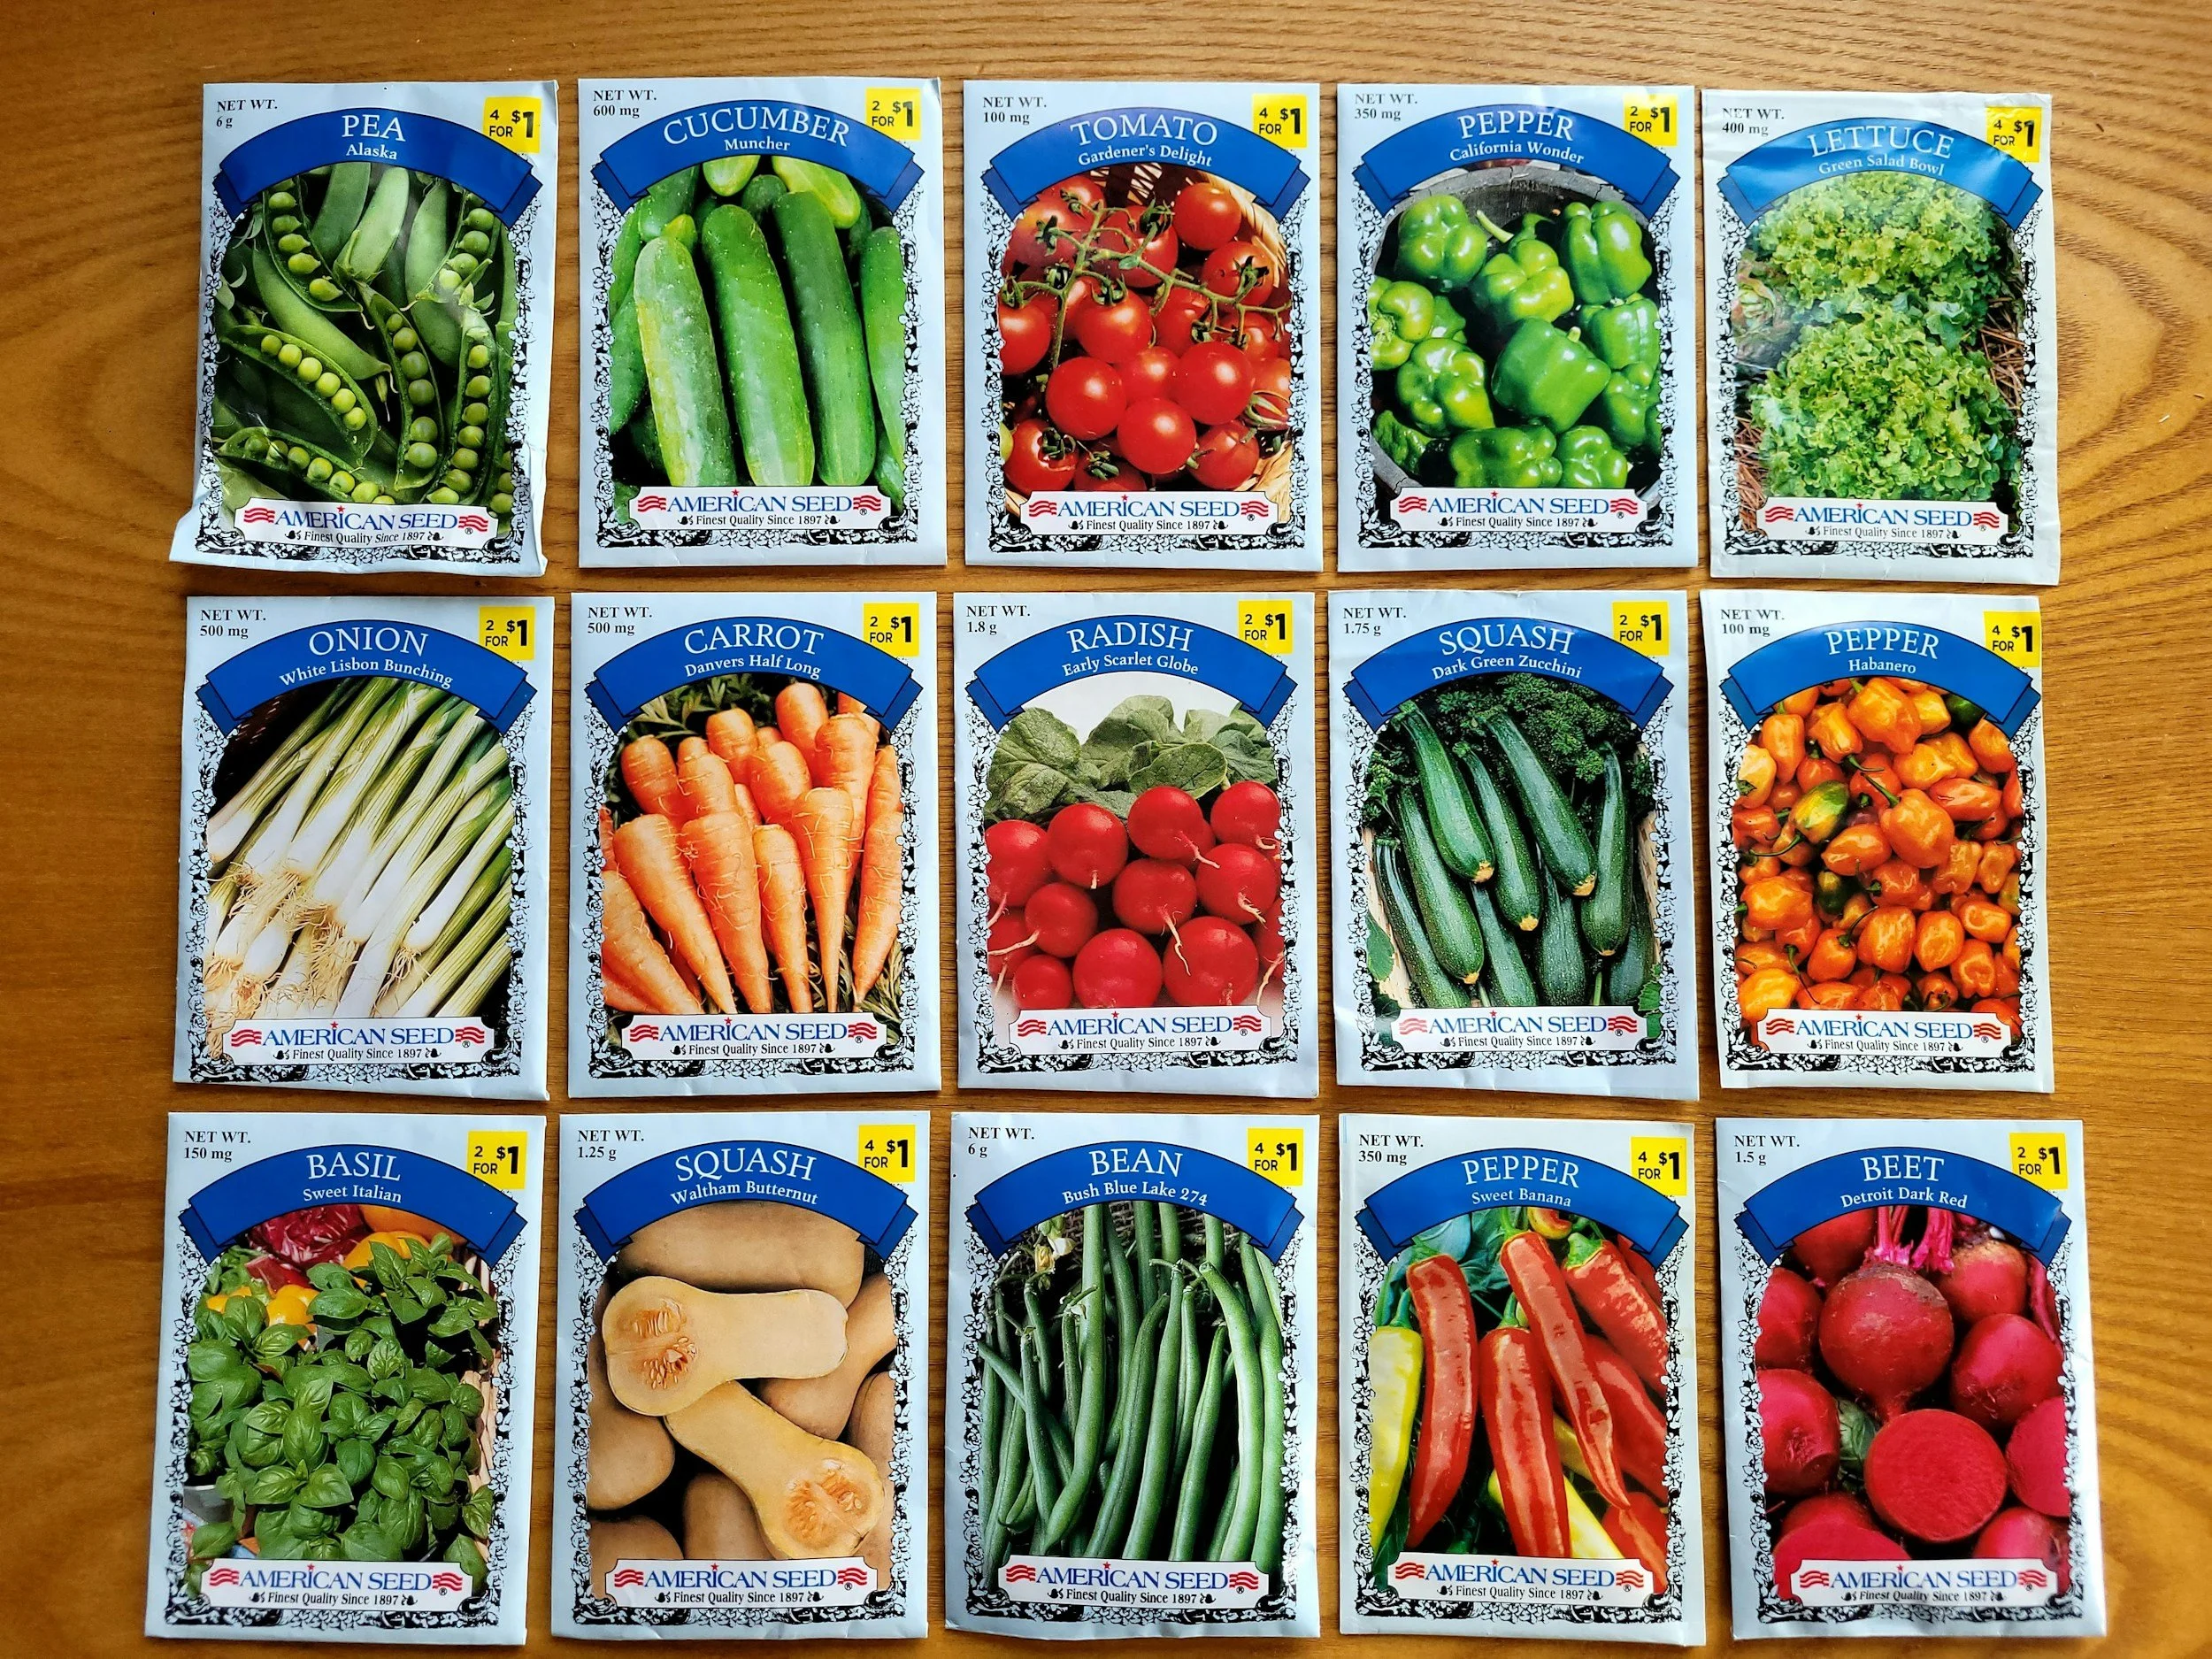
Read the Seed Packet
Many gardeners skip reading the seed packet, then wonder why germination was poor or plants struggled later on. Seed packets usually provide valuable guidance on planting depth, spacing, expected days to germination, days to harvest, sunlight needs, and the best planting season for that crop. Those directions matter because different seeds have very different requirements. Tiny lettuce seeds need only shallow coverage, while larger seeds such as peas and beans can be planted deeper. One of the most common mistakes gardeners make is treating all seeds the same and planting everything at a similar depth.
Don’t Plant Too Deeply
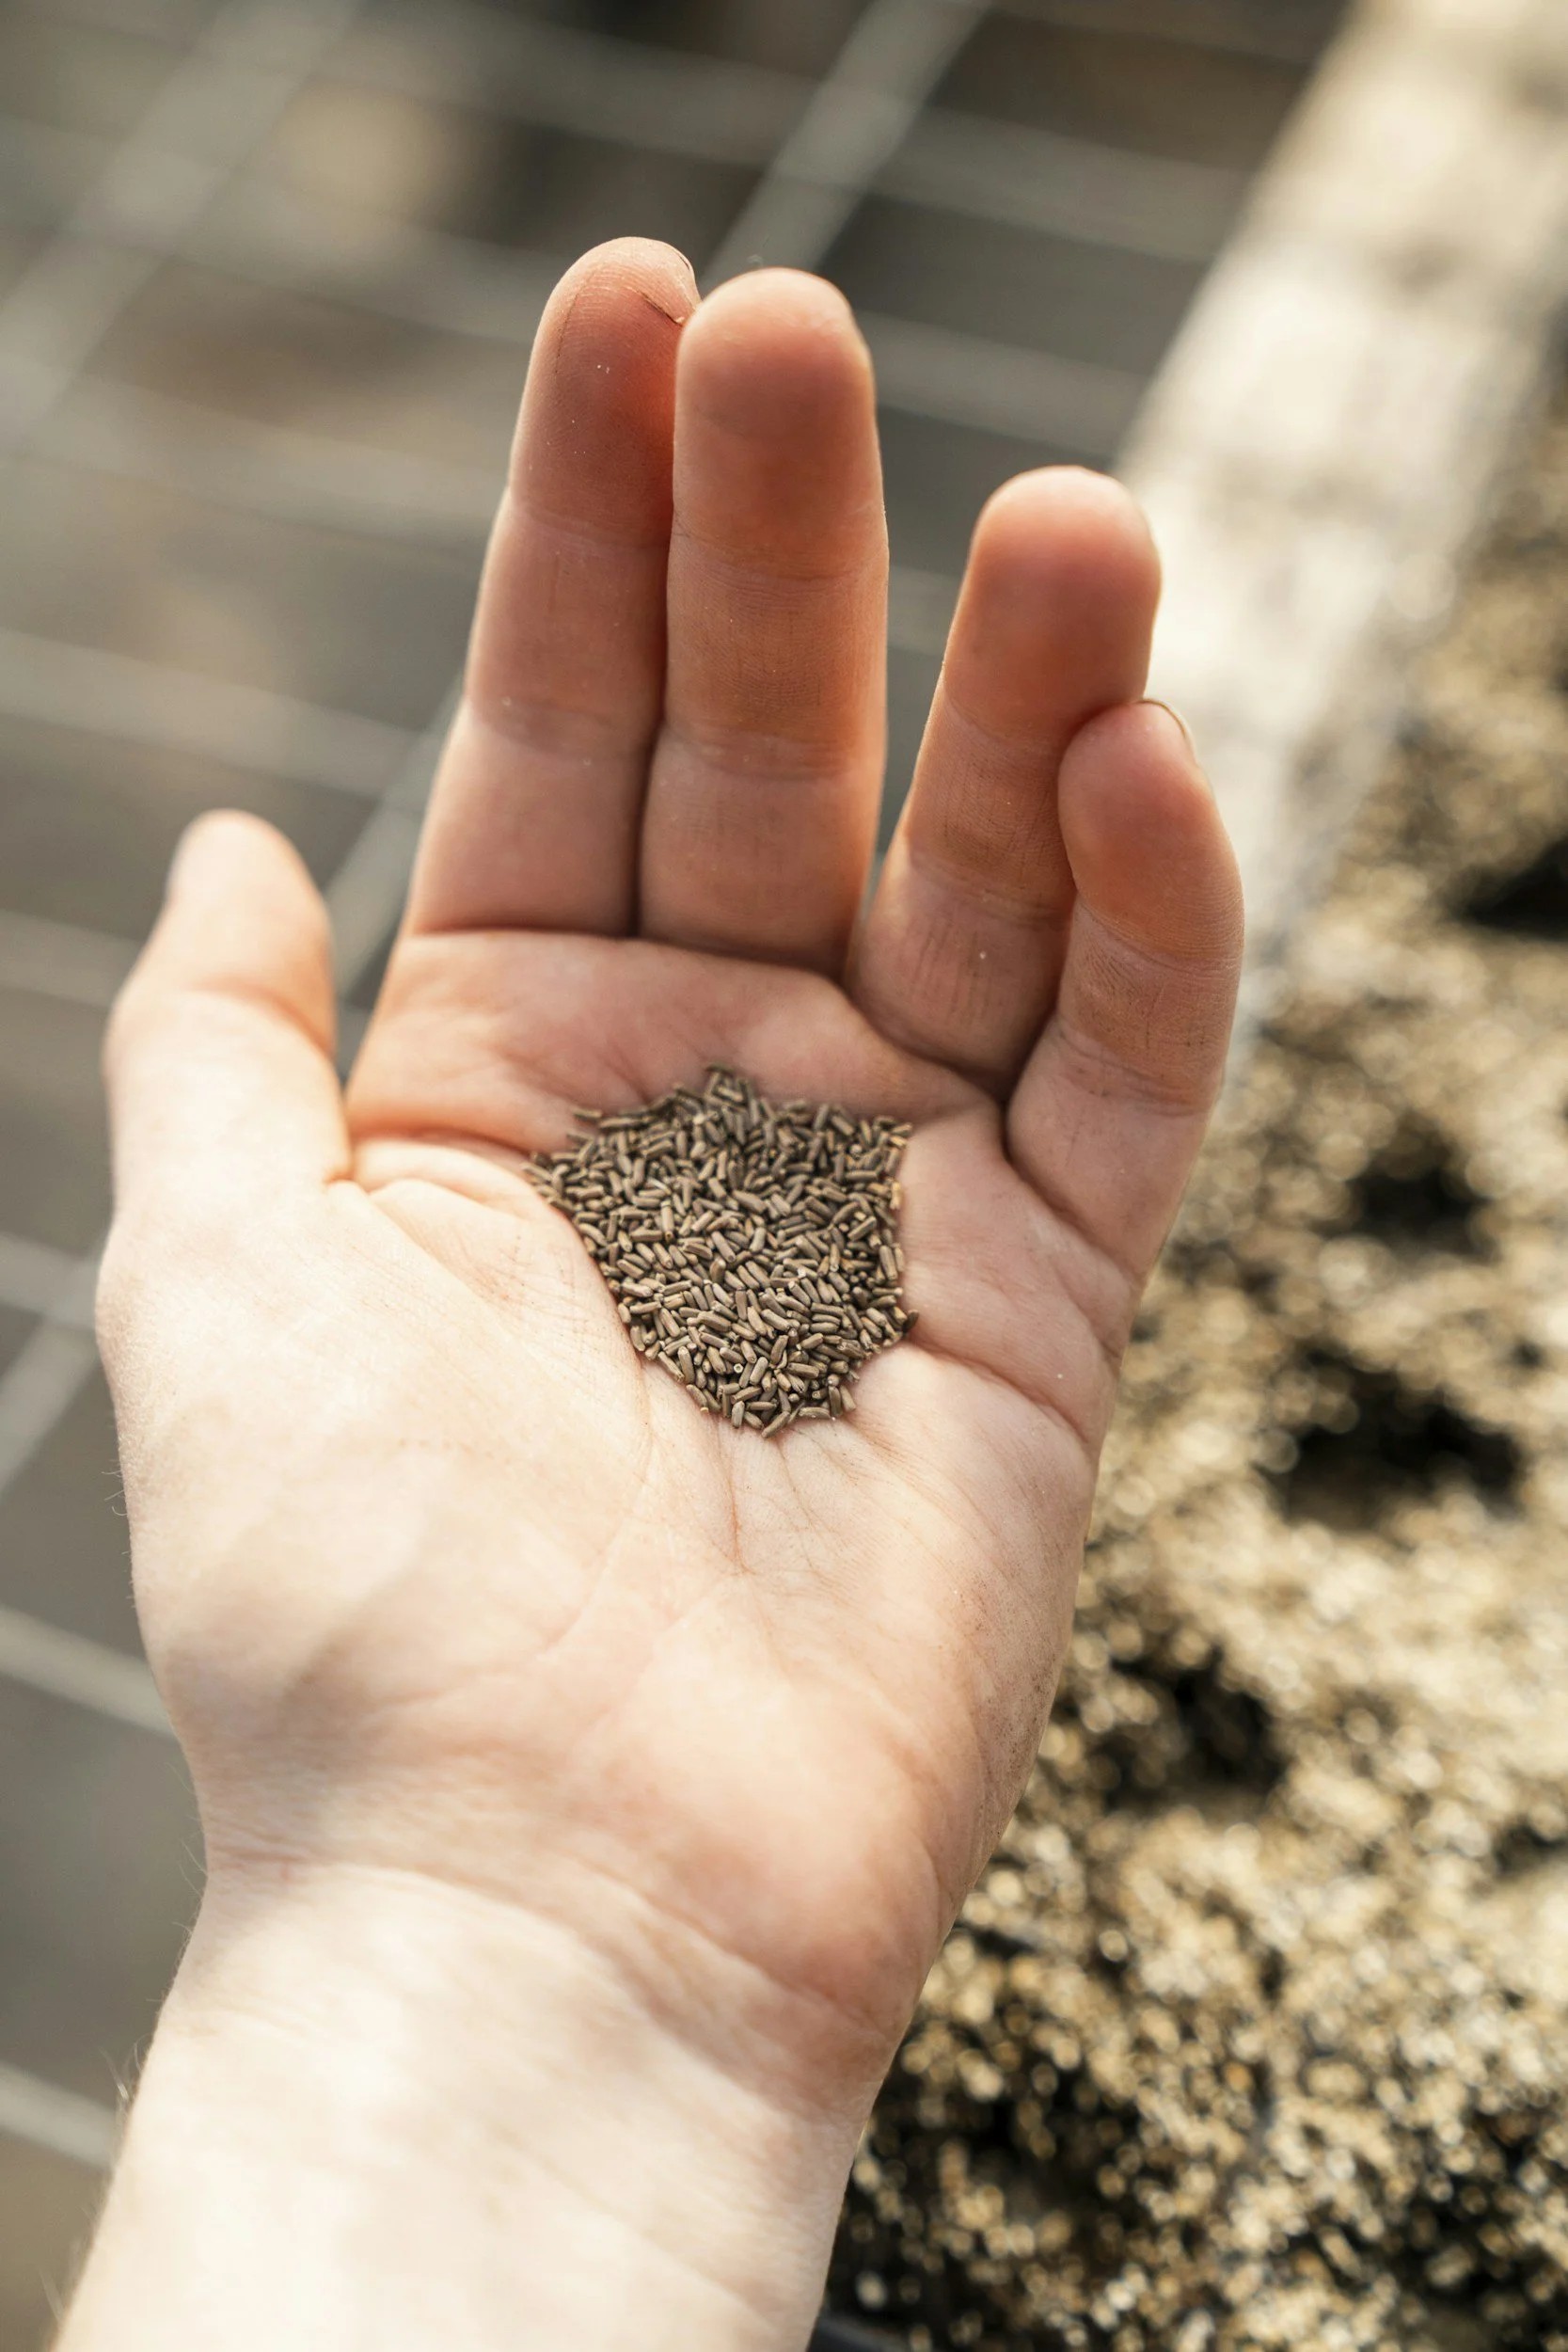
This is one of the fastest ways to waste seeds. Small seeds contain limited stored energy. If buried too deeply, they may never reach the surface. A common rule is to plant seeds about two to three times as deep as the seed is wide. For example plant:
Carrot seeds: very shallow
Lettuce seeds: barely covered
Bean seeds: deeper
Peas: moderate depth
Sunflowers: deeper than lettuce, shallower than beans depending on size
When unsure, err slightly on the shallow side rather than too deep.
Water Gently and Consistently
Freshly sown seeds need steady moisture to germinate. If the top layer dries out repeatedly, seeds may fail. If soil stays waterlogged, seeds may rot. Use a gentle watering wand or soft spray setting to avoid washing seeds away. A simple irrigation system is also an efficient way to make sure seeds have enough moisture without becoming waterlogged.
The goal is evenly moist soil, not swampy soil.
During dry spring weather, you may need light watering once or twice daily until seedlings emerge. Once seedlings establish roots, watering frequency can usually decrease.
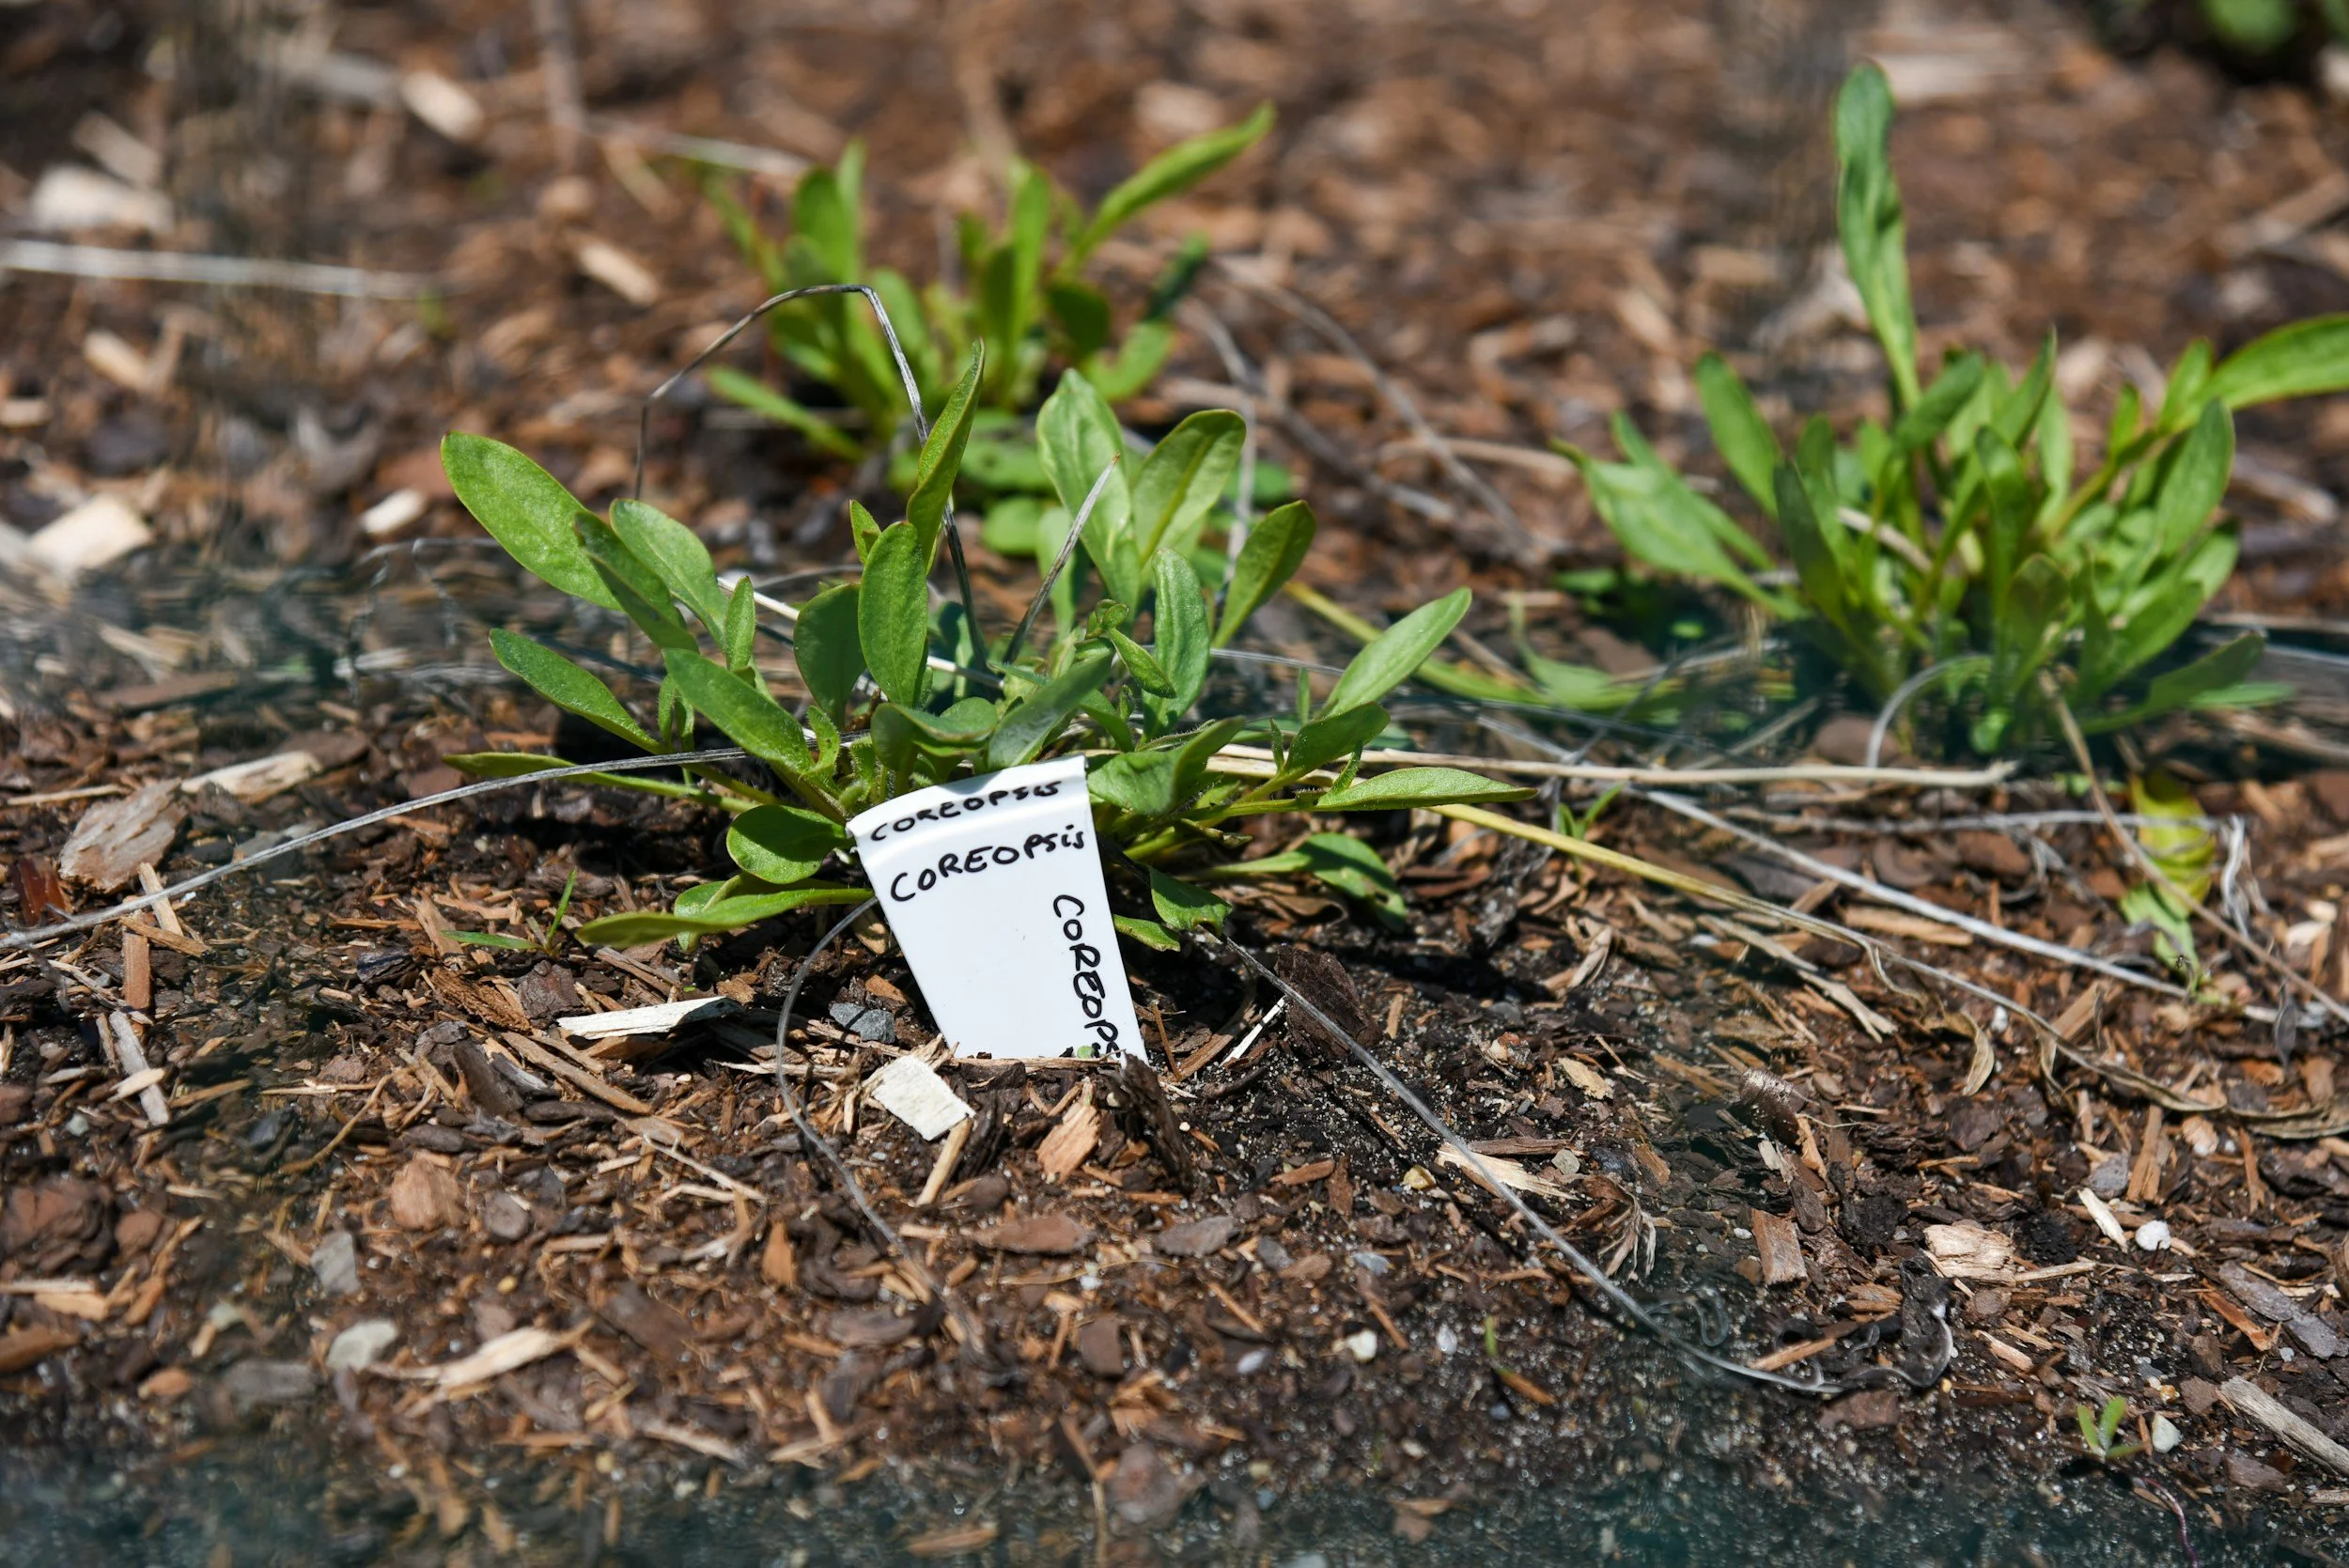
Mark What You Planted
It sounds basic, but this prevents confusion later. Rows of slow crops like carrots or parsley may take longer to appear than radishes or lettuce. Without labels, you may forget what was planted and accidentally disturb rows.
Use plant markers, popsicle sticks, stones, or weatherproof labels.
Record the crop name, variety, and the date you planted it. This also helps you track which varieties perform best. Alternatively, you can use a gardening journal to record this information and measure your results from year to year.
Protect Seeds From Birds and Washouts
Birds can be surprisingly destructive in spring gardens. Some species scratch through freshly planted rows looking for food, while others may pull up tender new seedlings as soon as they emerge. Heavy spring rains can create another problem by washing seeds out of place, compacting the soil surface, or burying tiny seedlings under splashed mud. A little protection during the first week or two after sowing can greatly improve your success rate.
One of the easiest ways to protect newly planted rows is to use a floating row cover or lightweight garden mesh. These barriers help keep birds from disturbing the soil while still allowing light, air, and moisture to reach the seeds. They can be removed once seedlings are established or when pollination is needed for flowering crops.
Some gardeners also place boards, cardboard, or burlap loosely over seeded rows until germination begins. This can help conserve moisture and discourage birds from scratching in the area. If you use this method, check daily and remove the cover as soon as seedlings start to emerge so young plants are not deprived of light.
Keeping pathways mulched can also help during rainy weather. Mulch reduces mud splashing onto planting beds, which can otherwise crust the soil surface or bury tiny sprouts. When watering by hand, use a gentle spray or watering wand rather than a forceful hose stream that may dislodge seeds or wash shallow rows away.
If a major storm is forecast right after you plan to sow, it is often wiser to wait a day or two. Delaying planting briefly can save seeds, preserve your soil structure, and give young seedlings a much better start.
Thin Seedlings Early
Many seeds are tiny, so sowing thickly is common. But crowded seedlings compete for light, water, and nutrients. Once seedlings develop true leaves, thin to recommended spacing.
Yes, it feels wasteful. But keeping too many seedlings often reduces the final harvest more than thinning does. For example, carrots and radishes need room for root development. Beets need spacing for bulb size, while lettuce and kale need good airflow.
Think of thinning as choosing the strongest plants.
Use Succession Planting
Instead of sowing everything at once, plant smaller batches every 1 to 3 weeks. This works especially well for lettuce, radishes, spinach, cilantro, bush beans and beets. Succession planting prevents gluts, reduces wasted seed, and gives a longer harvest season.
It also helps if one sowing fails due to weather.
Best Seeds for Beginners to Direct Sow
If you’re new to direct sowing, start with seeds that are easy to germinate in the soil:
Radishes
Bush beans
Peas
Lettuce
Spinach
Sunflowers
Nasturtiums
Zucchini
These usually come up quickly and build your confidence (and excitement).
Common Direct Sowing Mistakes to Avoid
Several common mistakes can lead to wasted seeds and disappointing germination results. Planting before the soil has warmed enough often causes seeds to rot or sit dormant for too long, while burying seeds too deeply can prevent small seedlings from ever reaching the surface. Letting the soil dry out after planting is another frequent problem, especially during the critical germination stage, though overwatering constantly can be just as harmful by creating soggy conditions that encourage rot.
Kat van der Linden @unsplash
Many gardeners also forget to label rows, ignore proper spacing, or sow far more seed than they realistically need. Using very old seed with poor viability can reduce germination rates, and sowing right before heavy storms may wash seeds away or compact the soil surface. Fixing just one or two of these issues can dramatically improve your results.
Timing and Technique are Key to Successful Direct Sowing
Direct sowing seeds in spring is one of the easiest ways to grow food and flowers, but success depends more on timing and technique than luck. Prepare the soil, plant at the right depth, keep moisture steady, and give seedlings enough space. Start with easy crops, sow in smaller batches, and learn from each planting.
You do not need to waste half a packet of seeds every spring to get a thriving garden.
With a little planning, direct sowing can become one of the most productive tools in your garden.
Enjoyed this guide? If you're ready to grow more food with less guesswork this season, my beginner-friendly online course The Edible Food Garden can help.
Not ready yet? Join my Gardening Tip of the Week newsletter for practical seasonal advice and free resources.
You may also be interested in


Direct sowing seeds in spring is one of the simplest and most rewarding ways to grow a productive garden. Instead of starting seeds indoors and transplanting them later, direct sowing means planting seeds straight into your garden soil, raised bed, or container where they will grow to maturity.