


DIY Seed-Starting Mixes: Which Ones Work and Which to Skip
/It’s seed shopping season, and if you’re like me, you’ve been leafing through garden catalogs and dreaming about your spring garden. Although it’s still miserably cold this time of year where I live, winter is the perfect season for garden planning, including figuring out which seeds you can safely start indoors now. Starting seeds indoors is one of the most satisfying parts of gardening, until your seedlings flop over, stall out, or never germinate at all. A lot of that frustration comes down to the “soil” you used, because seed-starting media is less about feeding plants and more about managing moisture, oxygen, and cleanliness.
The good news is that you can make effective DIY seed-starting mixes at home. The not-so-good news is that some popular “Pinterest” recipes are basically a fast track to fungus gnats, damping-off, and compacted, waterlogged trays. Taking care of your indoor seedlings is not hard if you grasp the basics you need to get them started off strong.
This guide breaks down what a seed-starting mix actually needs to do, which DIY blends consistently perform well, and which ones are usually not worth the time.
What a seed-starting mix must do (and why regular potting soil often fails)

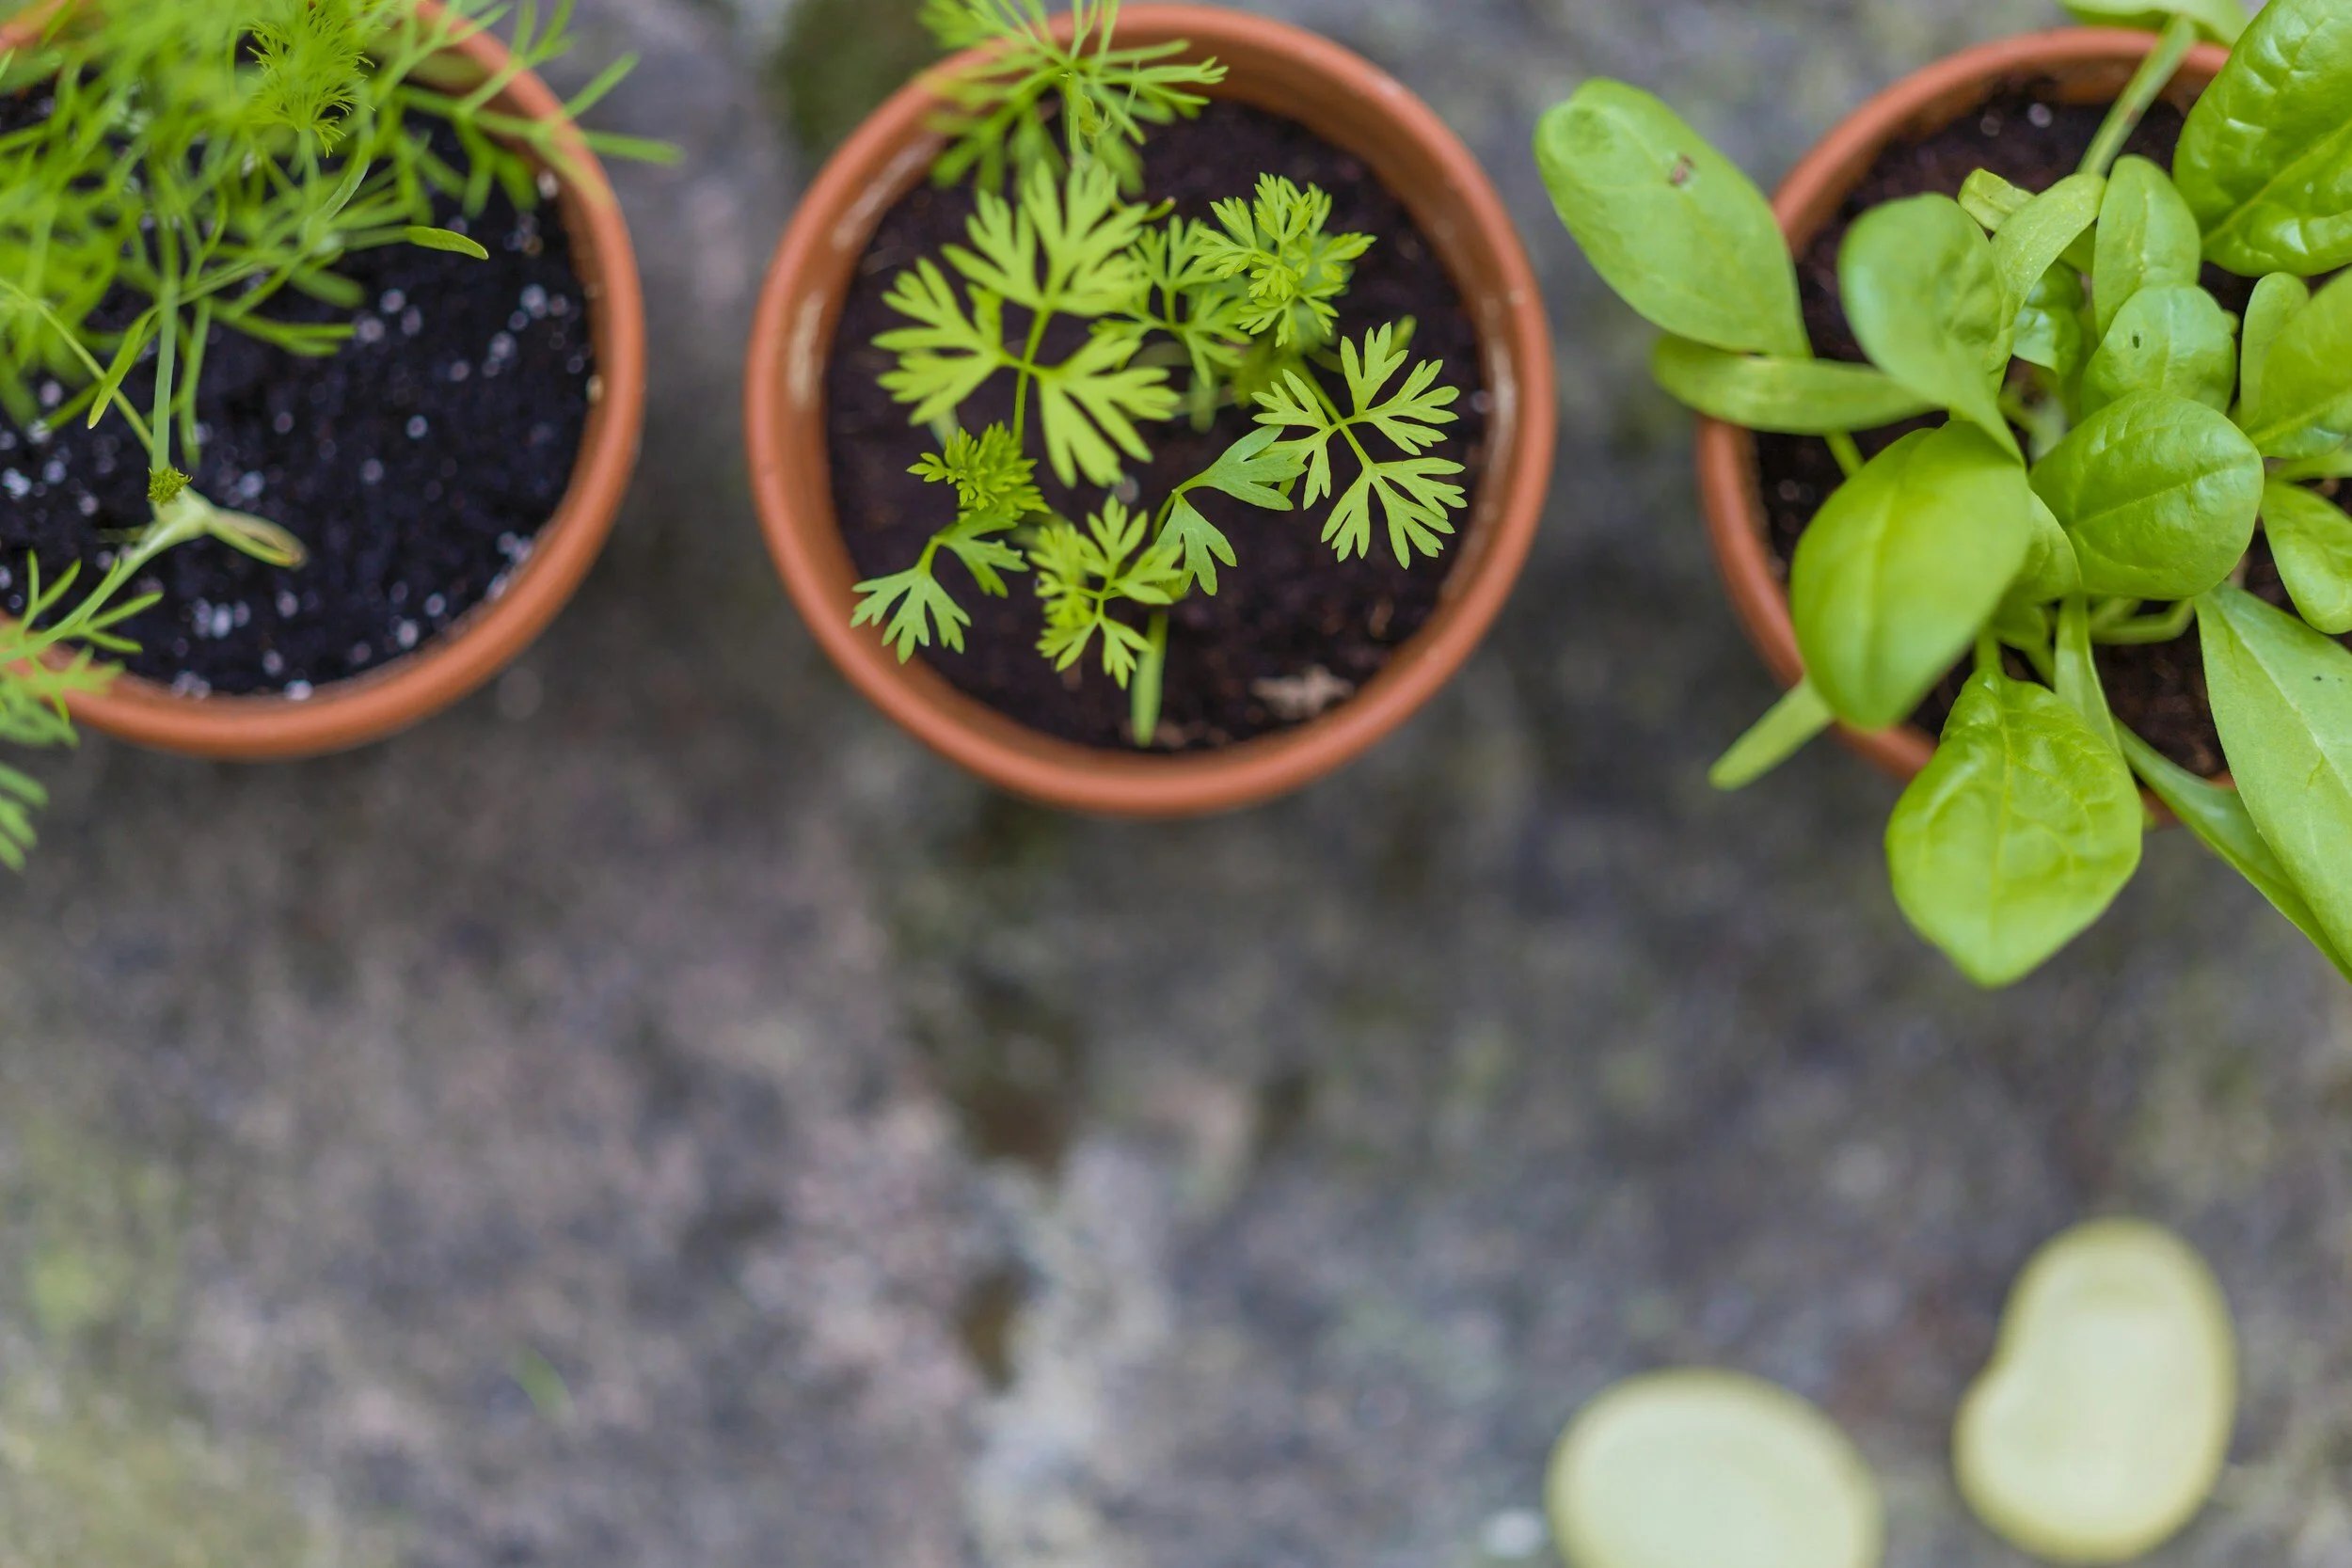
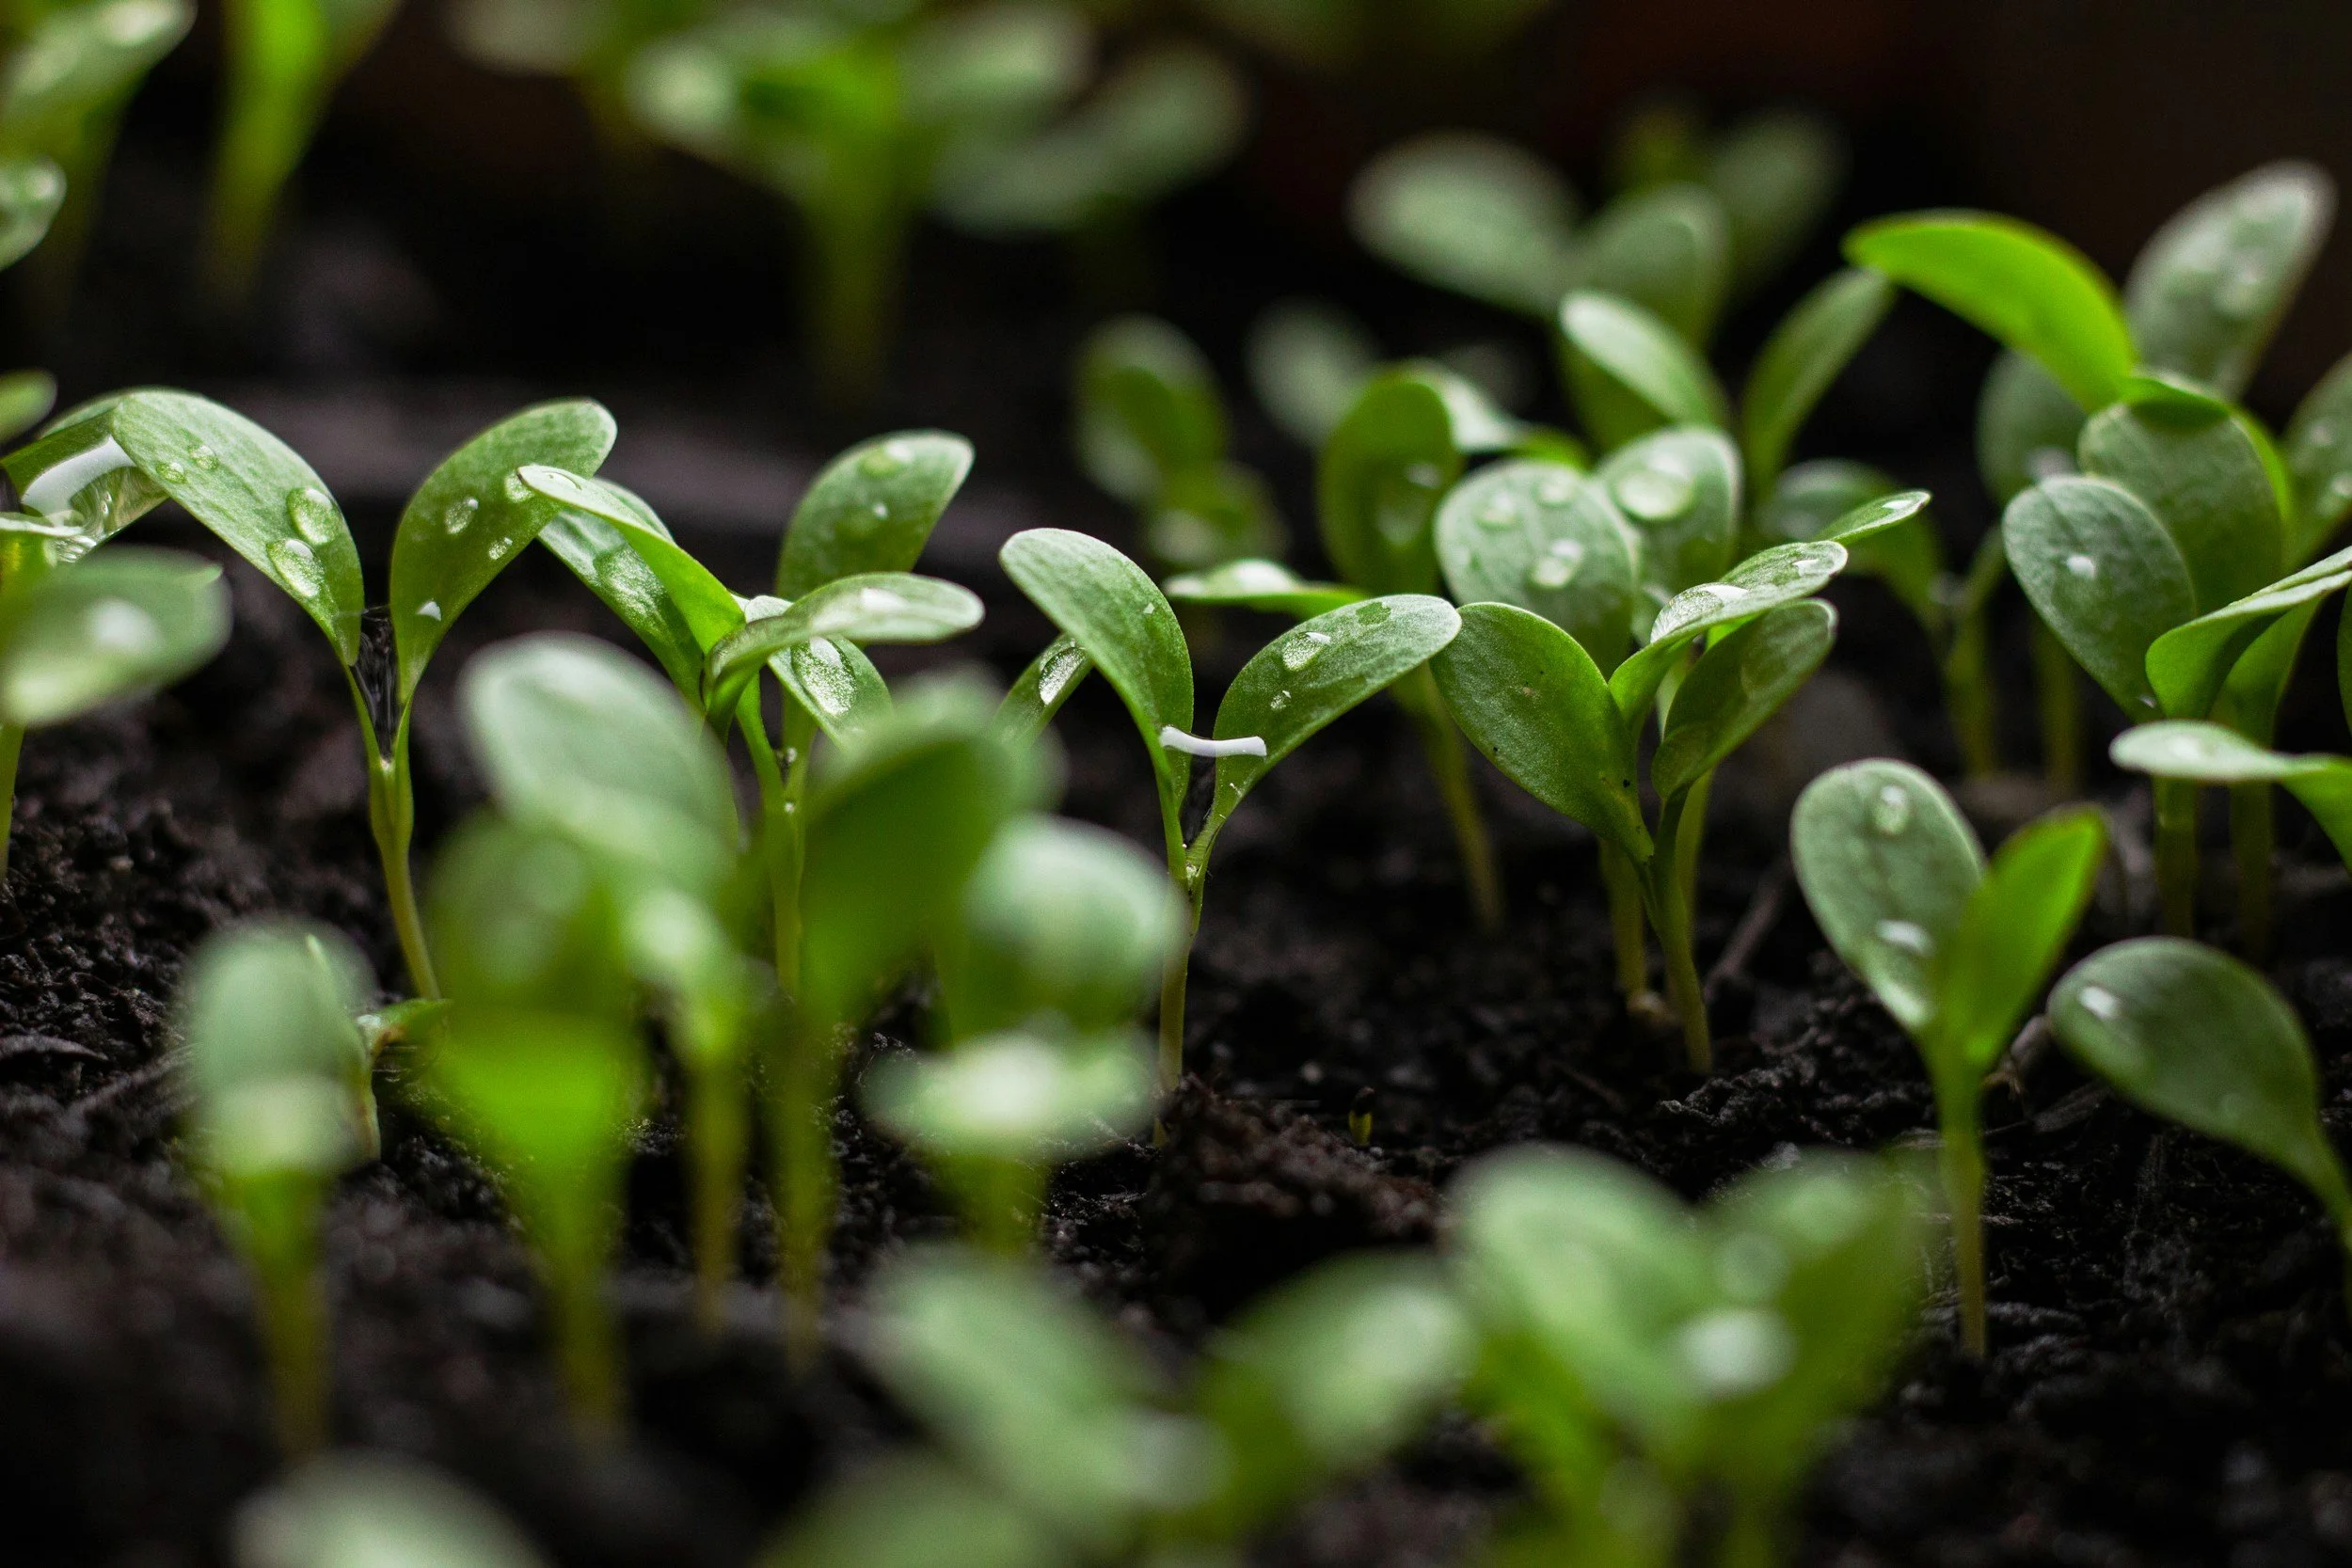
onehundredseventyfive @unsplash
Seeds don’t need rich soil to germinate. They need a stable environment:
Even moisture (not soggy, not bone-dry)
High aeration so tiny roots can breathe
Low pathogen pressure to reduce damping-off
Fine texture so seeds can make good contact with the medium
Good drainage so water doesn’t pool and suffocate roots
Bagged potting soil is designed for established roots in containers. It can be chunky, heavy, and loaded with compost or forest products that hold too much water in small cells. Garden soil is even worse for indoor seed starting: it compacts easily, drains poorly in trays, and can introduce pests and diseases.
A DIY seed-starting mix works when it mimics the structure of a commercial seed-starting mix: light, fluffy, and consistent.
The core ingredients (and what each one does)
You can build a solid DIY mix from a few components. Here’s what matters most:
1) Coco coir or peat moss (the moisture manager)
Coco coir holds water well, rewets easily, and is renewable compared to peat. Many gardeners find it easier to work with.
Peat moss is the classic base for seed mixes and is naturally low in nutrients and relatively resistant to microbial activity, but it’s controversial due to environmental concerns about the destruction of peat bogs.
Rule of thumb: Choose one as your base. Don’t overthink it.
2) Perlite (the oxygen insurance)
Perlite is the white, lightweight volcanic rock that keeps mixes airy. It prevents compaction and helps excess water drain.
If you do nothing else, adding perlite to a too-heavy mix can dramatically improve results.
3) Vermiculite (the moisture balancer)
Vermiculite is a naturally-occurring mineral that holds water and helps maintain consistent moisture around seeds. It’s especially useful for very small seeds and for gardeners who struggle with drying trays.
Perlite increases air; vermiculite increases water-holding. Many successful mixes use both.
4) Compost or worm castings (optional, and small amounts only)
Seedlings don’t need much nutrition until they develop true leaves, which are the second set of leaves that develop (the first leaves to appear are called cotyledons). A tiny amount of compost or worm castings can help once the true leaves get going.
The key is “tiny.” Too much compost makes mixes dense and increases disease risk indoors.
5) Sand (rarely necessary)
Coarse horticultural sand can improve drainage, but it adds weight and isn’t as effective as perlite in trays and cell packs. If you use sand, keep it coarse and minimal.
DIY mixes that work (and when to use each)
Mix #1: The “Most Reliable” All-Purpose Seed-Starting Mix
Best for: most vegetables, herbs, and flowers
Recipe (by volume):
2 parts coco coir (or peat moss)
1 part perlite
1 part vermiculite
Why it works:
This mix is light, holds moisture evenly, and still drains well. It’s forgiving if you’re not perfect with watering, and it performs well in cell packs and soil blocks.
Pro tip: Pre-moisten it before filling trays. A properly damp seed mix should clump in your hand when squeezed but crumble when poked.
Mix #2: The “Fast Drain” Mix for Over-Waterers (and cold rooms)
Best for: gardeners who tend to overwater, or for cooler indoor setups
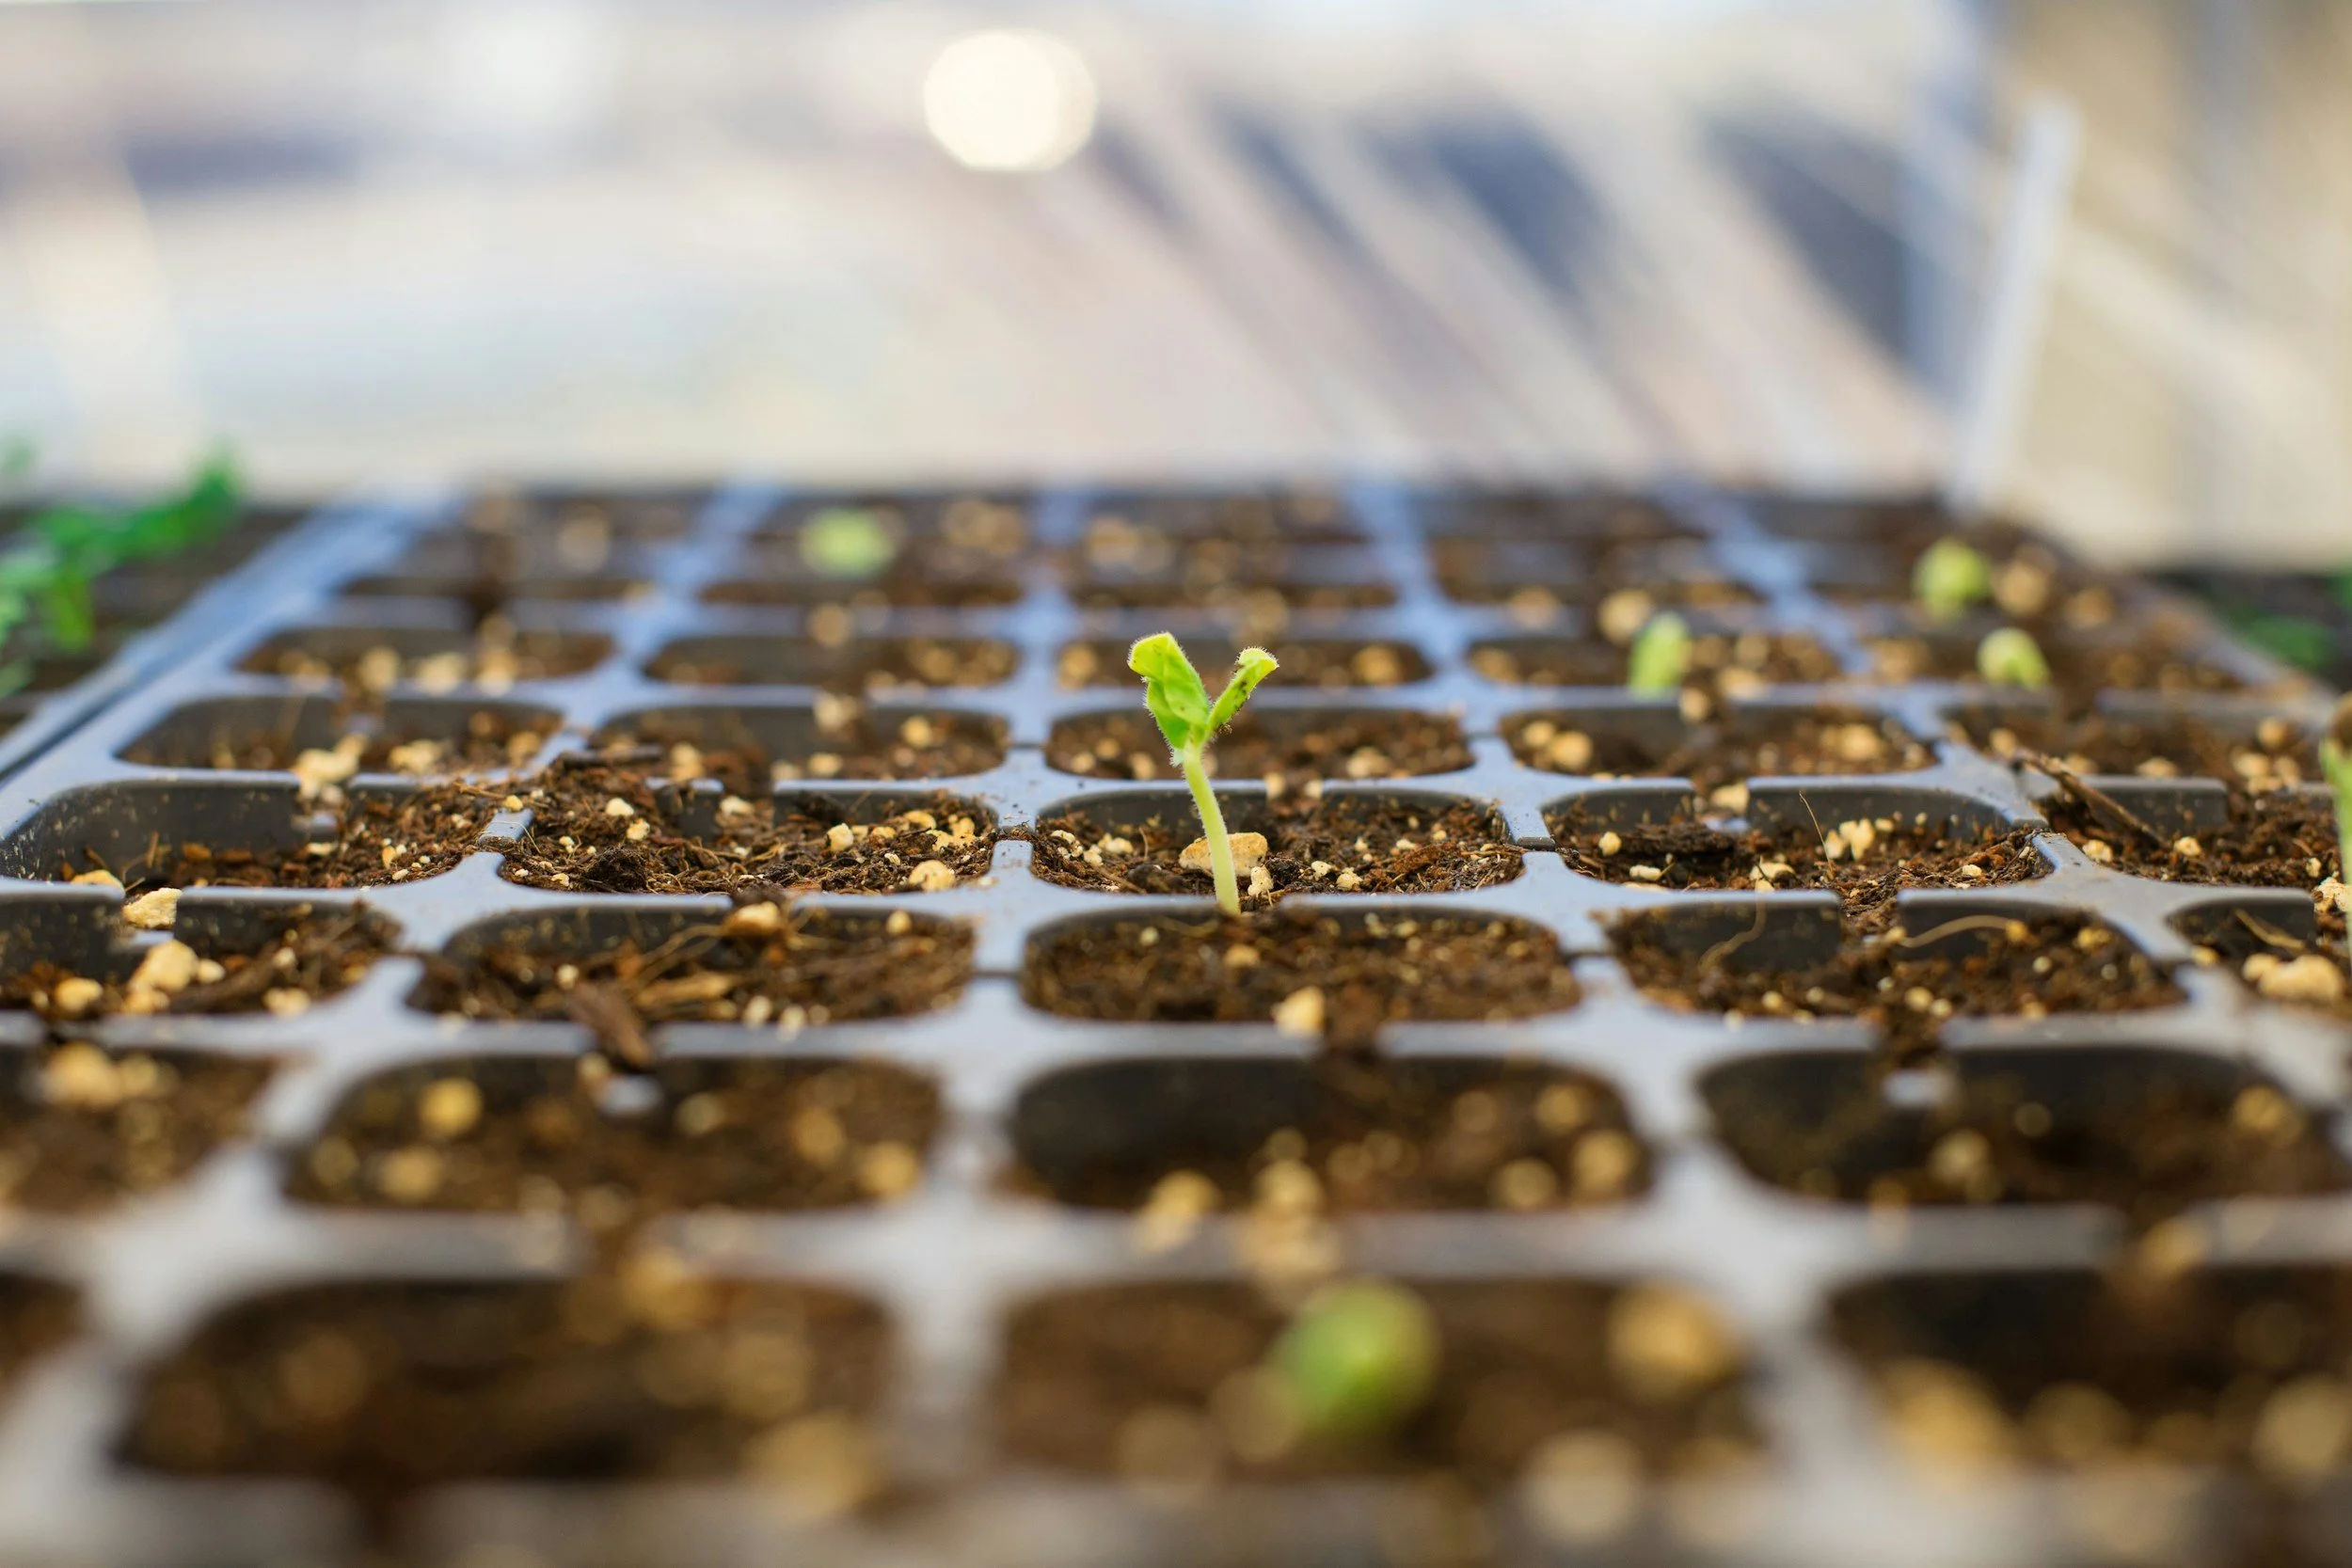
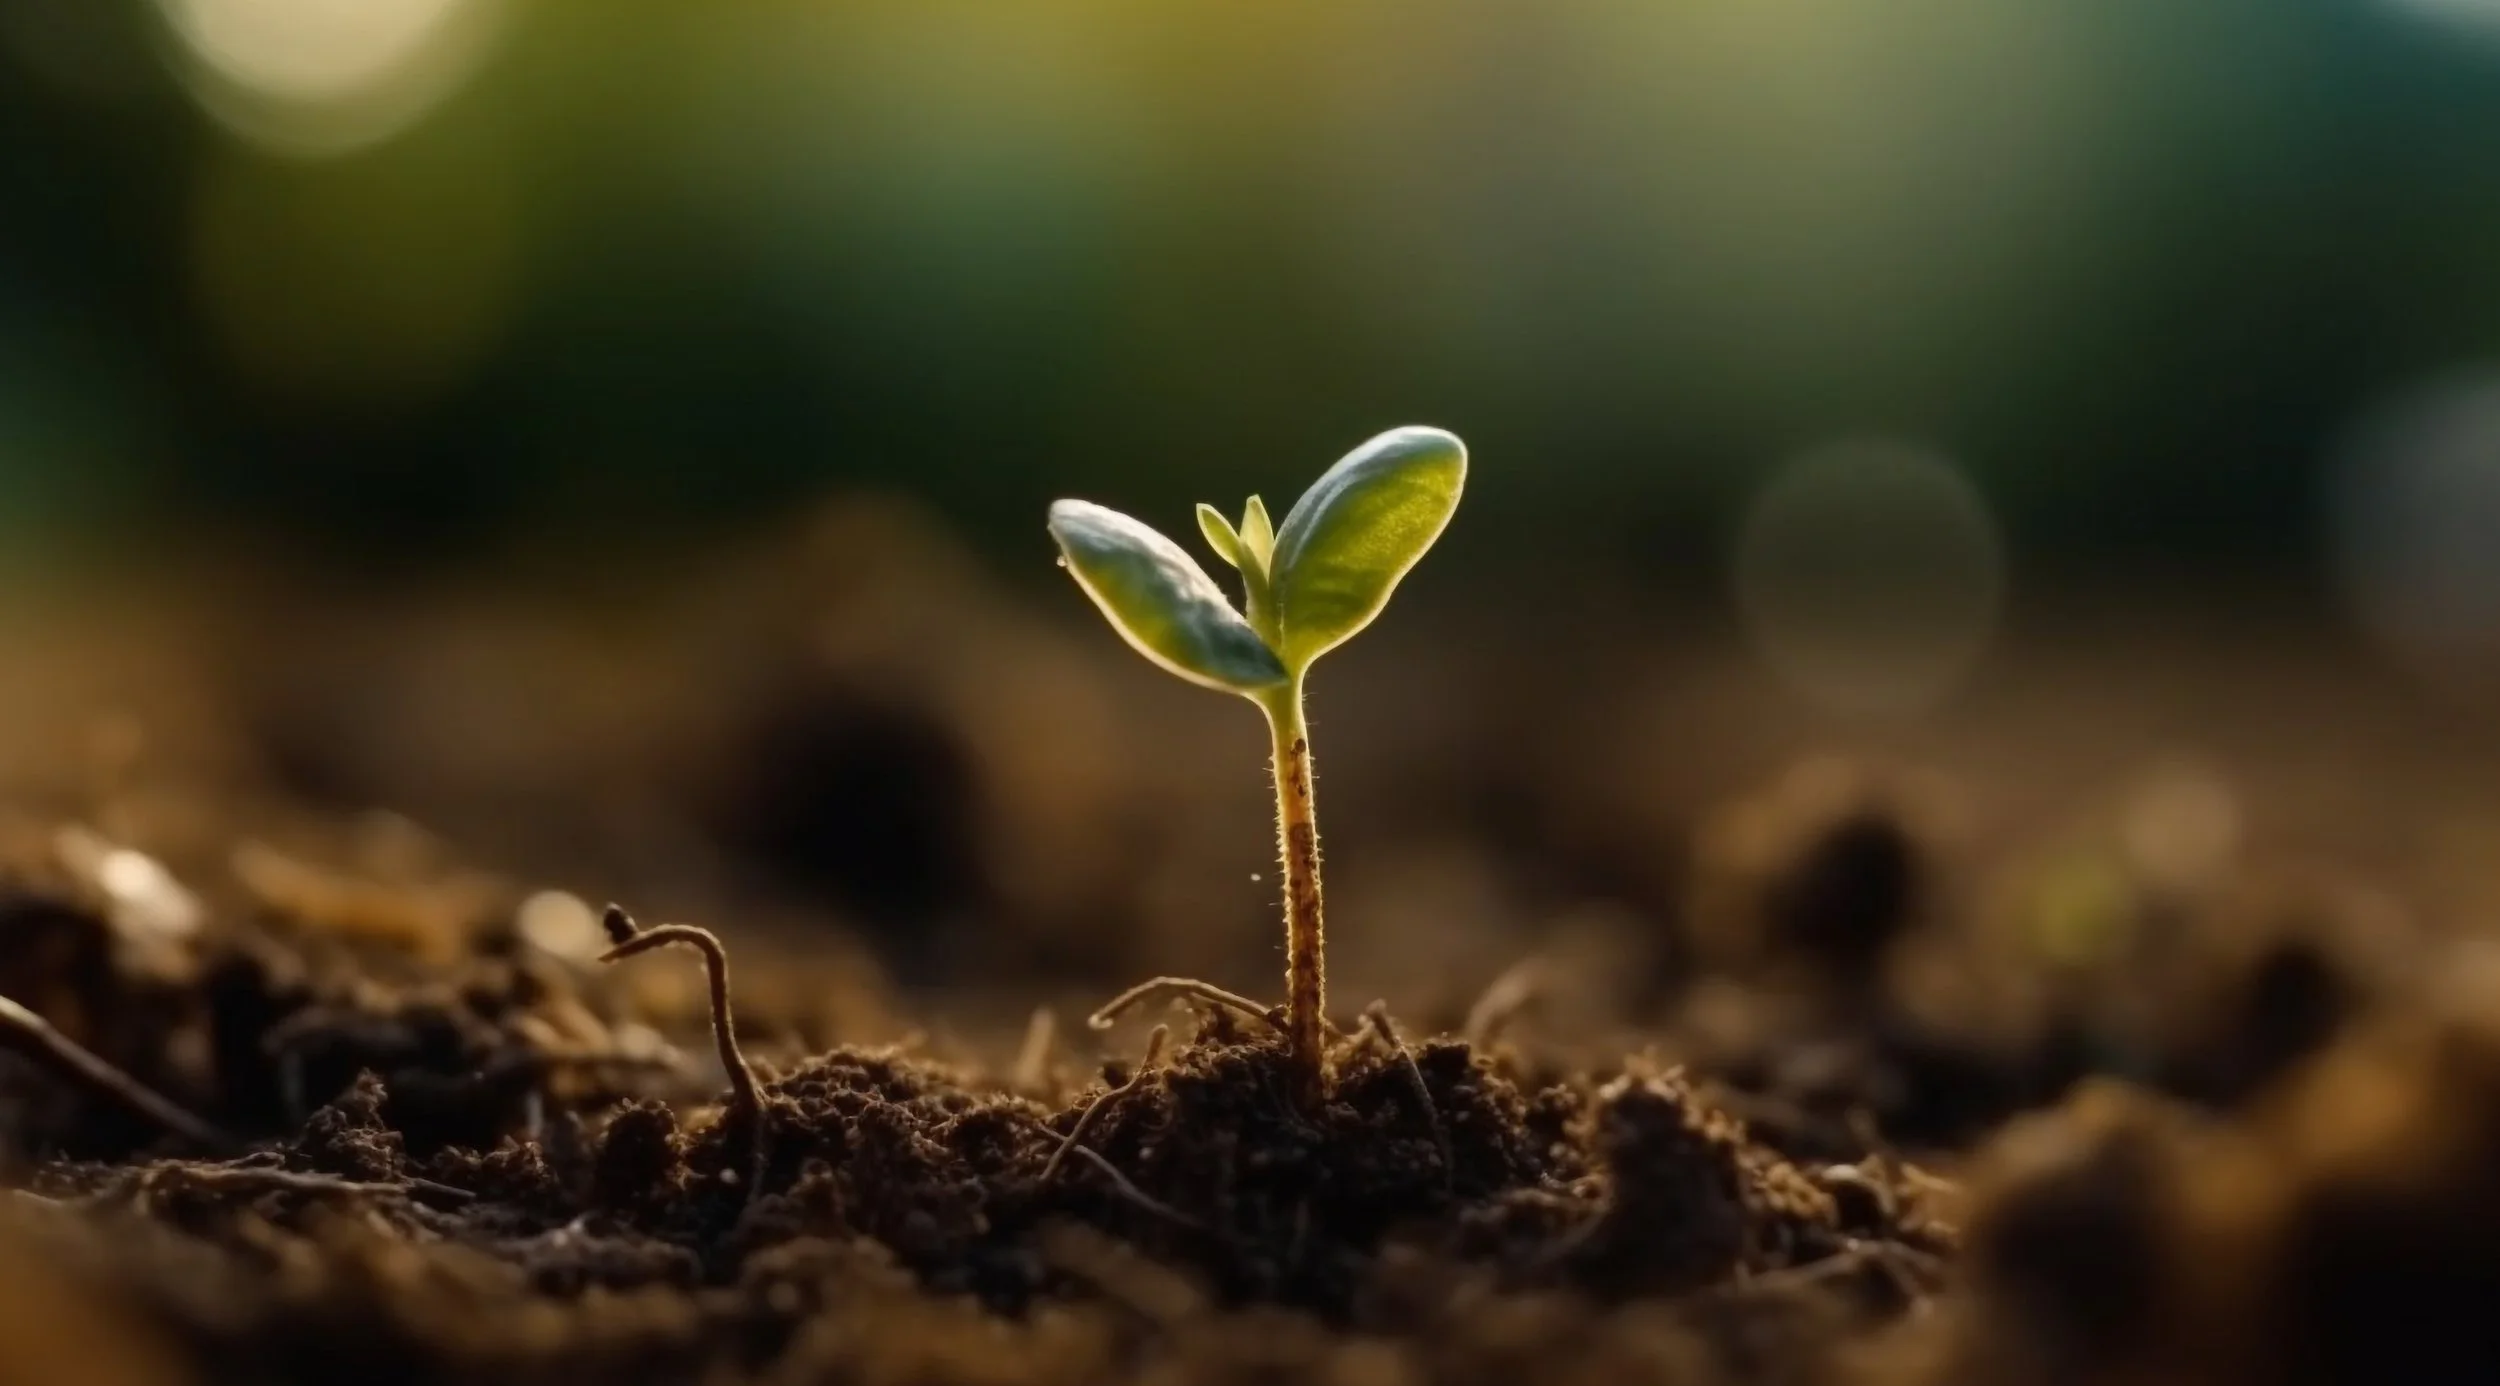
Zoe Richardson @unsplash
Recipe:
2 parts coco coir (or peat moss)
2 parts perlite
1 part vermiculite
Why it works:
If your trays stay wet too long (common in basements, cool rooms, or under weak airflow), extra perlite helps keep roots oxygenated and lowers damping-off risk.
Mix #3: The “Nutrient Nudge” Mix for Longer Indoor Starts
Best for: peppers, tomatoes, brassicas, and flowers that stay indoors longer before transplanting
Recipe:
2 parts coco coir (or peat moss)
1 part perlite
1 part vermiculite
½ part screened compost or worm castings
Why it works:
That small addition can support early growth once true leaves appear, especially if you’re not fertilizing immediately. But keep it light: compost-heavy mixes are one of the most common causes of fungus gnats and mold indoors.
Mix #4: “Soil Block” Mix (DIY-Friendly Version)
Best for: soil blocking (or gardeners who want sturdy plugs that hold together)
Recipe:
2 parts coco coir (or peat)
1 part vermiculite
1 part perlite
1 part screened compost (optional but helpful for structure)
Why it works:
Soil blocks need cohesion. This mix balances air with enough “bind” to hold shape. Screen your compost so you don’t get sticks and chunks that weaken the block.
DIY mixes to skip (or use only with big caveats)
Skip #1: “Just compost” or “compost + garden soil”
This is one of the most common DIY recipes, and it’s one of the worst indoors. Compost-heavy mixes:
stay wet too long in small cells,
compact as they dry and re-wet,
increase fungal pressure,
often invite fungus gnats.
If you insist: keep compost to 10–20% max, screen it, and add perlite generously.
Skip #2: Coffee grounds (fresh or “a little for drainage”)
Coffee grounds are fine in an outdoor compost pile, but in seed trays they:
compact into a dense layer,
hold moisture in a way that can encourage mold,
can interfere with air exchange at the surface.
A sprinkle won’t magically “add nutrients.” Indoors, it’s usually a problem ingredient.
Skip #3: Eggshell “calcium” seed-starting mixes
Crushed eggshells break down very slowly. They do not provide accessible calcium to seedlings in the timeframe that matters. Worse, eggshell fragments can create uneven texture without improving aeration.
If you’re worried about calcium-related issues later (like blossom end rot), focus on consistent watering and overall plant health after transplanting.
Skip #4: Straight coconut fiber “bedding” or mystery coir products
Not all coir is created equal. Some low-quality coir can contain salts. If you’re using coir bricks made for gardening, you’re usually fine, but avoid unlabeled “bedding” products unless you know the source.
Better: use horticultural-grade coir and rinse/flush it if you suspect that it contains salts.
Skip #5: Wood shavings, sawdust, or “natural” mulches as a base
Wood products can tie up nitrogen as they break down, and they’re inconsistent in texture. Indoors they can also encourage fungal growth. They’re not designed for germination media.
How to tell if your DIY mix is not working (quick diagnostics)
Seeds germinate but seedlings fall over at the base: mix is too wet, airflow is low, or trays are contaminated (classic damping-off conditions).
Seedlings sprout but stall at the cotyledon stage: mix may be too dense (low oxygen), too dry between waterings, or you need to start gentle feeding after true leaves appear.
Green algae on the surface: too much moisture + too much light at the surface. Bottom-water and increase airflow.
Fungus gnats: too much organic matter (compost-heavy), consistently wet top layer, or contaminated bags. Let the surface dry slightly and reduce compost content next batch.
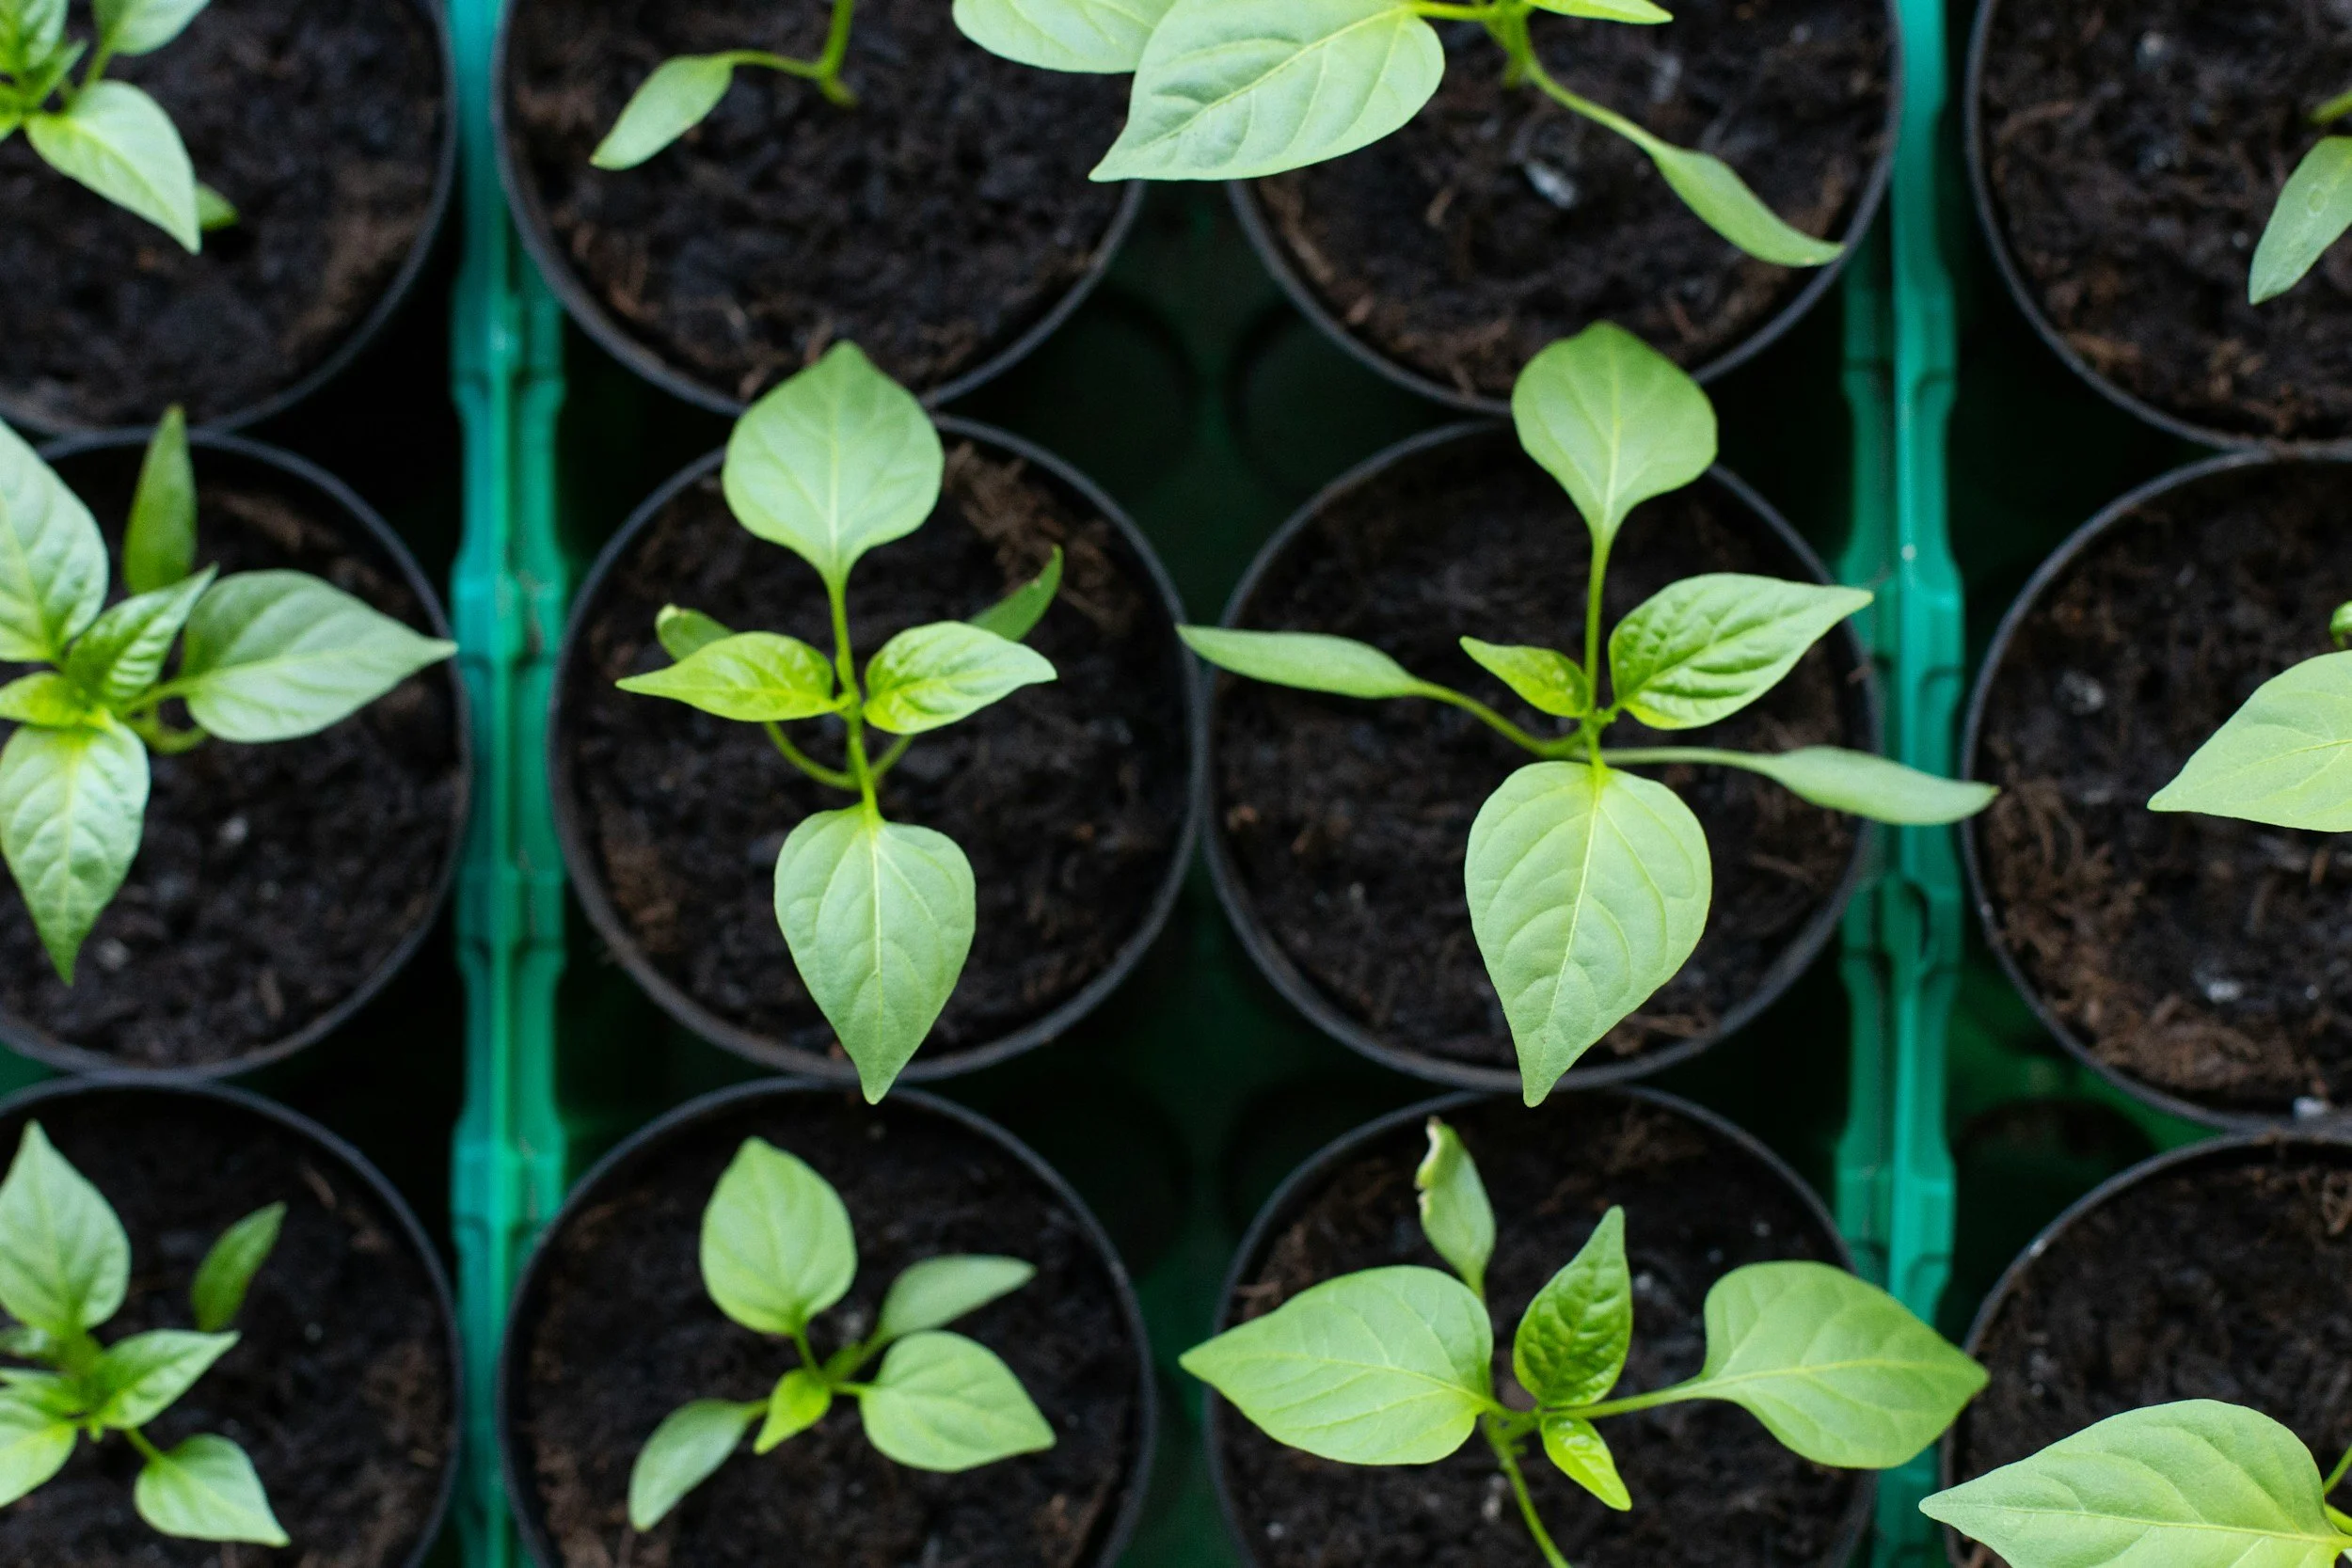
Annemarie Schaepman @unsplash
A few best practices that matter as much as the recipe
Pre-moisten your mix. Dry pockets lead to uneven germination.
Don’t pack it down. Fill cells, tap the tray gently, and level the top.
Bottom-water when possible. It reduces surface moisture (and fungus gnat appeal).
Use airflow. Even a small fan on low helps prevent damping-off.
Start feeding after true leaves appear. Seed-starting mix is not fertilizer. Use a diluted organic liquid fertilizer, compost tea or fish/kelp blend at ¼ strength and adjust based on plant response.
Bottom line: keep it light, airy, and consistent
If you want one dependable DIY seed-starting mix, go with:
2 parts coir (or peat) + 1 part perlite + 1 part vermiculite.
like this? please pin!
It’s simple, repeatable, and performs well across most seed types. Save the compost-heavy blends and “kitchen ingredient” hacks for the compost pile, not your seed trays.
A Low-Cost, Reliable DIY Start
Starting your own seeds does not have to mean buying expensive specialty mixes every season. With a simple understanding of how moisture, airflow, and texture work together, you can create a reliable DIY seed-starting mix that supports healthy germination without wasting money or buying materials you don’t really need. A light, well-balanced blend will always outperform trendy shortcuts, and once you dial in a formula that works in your home environment, seed starting becomes less of a gamble and more of a predictable step in your edible gardening routine.
If you’re just getting started or want to build a stronger foundation for the season ahead, begin with my complete beginner’s guide to starting an edible garden. It walks through planning, timing, and setup so your seedlings move confidently from tray to harvest.
You may also be interested in…


If you’ve ever brought home healthy-looking seedlings or nurtured your own indoors, only to watch them wilt, stall, or die after transplanting, you’re not alone. This is one of the earliest lessons I’ve learned the hard way: if you move plants from indoors to the outdoors too quickly, you can easily undermine them or even lose them altogether. When you’re growing an edible garden from seed, it’s important to make sure your seedlings will be able to handle the transition to a new climate and growing condition.