


Yogurt Bread
/In my last year of college, one of my housemates and best friends was a guy who knew how to make the best potato breads I’ve ever tasted. That was my introduction to bread making, and I’ve loved it ever since. Making bread at home is a pretty basic DIY skill that anyone can master with a little practice, and basic bread requires few ingredients – flour, water, sugar, salt, and yeast. Check the store brands you buy – most have added ingredients, and if you see a lot more ingredients in that list than the ones I’ve named above, then you know the bread is over-processed, full of preservatives, and possibly contains chemical substances – like phosphates -- that have been linked in clinical studies with intestinal inflammation, kidney disease, osteoporosis, and heart problems when they are eaten on a regular basis. Store-bought breads are also not cheap, and a single artisan loaf or “healthy” brand can cost $5 or more.
So learning to make bread at home can not only save you money, it can also help you avoid some of the health problems that come with regularly eating processed foods.

Although I’ve only started hand-making bread at home on a weekly basis in the past 6 months, it has become something I look forward to each week, so much so that I even turned down my mother’s offer to pass along my grandmother’s bread machine. It’s not that I have anything against bread machines – they make the job easier and faster – it’s that I love the feeling of the dough in my hands, being able to feel the texture as it changes from rough to smooth, and yes, I can also get a bit of arm exercise in there as well! The best thing about bread making in our home is that my kids now prefer my bread to store-bought sandwich breads. I think it’s because of this recipe that we’ve become such lovers of homemade bread.
This bread is similar to a recipe I use to make Turkish pide (pron. “pee-day”)– a kind of flat dough that is rolled out in oval shapes, then stuffed with ground meat (I use ground turkey), spices, and cheese, folded, and then baked in the oven. However, this bread’s not-so-secret ingredient is the kind of plain yogurt I use: Indian dahi. I have tried using plain yogurt (from store brands to Dannon), Greek yogurt, and Icelandic yogurt for this recipe, but hands-down, Indian dahi produces the richest, smoothest taste. You can buy dahi in an Indian grocery or in grocery chains that sell Indian products. I get mine from the Korean grocery chain H-Mart. Of course, if you aren’t able to find dahi easily, I’d suggest trying Greek or Icelandic first, and plain Dannon or store-brand yogurt.
Prep time: 20 minutes plus 30 minutes for rising
Cook time: 30-40 minutes (depending on elevation – at higher elevations, bread takes longer to cook)
Tools and/or vessels needed: bread pan or baking sheet
Makes 2 loaves
Ingredients:
1 package yeast
5 cups flour (use some for kneading the dough)
1 tsp salt
1 tbsp sugar
¼ cup plus 2 tbsp olive oil
¼ cup plain yogurt (Indian dahi makes the best flavor)
1 ½ cups water
Process:
Mix the yeast, 4 ½ cups of the flour, salt, and sugar together in a mixing bowl with a whisk or fork
Add ¼ cup olive oil, yogurt, and water to the bowl
Mix well, using a bread machine, hand-held mixer with a bread hook attachment, or stiff spatula
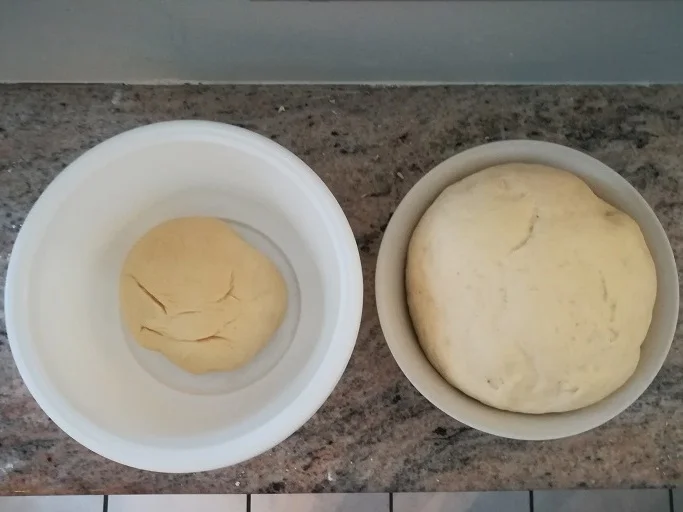
Turn out onto a floured surface, then knead well for at least 10 minutes, adding flour to the ball as needed so that it’s pliable and not sticky
Shape into 2 loaves, place into bread pans. Alternatively, you can make them into whatever shape you like and place them on a baking dish
Let rise in the oiled baking pan or sheet in a slightly warm environment for 30 minutes. The best way I find to do this is warm the oven, then turn it off and place the dough inside, covering it with a dishcloth.
Remove from oven and brush surface of loaves with remaining 2 tbsp of olive oil
Heat over to 350 degrees
Bake in oven for 30-minutes
Remove from oven and let cool
Follow these additional bread-making tips to make the crust perfectly crusty and the insides smooth and fluffy. First, it’s important to hand-knead the dough for at least 10 minutes to get that soft texture. I don’t use a bread machine so I can’t tell you if it requires more or less kneading time when you use one. Second, don’t let the dough rise too long if you do, they’ll fall and end up looking like flat cow pies, then you’ll have to knead them all over again, but by that time, the surface of the dough will have started to harden and you’ll have a crust with hard pieces in it, not to mention your bread won’t be as light and fluffy when you bake it.
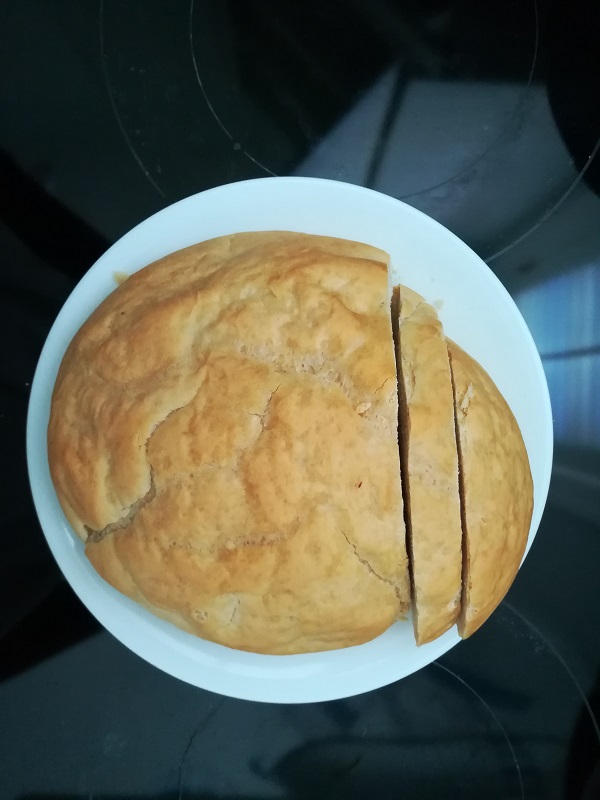
Finally, there’s an old bread maker’s trick that gets the crust to be the perfect grade of crustiness and the inside more moist: place a shallow pan of water on the bottom rack of the oven, underneath the bread. That, combined with the olive oil glaze you’ve brushed on, really makes this bread go beyond the ordinary. Instead of olive oil, you can brush the crust with a combination of 1 egg white and 1 tsp water. Either way, your crust will be delicious!
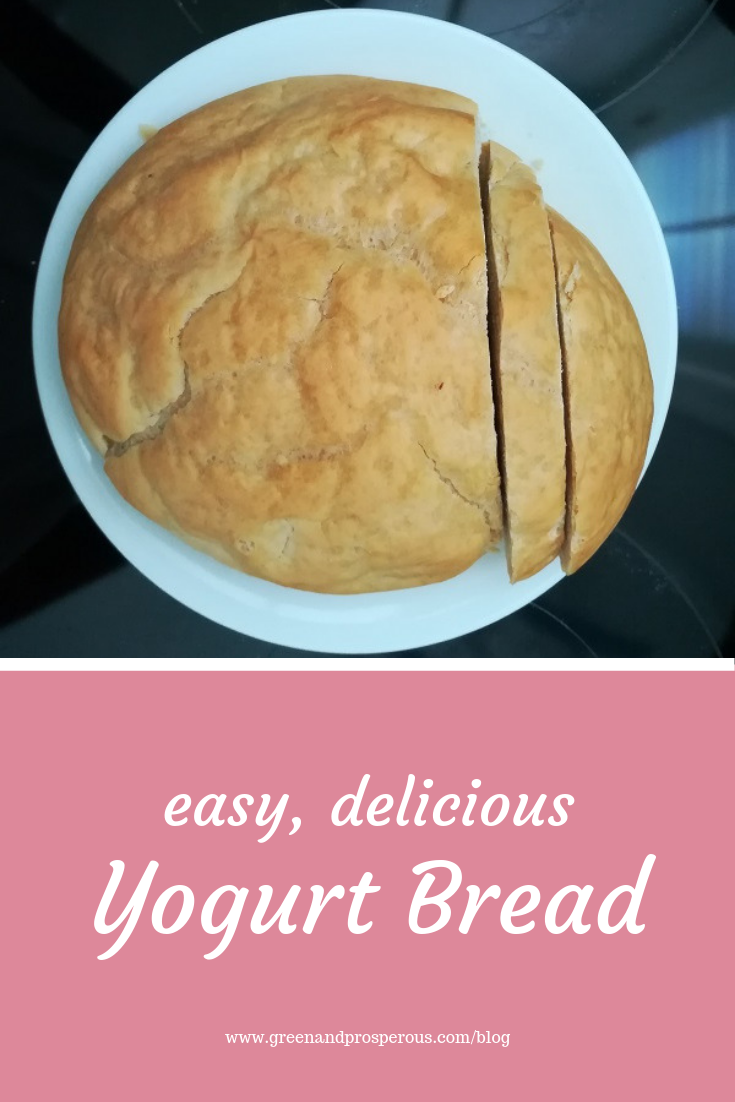
Like this? Please Pin!