


Kratky Hydroponics Indoors: Setting Up a Simple System for Winter Greens
/When the garden goes quiet for the winter, many gardeners miss the color, crunch, and satisfaction of fresh greens. I used to feel that way, too, and so I started winter gardening about 10 years ago. But after years of growing a garden in the winter, being outside in the freezing weather trying to take care of plants became one more unpleasant chore. So last winter I switched to indoor gardening with Kratky hydroponics. It was a lot easier than I thought, and I was able to keep my family supplied in fresh greens all winter long.
The Kratky method lets you grow lettuce, spinach, or Asian greens right on your kitchen counter, in a spare room or even in your basement or garage. It doesn’t require any soil, pumps, or heavy equipment, and it’s perfect for beginners. This passive, low-maintenance hydroponic method lets you grow crisp, nutrient-dense greens indoors even during the coldest months of the year. If you’re short on space or just want to keep your gardening skills sharp all year long, this setup is easy to build, inexpensive to maintain, and surprisingly productive.
In this guide, you’ll learn what the Kratky method is, why it’s perfect for winter greens, how to set up your system step-by-step, and how to troubleshoot common issues so you can enjoy fresh salads even if it’s snowing outside.
What Is the Kratky Method?
Named after Dr. Bernard Kratky of the University of Hawaii, Kratky hydroponics is a simple, soil-free way to grow plants in a nutrient solution. Unlike other hydroponic systems, it doesn’t require pumps, timers, or air stones. Instead, it relies on a clever bit of physics: as plants absorb water and nutrients, the solution level drops, creating an air gap that allows the roots to access both oxygen and moisture.

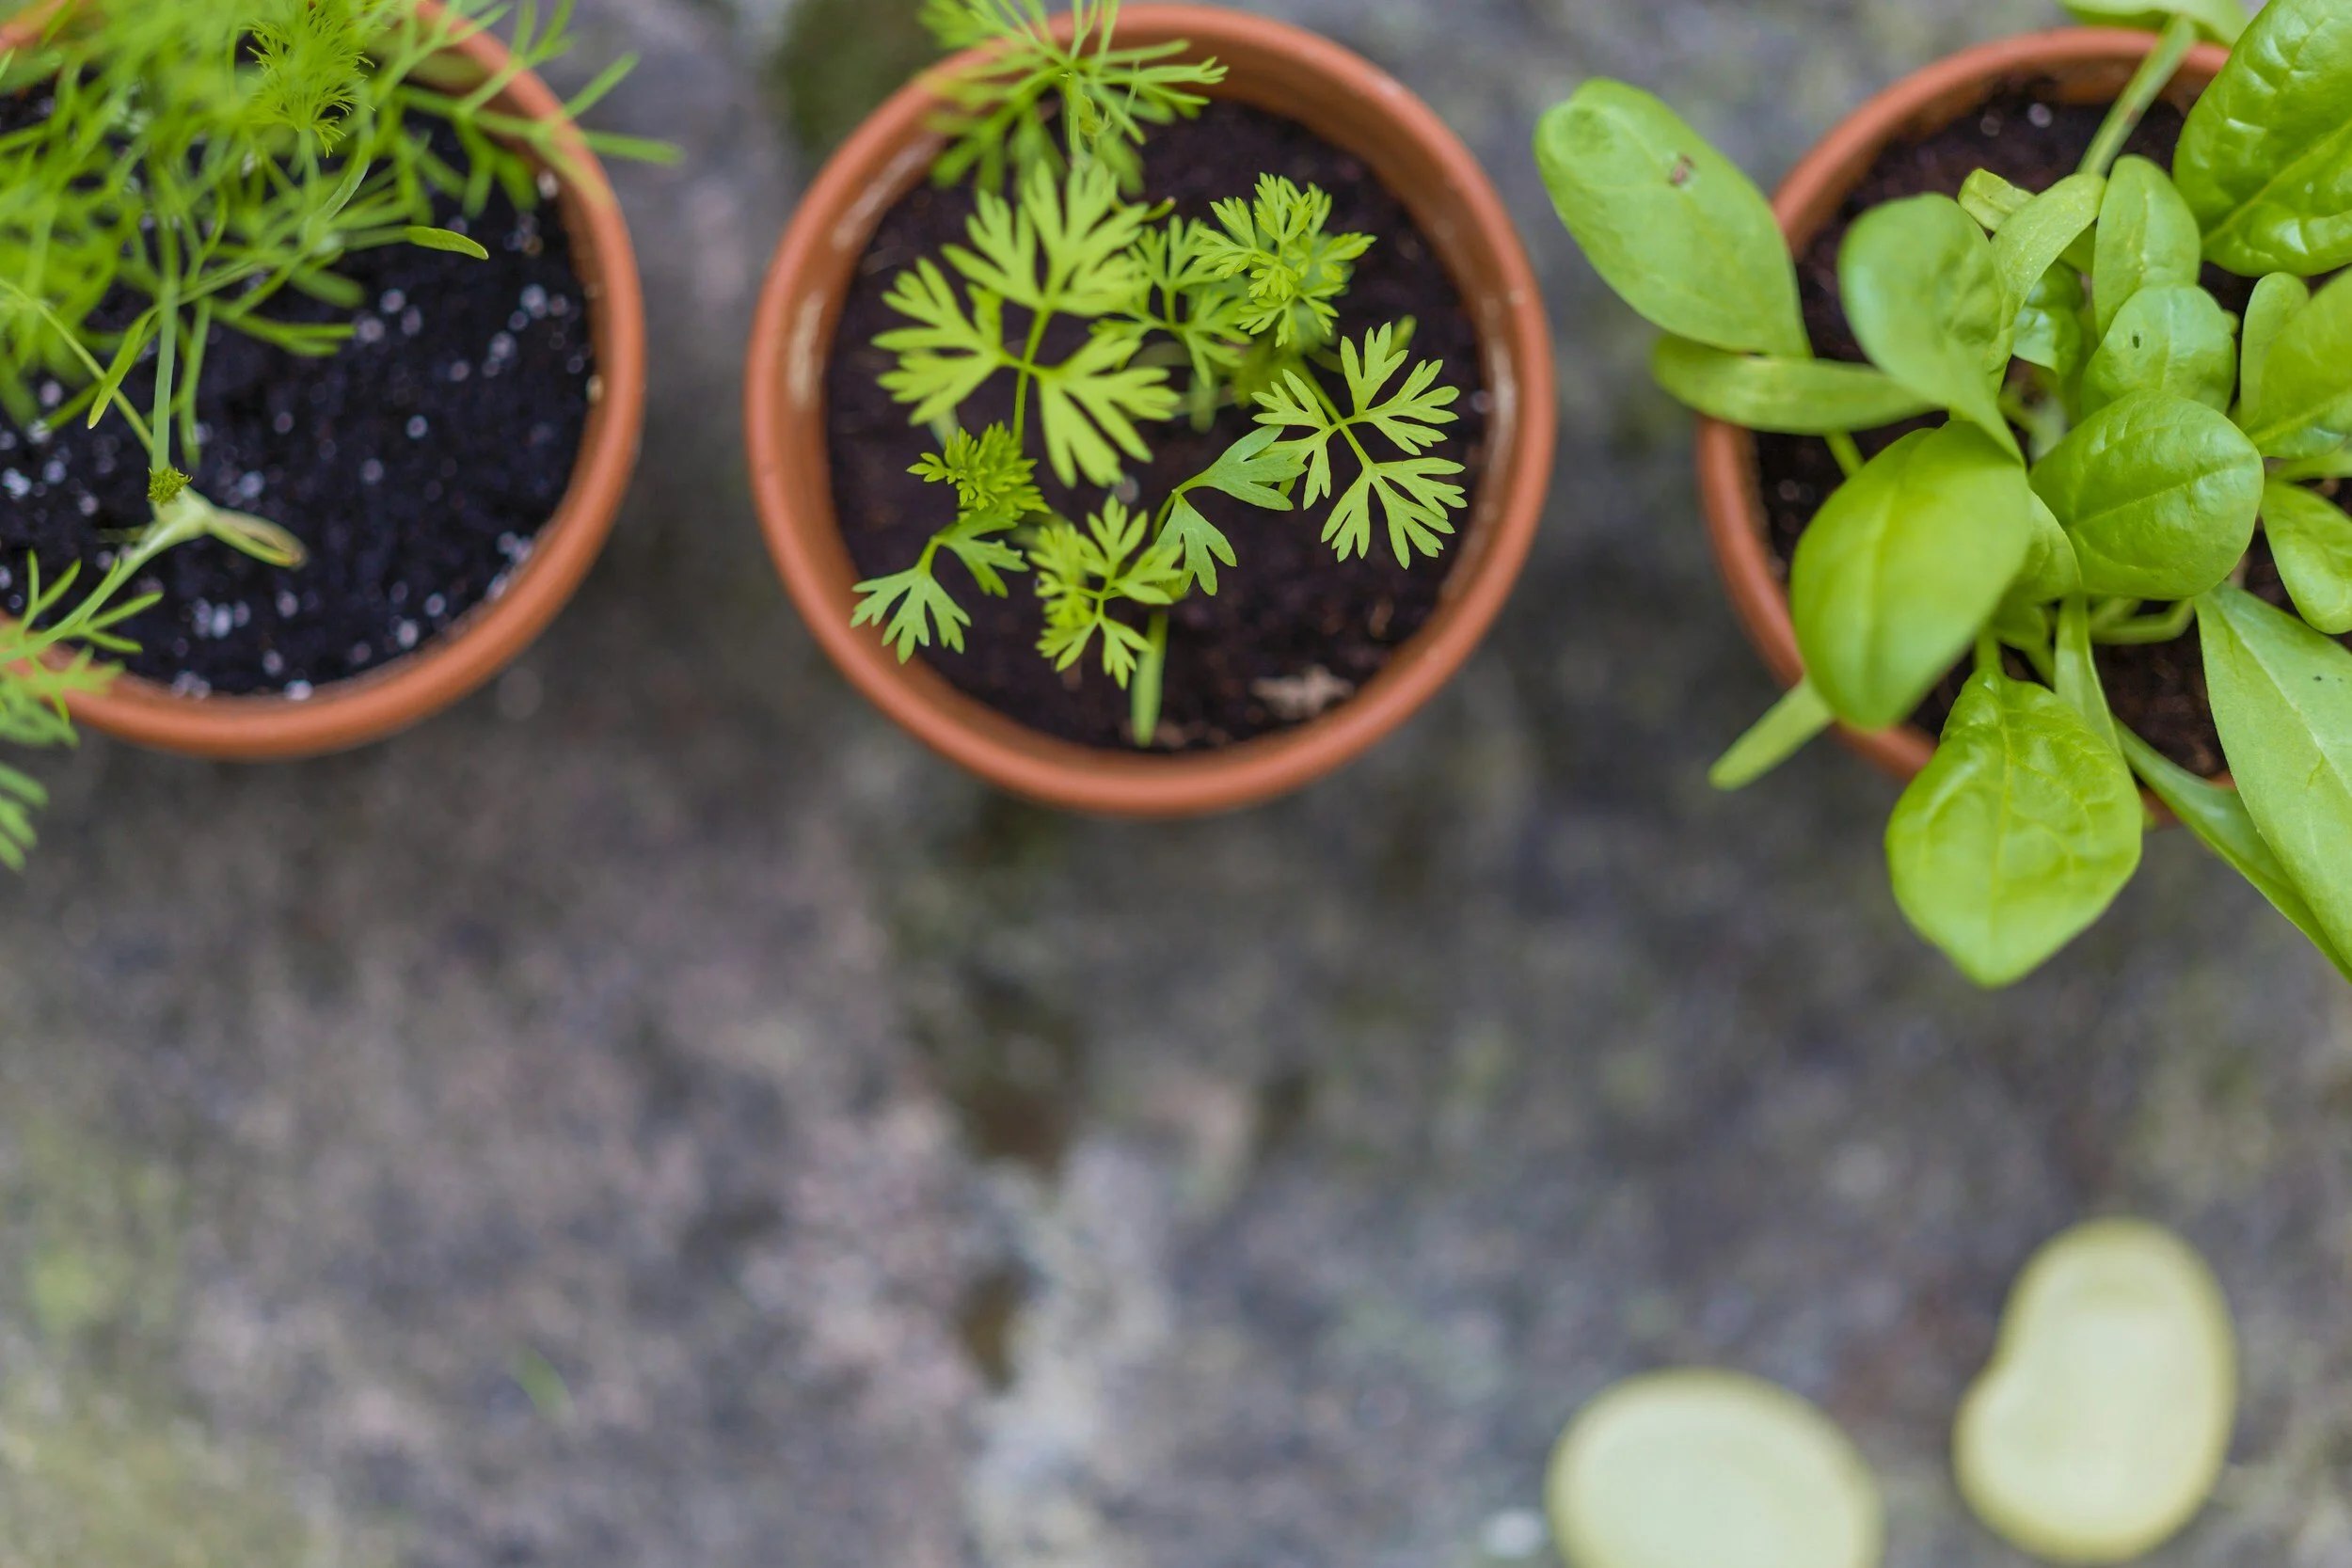
Gabriella Clare Marino @unsplash
How it works:
A container is filled with nutrient solution.
A plant sits in a small net pot suspended above the solution, with part of its roots submerged.
As the water level decreases, the plant’s roots grow downward into the solution while the upper roots access oxygen from the air gap.
It’s quiet, self-contained, and efficient, which makes it ideal for growing greens indoors.
Why it’s great for beginners:
No moving parts – this method of growing doesn’t require complicated equipment
Low cost – it uses materials you may already have at home.
Low maintenance – once you’ve set it up, the system mostly runs itself.
Perfect for greens and herbs – it’s ideal for fast growing plants that don’t require pollination.
Why Grow Winter Greens Indoors?
I think there’s something so satisfying about being able to harvest your own food in the middle of winter. Fresh greens brighten up heavy cold-weather meals and offer a nutritional boost when supermarket produce tends to travel long distances and lose nutrients along the way. And fresh-picked, home grown food just tastes better. Winter greens are every bit as nutritious as their soil-grown counterparts, but you need to be careful about creating the conditions that will keep your plants healthy and thriving. We’ll address that here.
But first, here are some recommendations for what to grow.
Top greens for indoor Kratky hydroponics:
Lettuce: Choose butterhead, romaine, or oakleaf varieties, which all thrive in cooler conditions.
Spinach: It’s compact, quick-growing, and nutrient-dense.
Kale: Baby kale grows beautifully in Kratky systems and can be harvested in stages.
Swiss chard: In a Kratky system it gives you vibrant stems and a mild flavor.
Bok choy: This is one of my favorite Asian greens to grow in a Kratky system. Grown hydroponically, it produces crisp stems and tender leaves.
Tatsoi, Komatsuna, and Chijimisai: These Asian greens are perfect for Kratky hydroponics. They germinate quickly, tolerate lower light conditions, and taste so yummy in stir-fries and soups!
You don’t need a large setup: a sunny, south-facing window will do in some cases, while in other cases you’ll need at least a small shelf with a grow light. Growing indoors also means no weeds, no worries about frost, and fewer pests (I wish I could say NO pests; be aware that pests can find their way into your Kratky setup from your other indoor or outdoor plants).
Materials You’ll Need
Setting up your own Kratky hydroponic system does require some setup costs, but these can be minimal.
Basic supplies:
Container: A Mason jar, clean plastic bucket with lid, or small storage bin with lid. Choose an opaque container to block light and prevent algae. For the bucket or bin, you’ll have to drill a large hole in the lid with a hole saw. The hole should be large enough for your net pot(s) to fit just up to the rim of the basket. A wide-mouth Mason jar can usually fit one 3-inch net pot.
Net pot: 2–3 inches wide to hold your plant. You can grow smaller plants, like arugula, in a 1-inch net pot. One plant per pot is the general rule for your hydroponic plants.
Growing medium: Rockwool, clay pebbles, or coco coir to support roots. Personally, I find that seeds germinate most reliably in rockwool (although it isn’t very environmentally friendly); I have used coco coir in the past, which works fine but has an annoying tendency to spill into the nutrient-filled water. This year I’m switching to clay pebbles for less mess and a cleaner reservoir.
Hydroponic nutrient solution: Look for one formulated for leafy greens (for example, a 3-part hydroponic fertilizer or a ready-mixed powder). I have had great success using General Hydroponics Flora Series, a 3-part fertilizer with clear instructions for use.
Seeds or seedlings: Some say that you should pick varieties suited for low-light conditions, but honestly, I just use the same seeds I would use to grow in soil.
Also helpful:
pH meter: The pH is a measure of the solution’s acidity or alkalinity. The range can vary from 5.5–7.0 for most greens, so investing in one of these is a must if you want to grow greens over a long period of time, or a wide variety of greens.
TDS or EC meter: This device helps monitor nutrient strength: TDS (total dissolved solids) and EC (electrical conductivity) is a measure of the concentration of dissolved salts or nutrients in the nutrient solution used to grow a plant (a higher number for TDS or EC means there is a higher concentration of nutrients in the water).
Grow light: Use if your space doesn’t get at least 12–14 hours of bright light daily. Honestly, most people are going to need a grow light. These days it’s possible to purchase a full-spectrum LED light cheaply online.
Black plastic wrap or foil: To cover clear containers and prevent algae. Alternatively, you can paint or spray paint the outside of the container with black paint. You may have to lightly sand the plastic beforehand with 320 grit or higher sandpaper. Use a primer for best results, and be sure to only paint the outside of the container.
Pro Tip: Want to take the guesswork out of balancing your water chemistry? Download my free cheat sheet, Ideal pH & EC Ranges for Hydroponic Plants, from our Free Resources Library for quick reference while you set up your Kratky system.
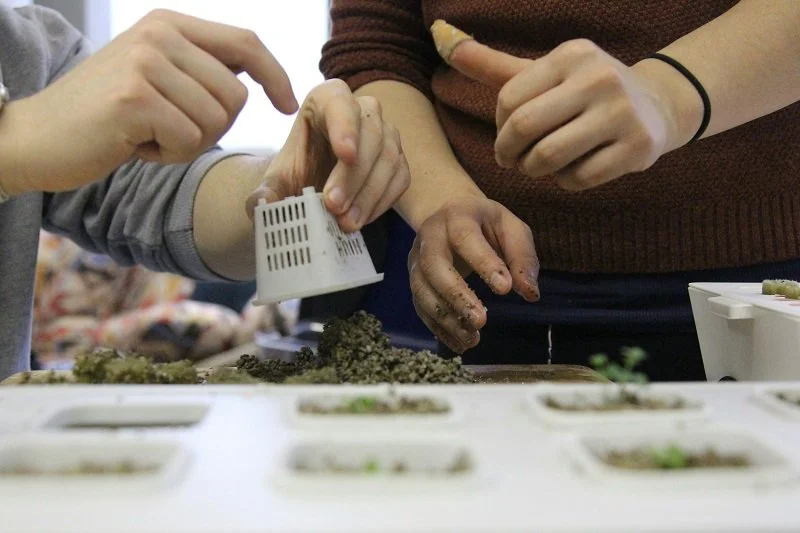
laura s@unsplash
Step-by-Step: Setting Up Your Indoor Kratky System
1. Prepare your container
Clean it thoroughly to remove residue. Fill with your nutrient solution, leaving air space between the net pot and the liquid surface: this air gap provides oxygen to the roots. If your seedling doesn’t yet have roots that can descend from the bottom of the pot, it’s ok to let the water come just over the bottom of the pot until the roots grow beyond the pot.
2. Insert the net pot
Place your growing medium and seedling into the net pot, making sure the bottom just touches the nutrient solution. Although you can also insert a seed into the pot, I recommend sprouting your seeds elsewhere then transferring them to the pot so you can monitor them a bit better.
3. Place in a bright location
Set your container near a south-facing window or (better yet) under a full-spectrum grow light. Greens thrive on 12–14 hours of daily light.
4. Monitor growth
As plants grow, the water level will drop. Don’t refill immediately. Allow an air gap to form—this encourages root oxygenation.
5. Harvest and replant
Most greens are ready to harvest in 3–5 weeks. After harvesting, clean your container with mild soap and water before starting a new batch.
Tips for Success (and Common Mistakes to Avoid)
√ Keep algae under control
Light is the enemy of hydroponic cleanliness. Use opaque containers or wrap clear jars in black plastic. You can also add food-grade hydrogen peroxide to the water. This helps keep the solution oxygenated and algae-free without harming your plants. Here’s a guide to how much you should add.
√ Maintain proper pH
Check weekly. The ideal range of pH for greens can vary from 5.5–7.0. If pH drifts outside of the ideal range, plants can have a hard time absorbing nutrients. Download our handy guide to ideal pH and EC ranges to ensure that your plants remain healthy and happy.
√ Choose the right crops
Stick with fast-growing, shallow-rooted plants. Leafy greens are perfect. Fruiting plants like tomatoes or peppers need aeration and aren’t ideal for Kratky hydroponics.
√ Use clean, filtered water
Tap water often contains chlorine or chloramine. Let water sit overnight to allow chlorine to dissipate, or use filtered water for best results.
√ Keep temperatures consistent
Indoor Kratky systems do best between 65–75°F. Avoid cold windowsills or heat vents that can stress your plants.
❌ Don’t overfill your container
Leaving too little air space can lead to root rot. Keep an eye on the water level, but resist topping up unless roots are drying out.
❌ Avoid direct, intense sunlight
Although greens love light, too much heat or direct sunlight can cause nutrient evaporation and algae growth. Filtered sunlight or grow lights work best.
Harvesting and Regrowth
Once your greens have reached the desired size, which usually happens around 30–45 days after germination, you can snip the outer leaves and let the inner ones keep growing. This “cut-and-come-again” method gives you multiple harvests from a single planting.
If you’re growing quick crops like lettuce or tatsoi, you can start a new round every few weeks for a continuous supply. After harvesting, rinse your container, clean the net pots, and refresh the nutrient solution before replanting.
Prolonged use of the same solution can lead to nutrient imbalance, so always start fresh for each new crop cycle.

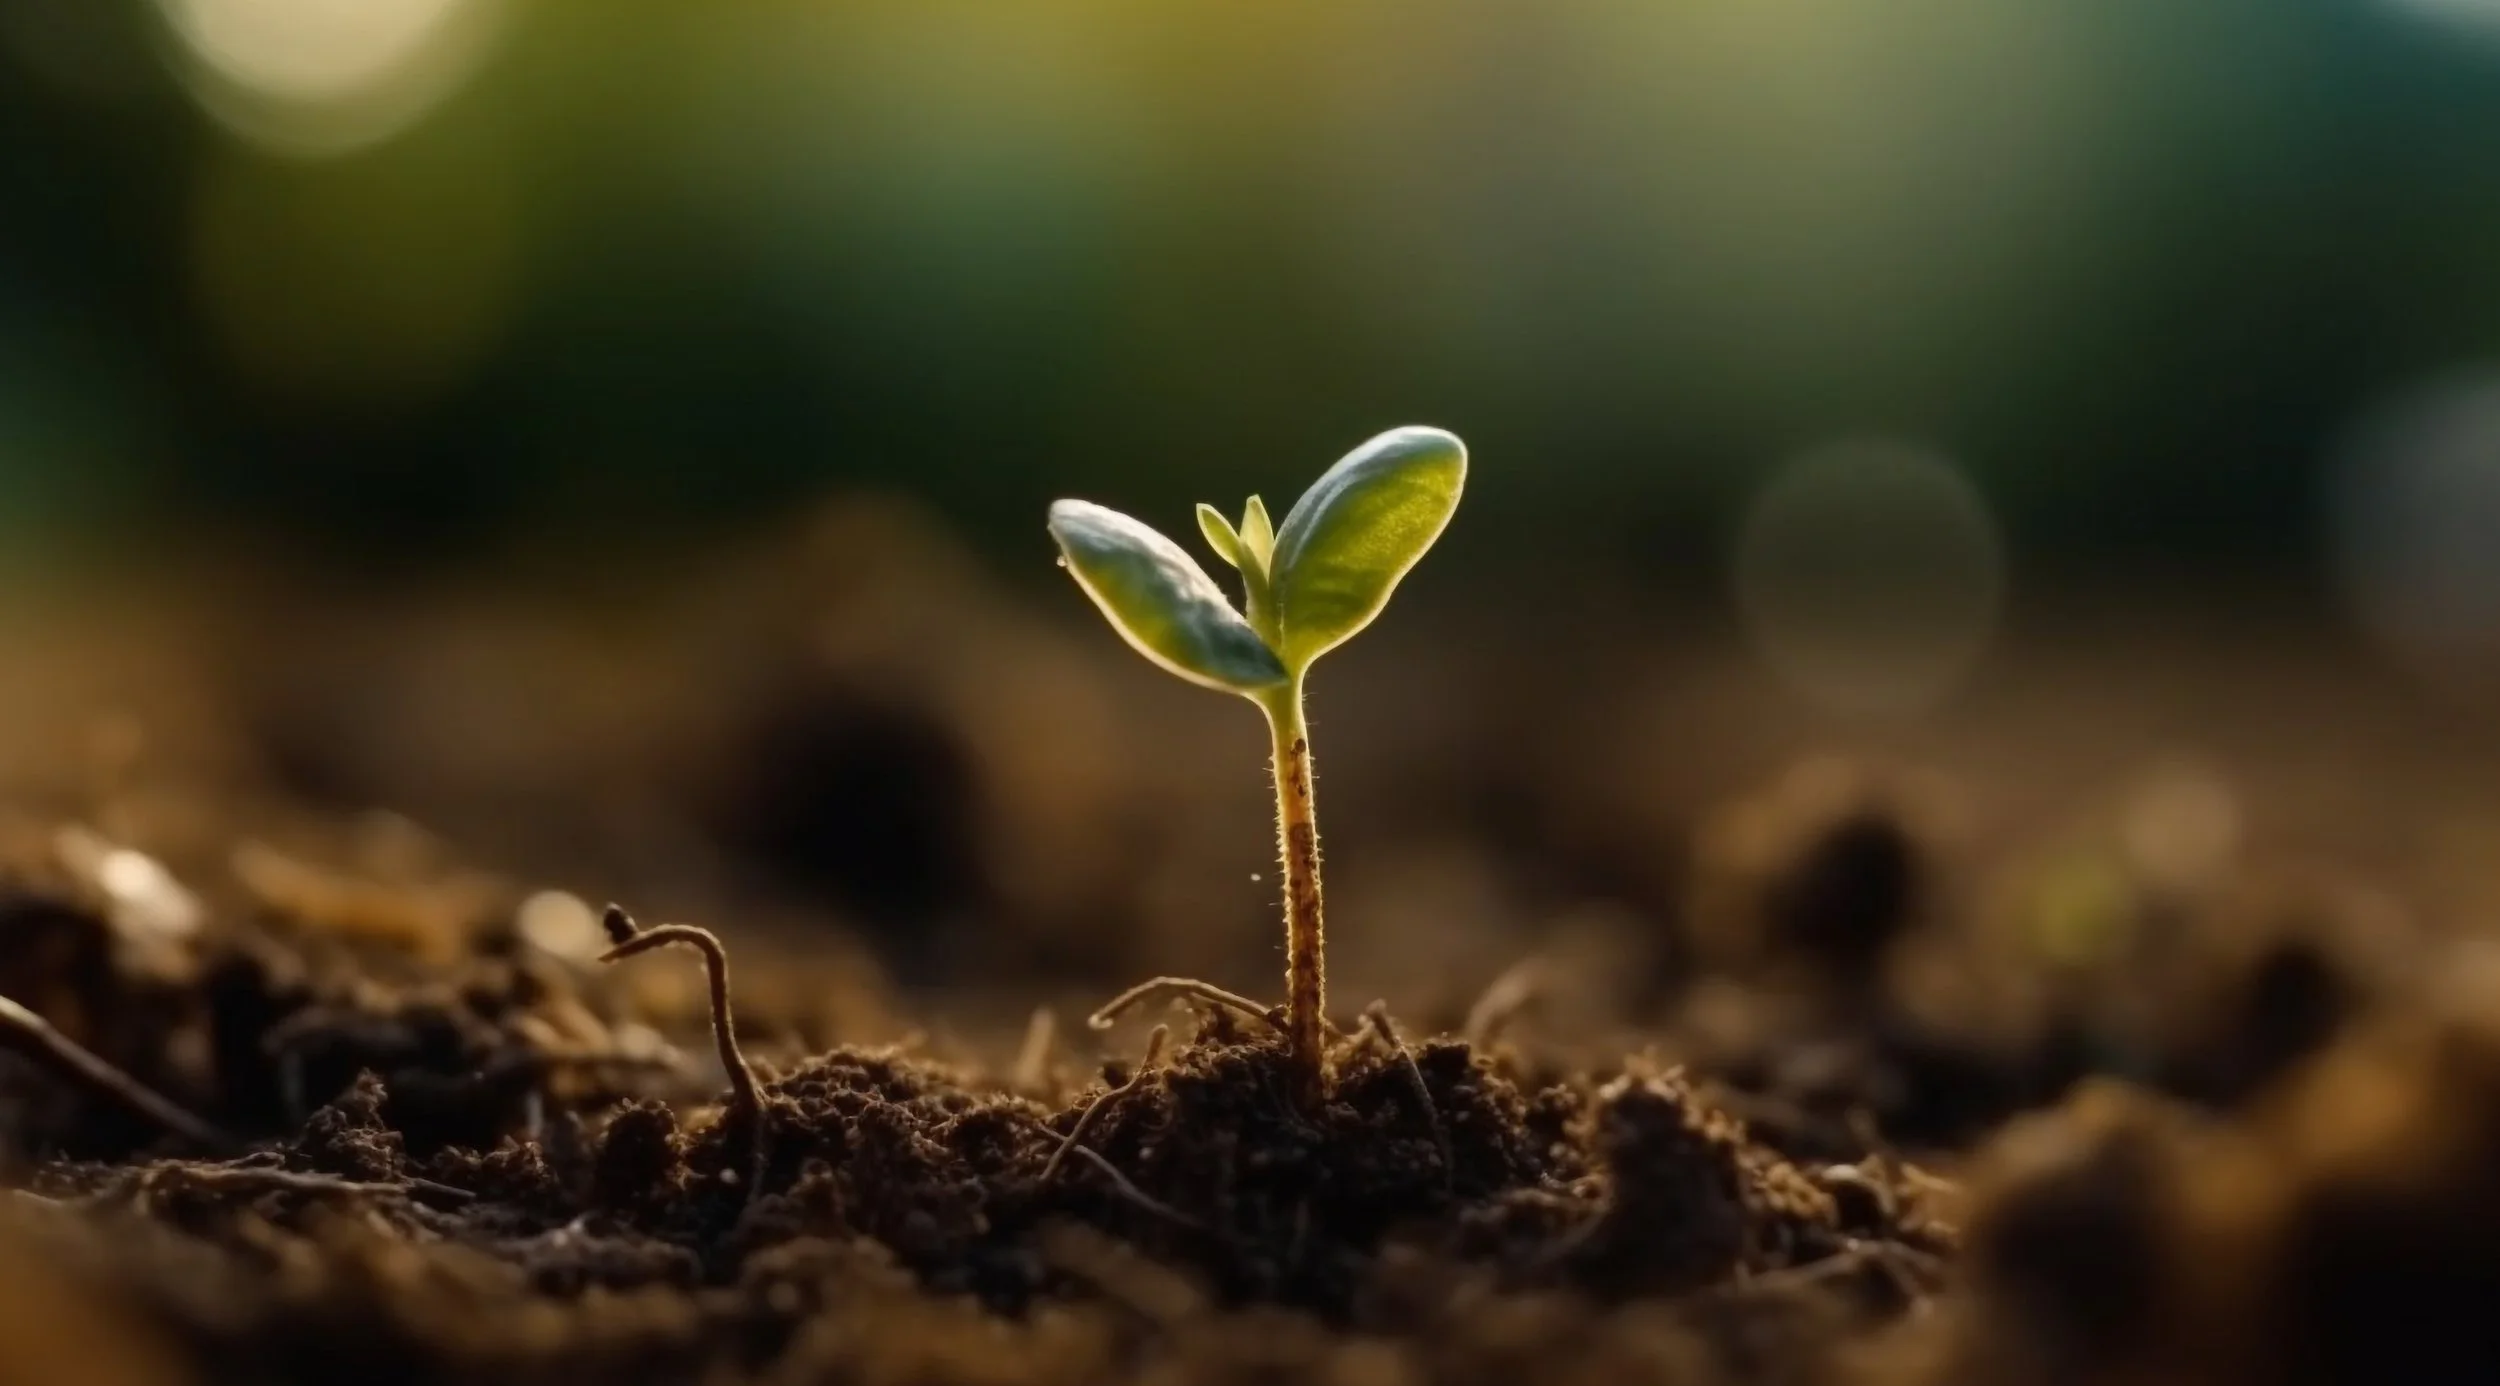
Mor Shani @unsplash
The Eco-Friendly Edge of Kratky Hydroponics
For sustainability-minded gardeners, Kratky hydroponics checks a lot of boxes:
Water efficiency: the Kratky method uses up to 90% less water than soil gardening.
No runoff or soil erosion: Nutrients stay contained in the system.
Less waste: No plastic packaging from store-bought greens.
Year-round self-sufficiency: Fresh produce even when local farms are dormant.
It’s also a fantastic learning tool for kids and families and can serve as a great tool for learning patience, observation, and the basics of plant biology. A few jars of lettuce in your kitchen window can spark your kids’ curiosity about food systems and sustainability all year long.
Troubleshooting Common Issues

Most issues resolve quickly once you adjust light, pH, or water level. The Kratky method is forgiving, making it an ideal gateway into hydroponics.

Bringing the Garden Indoors
There’s nothing quite like snipping a handful of fresh lettuce or spinach from your countertop in mid-winter. When you use the Kratky method of hydroponics, you can turn any bright corner into a mini-garden without pumps, soil, or noise.
Start small: just try growing one or two jars of your favorite greens. Once you see how easy it is, you’ll want to expand into a full shelf of bok choy, kale, and Asian greens ready to harvest every few weeks.
If you’d like more help fine-tuning your setup, download my free Ideal pH & EC Ranges for Hydroponic Plants cheat sheet to keep your Kratky system thriving. And if you love learning simple, sustainable ways to grow food, subscribe to my Gardening Tip of the Week newsletter for fresh ideas every Friday.
You may also be interested in…


When the garden goes quiet for the winter, many gardeners miss the color, crunch, and satisfaction of fresh greens. I used to feel that way, too, and so I started winter gardening about 10 years ago. But after years of growing a garden in the winter, being outside in the freezing weather trying to take care of plants became one more unpleasant chore. So last winter I switched to indoor gardening with Kratky hydroponics. It was a lot easier than I thought, and I was able to keep my family supplied in fresh greens all winter long.