


How to Save Seeds from Your Garden for Next Year
/Since I began growing all of my edible crops from seed, learning how to save seeds for next year has become more important than before. It’s one of the easiest ways to make your vegetable garden more self-sufficient, and if you keep records of your garden’s performance each year, it also enables you to learn more about how plants may behave differently when grown from seed, especially if you’re saving seeds from fruit or vegetables you’ve bought from a store or farmer’s market.
Instead of buying a completely new supply of seeds every spring, you can collect seeds from some of your healthiest and most productive plants and use them to grow next year's garden. If you’re growing an edible garden, saving seeds helps you save money on supplies, especially if you want to plant a large variety of crops.
Seed saving can also help you preserve varieties you particularly enjoy. Over time, plants grown from saved seed may even become better suited to the conditions in your garden. Be warned, though, some hybrid varieties can unexpectedly revert to one of its original parents if they are open pollinated. I found out the hard way this year while trying to grow honeynut squash: some of my seedlings grew into butternut squash — a plant I have never grown, until now! So while not every vegetable is equally easy or predictable to grow from seeds, you don’t need special equipment or a large garden to save seeds.
Late summer and early fall are excellent times to try saving seeds. As plants begin completing their life cycles, you can collect, dry, label, and store seeds that might otherwise end up in the compost pile.
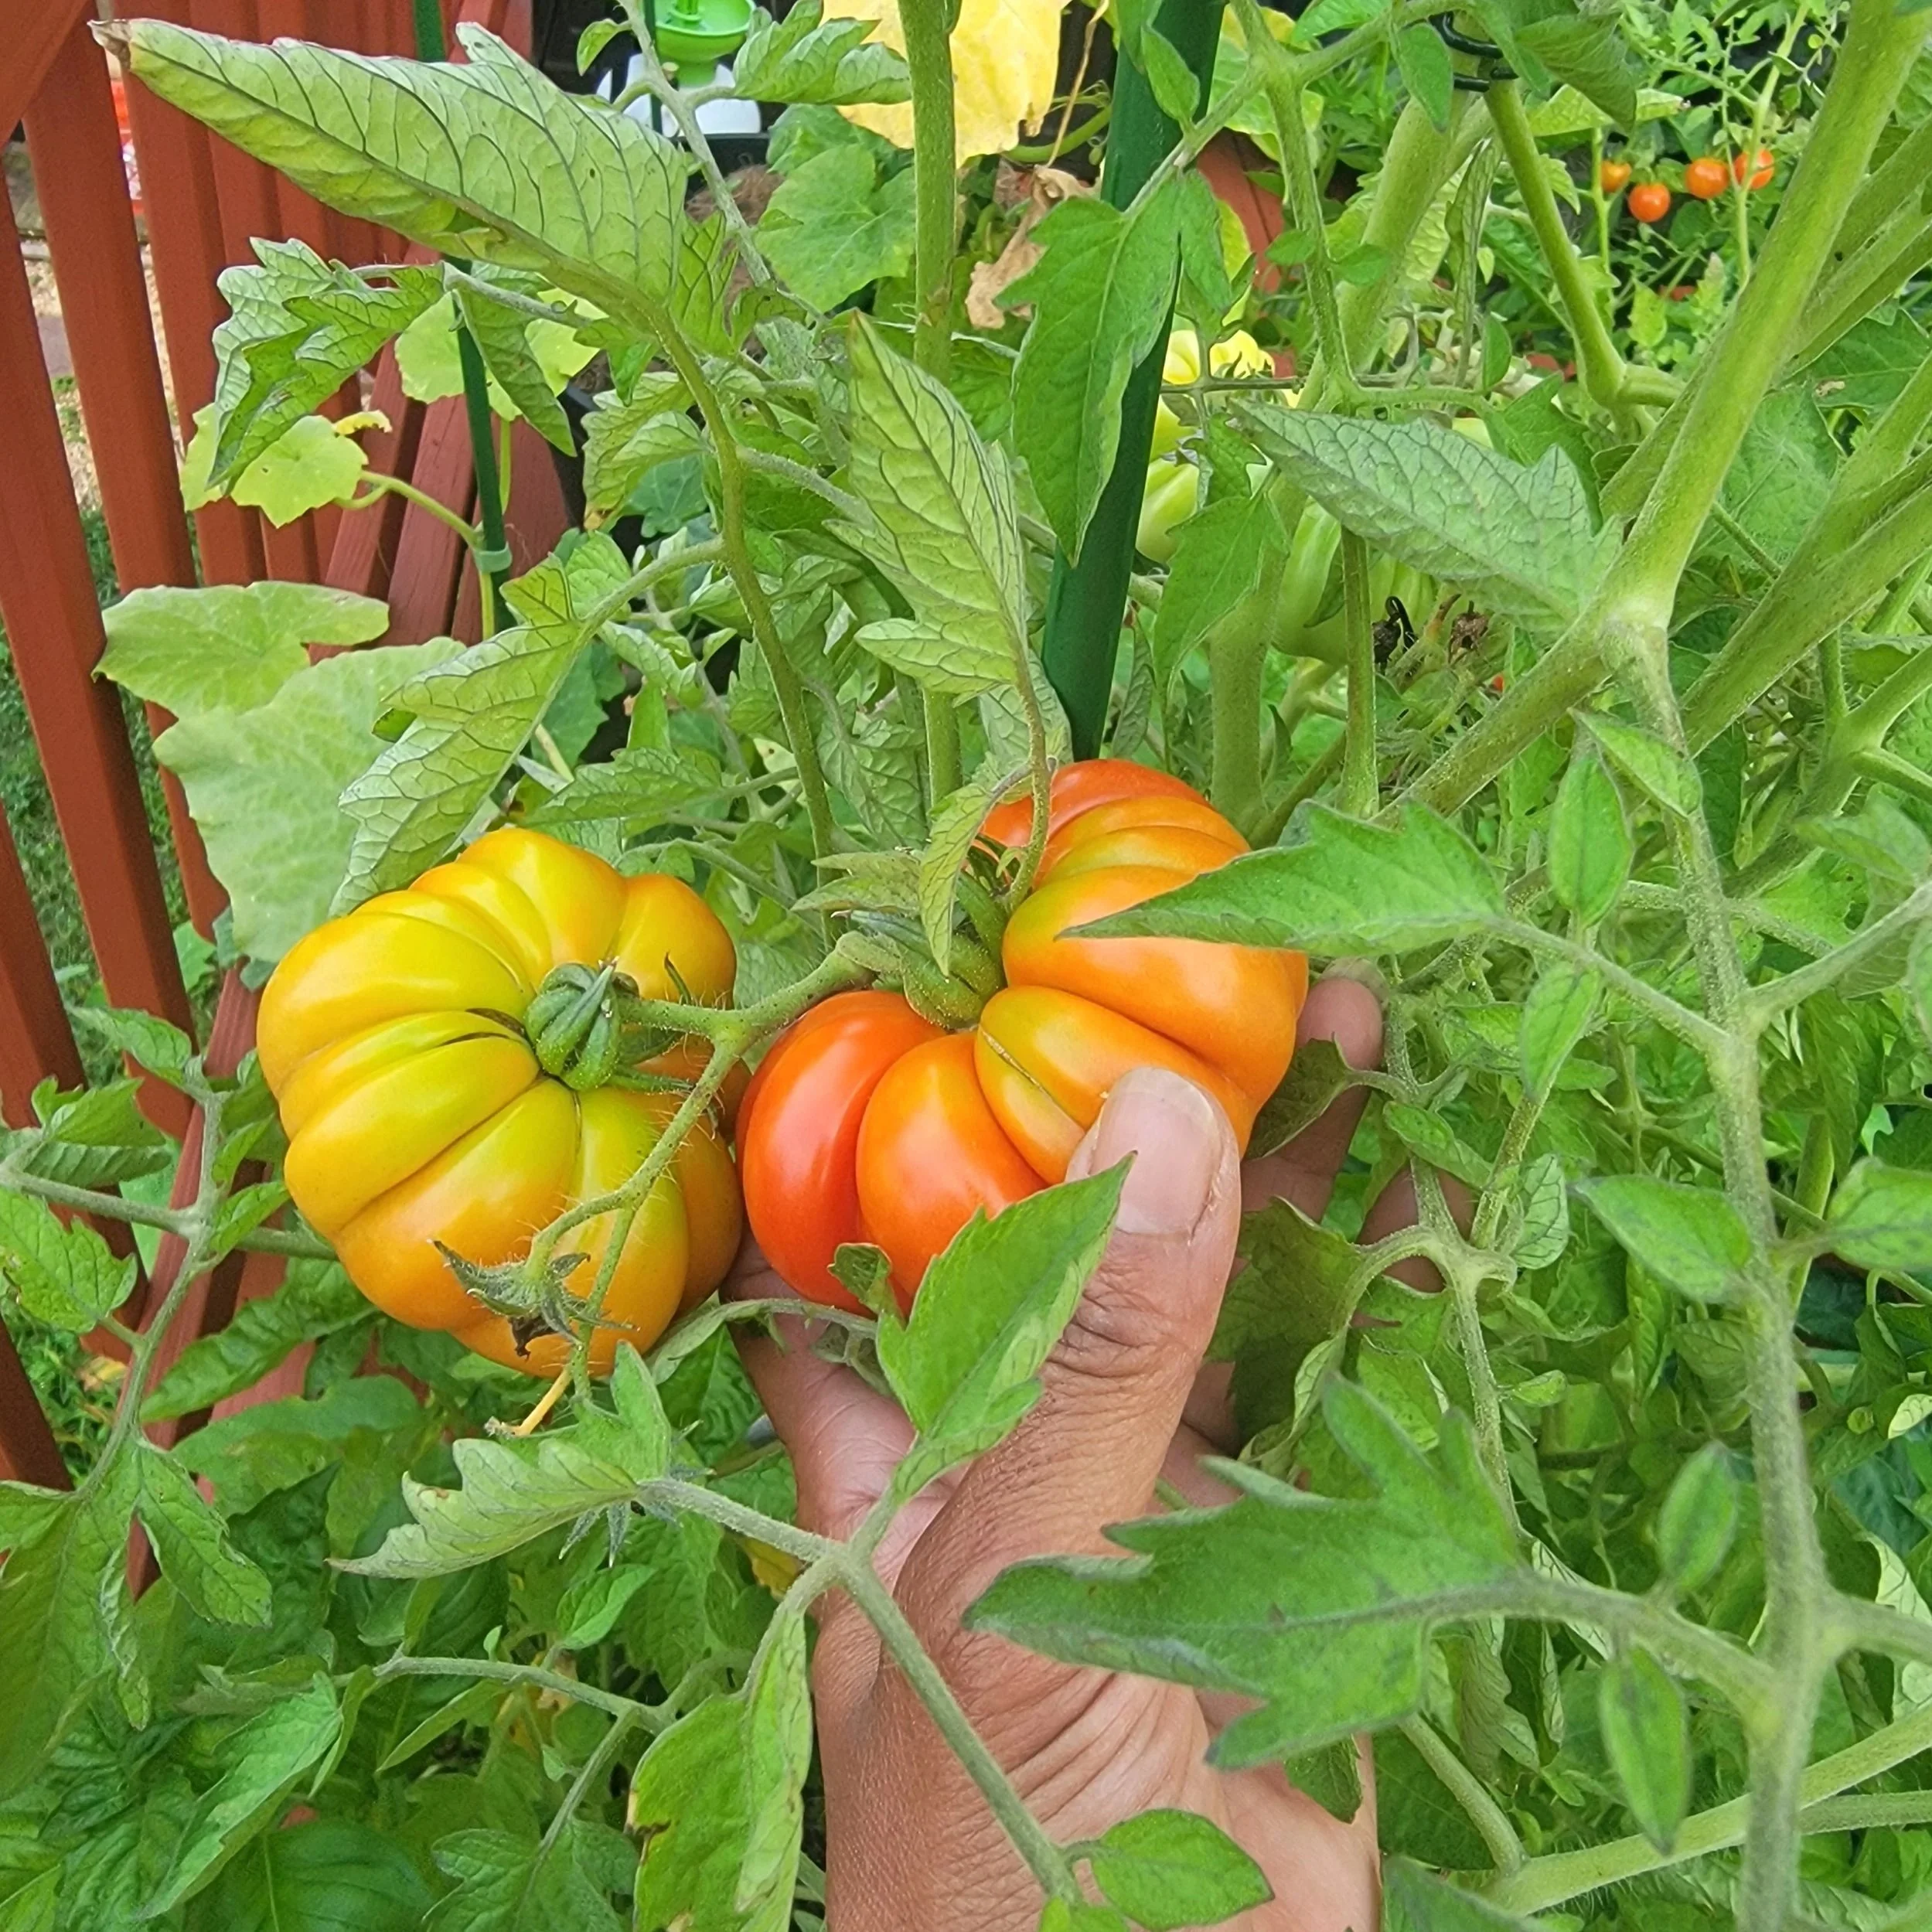
photo by Green and prosperous
Start with the Right Plants
Before collecting seeds, find out what kind of plants you are growing. Seeds from open-pollinated and heirloom varieties are generally the best choices for seed saving.
Open-pollinated plants produce seeds that can grow into plants with characteristics similar to the parent plants, provided they have not cross-pollinated with another compatible variety. Heirlooms are open-pollinated varieties that have been preserved and passed down over many years.
Hybrid plants are different. A hybrid, often identified as "F1" on a seed packet or plant label, is produced by crossing two parent varieties. You can save seeds from a hybrid plant, but I found out, the next generation may not resemble the plant you grew this year. For predictable results, concentrate on open-pollinated varieties.
Begin with Easy Seeds
Some garden plants are much easier for beginning seed savers than others.
Beans and peas are among the simplest because they usually self-pollinate and produce large seeds that are easy to collect and dry. Lettuce is another good option, although you need to let the plant bolt and flower before collecting its seeds.
Tomatoes are also largely self-pollinating and make good candidates for seed saving; however, their seeds benefit from an additional fermentation step before storage.
Peppers can be saved too, but different varieties may cross-pollinate. If you are growing several types close together, the resulting plants may not have the exact characteristics you are expecting.
Cucumbers, squash, pumpkins, melons, and members of the cabbage family can be more challenging because varieties of the same species readily cross-pollinate. Saving seeds from these crops reliably may require isolation distances or controlled pollination.
For your first attempt, beans, peas, lettuce, or tomatoes are good places to start.
Choose Your Best Plants
Seed saving is a form of selection. The plants you choose this year can influence the characteristics of the plants you grow in the future.
Instead of simply collecting whatever seeds happen to be available at the end of the season, identify healthy plants that performed particularly well. Look for qualities like strong growth, disease resistance, productivity, flavor, or tolerance of your local growing conditions. If you provided the right soil conditions for your plants, you should have many healthy plants to choose from.
Whenever possible, collect seeds from several healthy plants of the same variety rather than relying on a single plant. This helps maintain genetic diversity in your seed supply.
Avoid saving seed from plants that were unusually weak, diseased, stunted or severely affected by pests.
Let Seeds Mature Fully
Vegetables harvested for eating are not always at the right stage for seed collection. Seeds need to reach full maturity before they are saved if you want healthy plants that produce to their full potential.
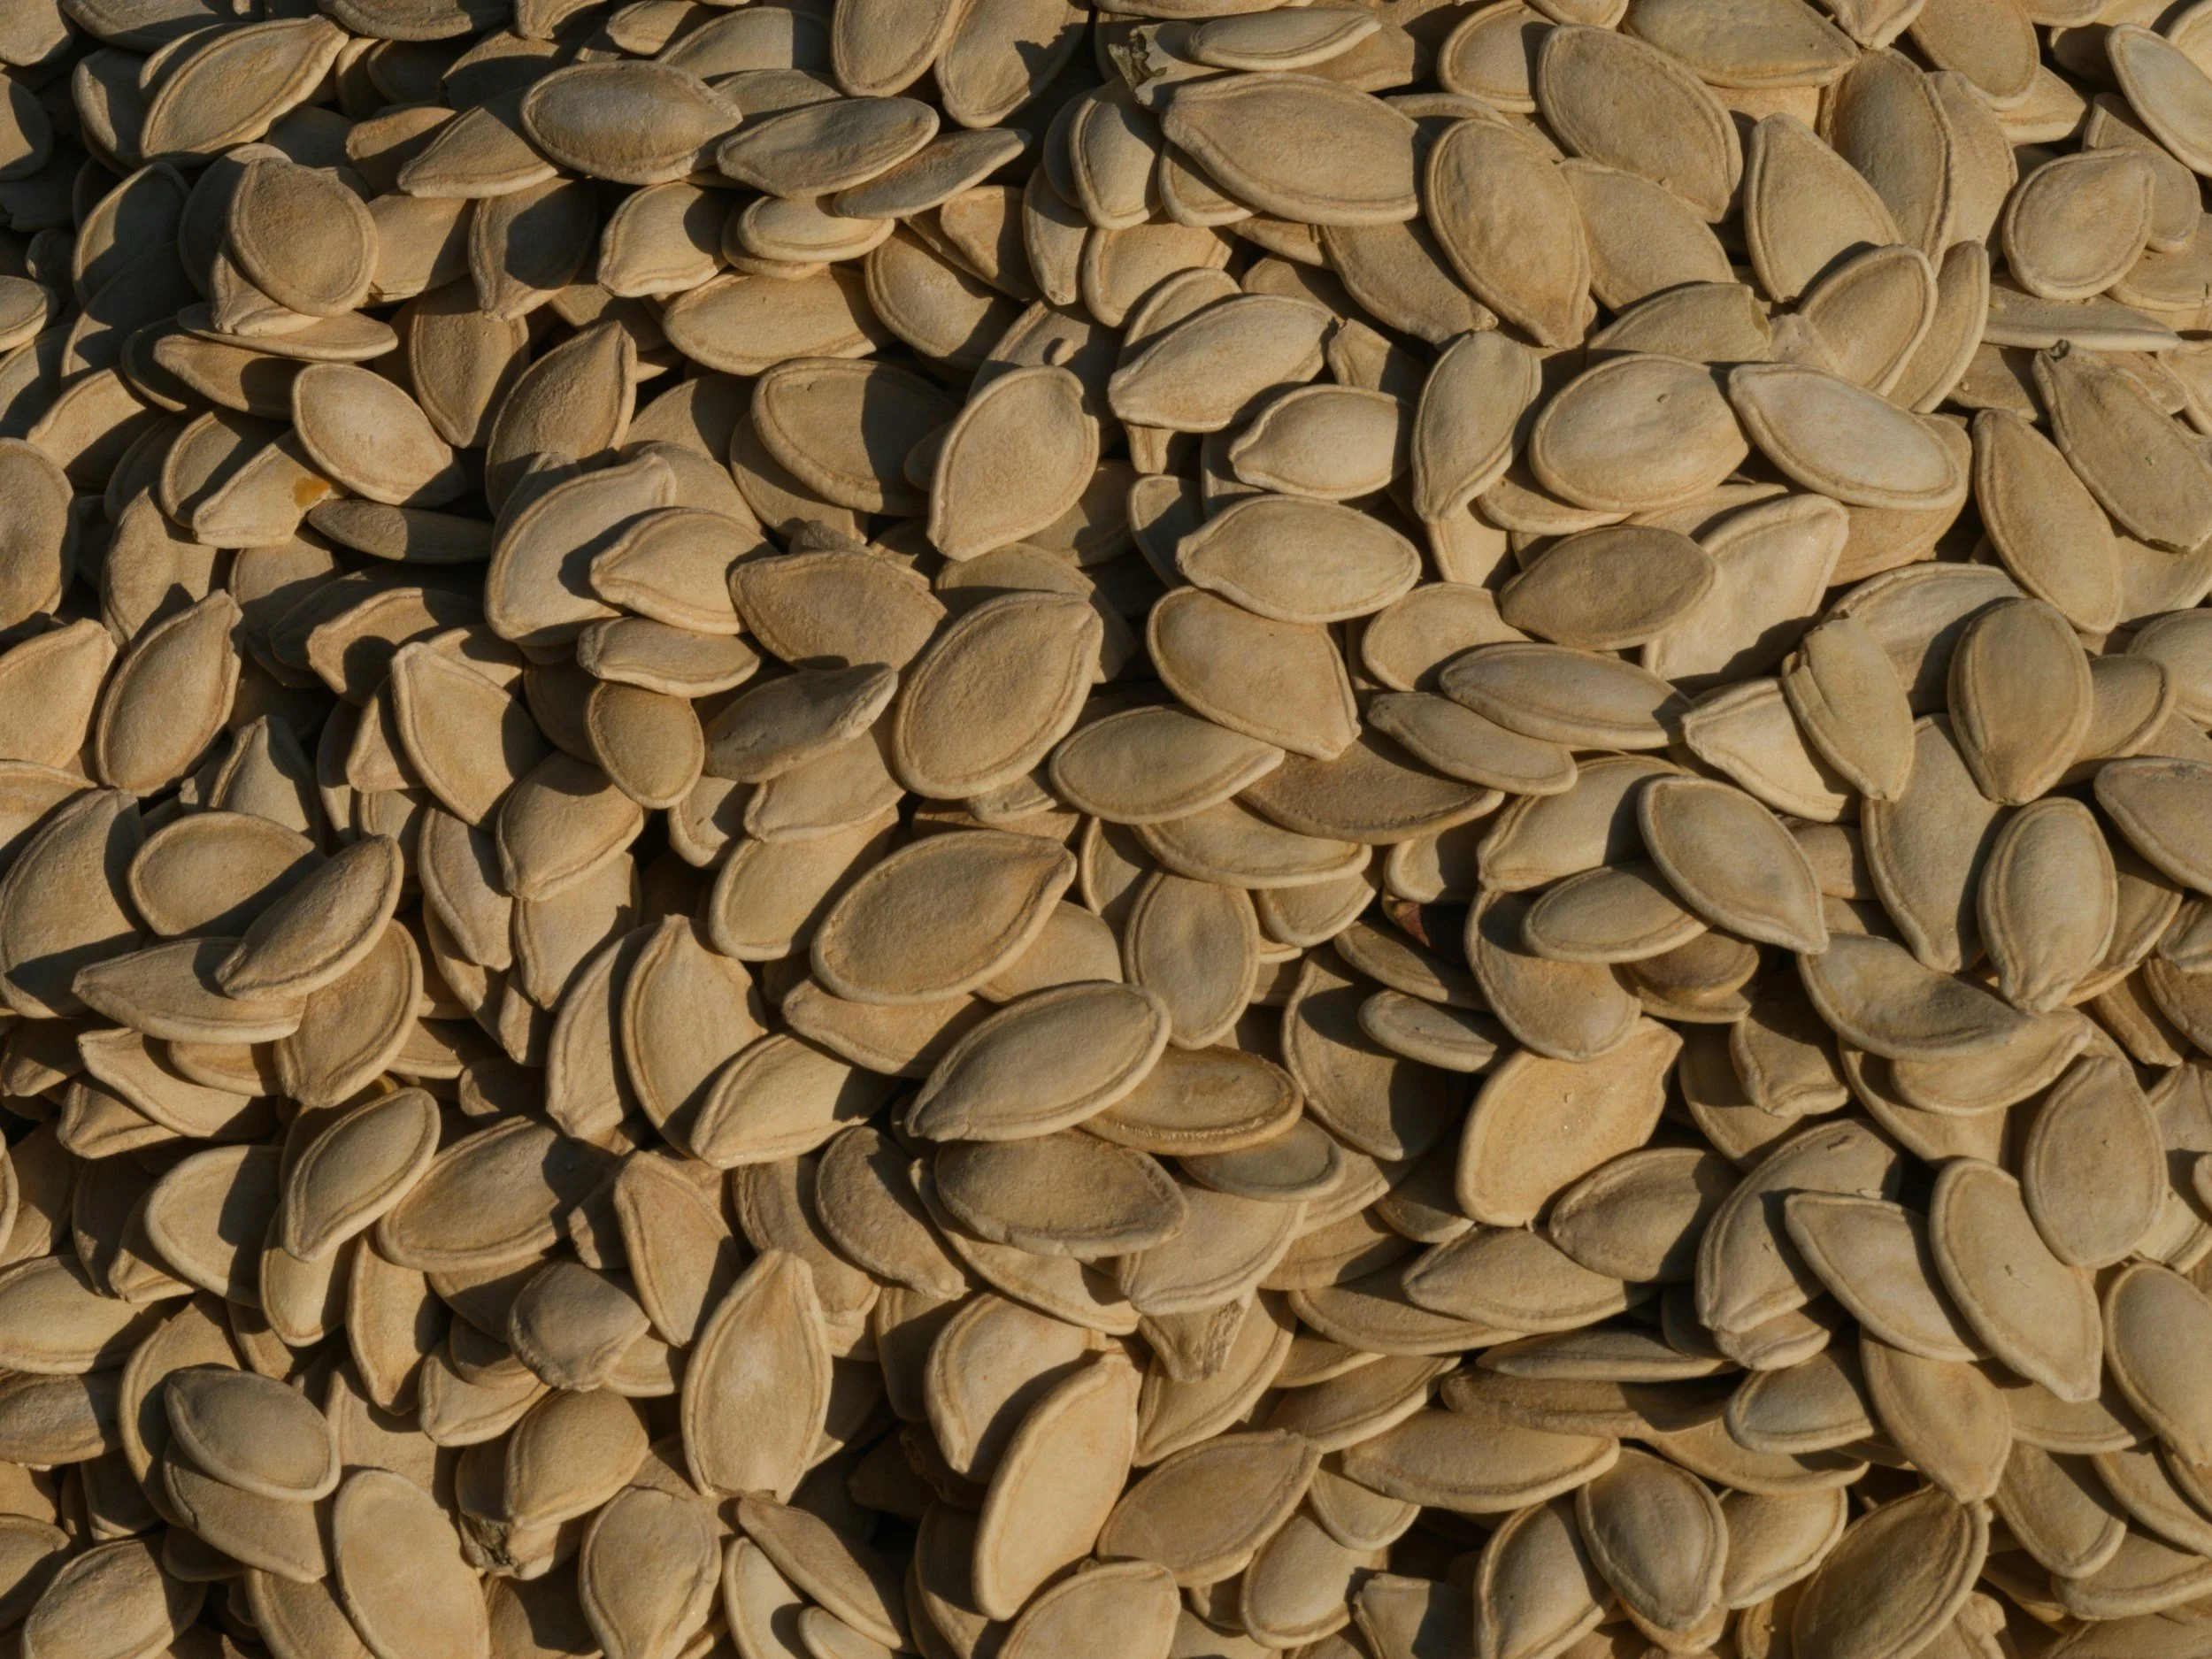
For "dry-seeded" crops like beans and peas, this usually means leaving pods on the plant well beyond the stage when you would normally harvest them for food. Allow the pods to become brown, dry, and brittle before collecting them.
engin akyurt @unsplash
Lettuce seeds are ready after the plant has bolted, flowered, and begun producing fluffy seed heads.
For "wet-seeded" crops, such as tomatoes, cucumbers, pumpkins and squash, seeds are collected from mature fruits. In some cases, the fruit needs to remain on the plant longer than it would for normal eating. A cucumber grown for seed, for example, might grow large and turn yellowish instead of remaining crisp and green.
How to Save Tomato Seeds
Tomato seeds have a gelatinous coating that can inhibit germination, so they should usually be fermented before being dried and stored. Of course, many of us have seen volunteer tomatoes pop up in unexpected places when squirrels pilfer some of your crops and drop half-eaten fruit or seeds on the ground, so fermentation isn’t always necessary to grow tomatoes from saved seeds.
If you do choose to ferment tomato seeds before saving (which is still generally a safer bet for reliable germination), choose a fully ripe tomato from a healthy plant. Cut it open and squeeze the seeds and surrounding pulp into a small jar or container. Add a small amount of water and leave the mixture at room temperature for about two or three days.
The mixture may develop a film or an unpleasant smell. That’s normal. Add water, stir, and allow the viable seeds to settle toward the bottom. Pour away the floating pulp and debris, then rinse the remaining seeds thoroughly.
Spread the clean seeds on a nonstick surface like a coffee filter, paper plate, or screen and allow them to dry completely before storing them.
Dry Seeds Thoroughly
Moisture is one of the biggest enemies of stored seeds. Seeds that are put into storage while still damp can develop mold or rot.
After collecting and cleaning your seeds, spread them in a single layer in a dry, well-ventilated location away from direct sunlight. Depending on the seed and humidity level, drying may take several days or longer.
Beans and peas can often be left in their pods until the pods are completely dry, then shelled and dried further before storage.
Don’t rush this stage. There are few things more disappointing than finding that a batch of seeds you saved won’t germinate when you plant them. A few additional days of drying are preferable to losing an entire batch of seeds to moisture.
Label Everything
It is surprisingly easy to forget what you collected after several months have passed.
Label each batch with at least the plant variety and year collected. You may also want to record the location in your garden or characteristics that made you select that particular plant.
For example:
Cherokee Purple Tomato — Saved August 2026 — Healthy plant, excellent flavor
Keeping good records becomes even more valuable when seed saving becomes part of your gardening routine.
Store Seeds in a Cool, Dry Place
Once seeds are completely dry, place them in paper envelopes, small seed packets, or airtight containers. If you use an airtight container, make certain the seeds are thoroughly dry first.
Store your seeds somewhere cool, dark, and dry. A refrigerator can work well for longer-term storage if seeds are protected from moisture in a sealed container.
Avoid locations like sheds or garages, where temperatures and humidity can fluctuate dramatically.
Seed longevity varies considerably by crop. Some seeds (like lettuce) remain viable for several years under good storage conditions, while others (like beans) lose viability more quickly. Dating every packet helps you keep track of what should be planted first.
Test Older Seeds Before Planting
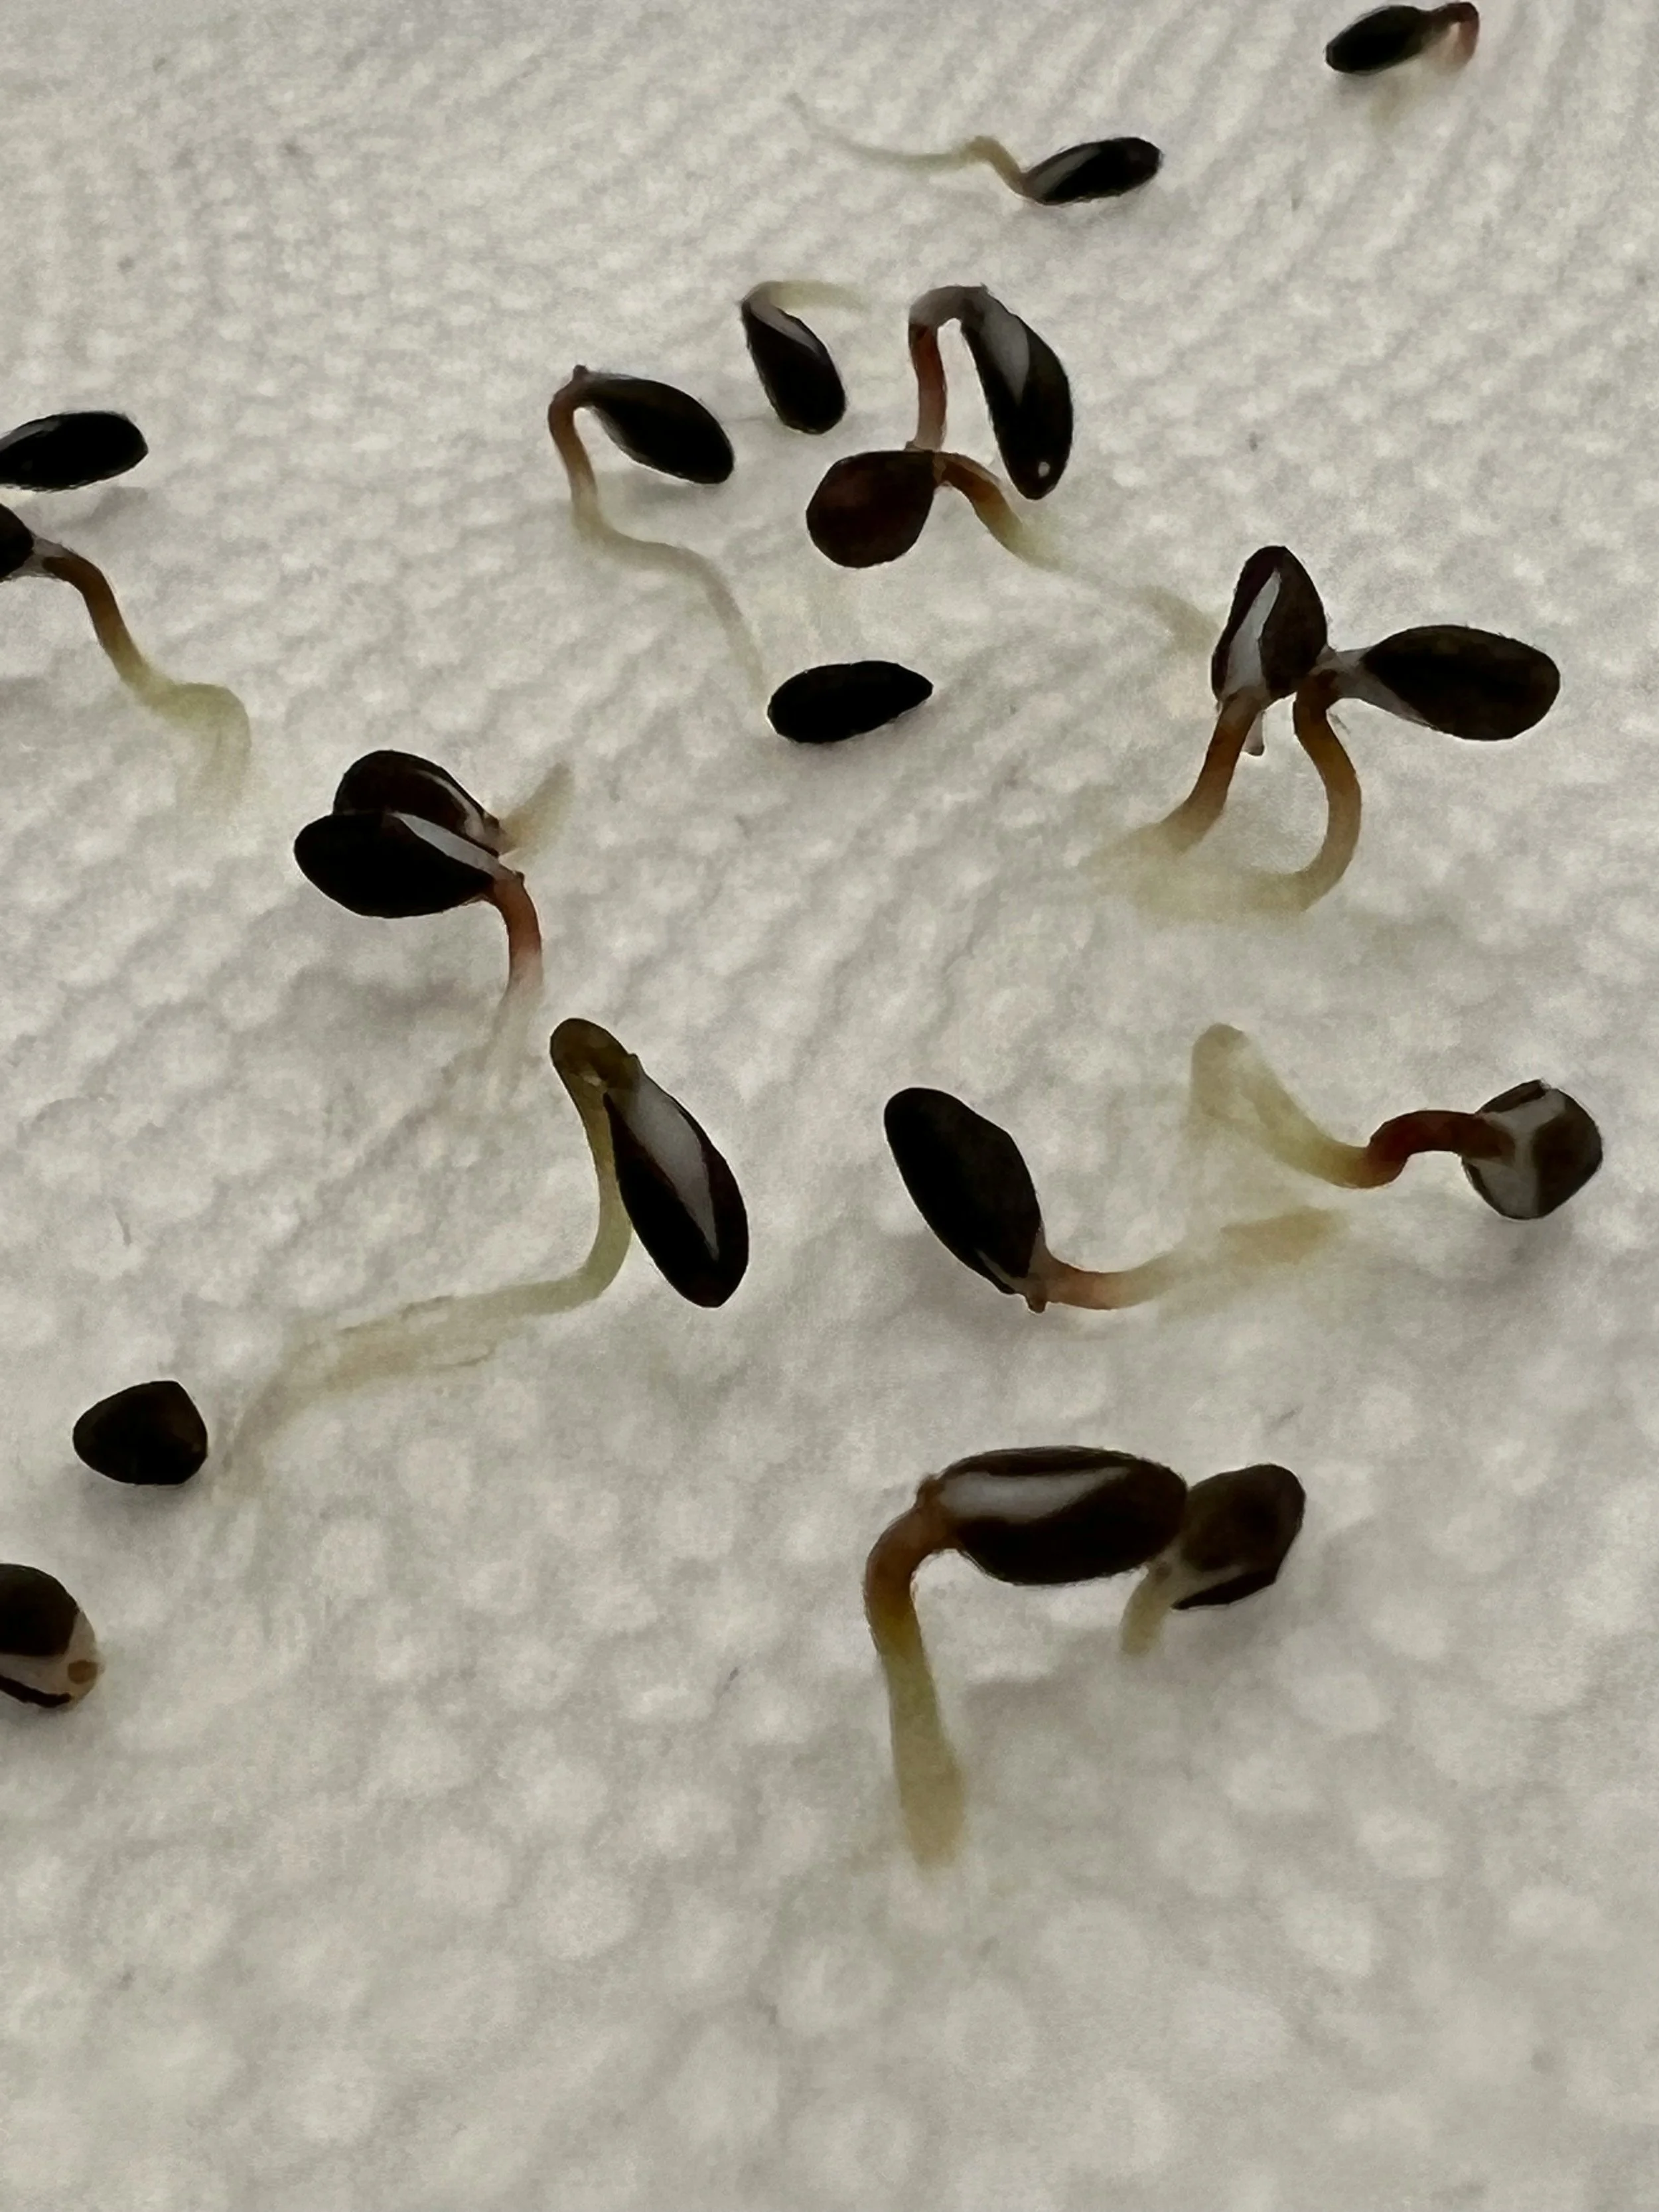
If you are unsure whether stored seeds are still viable, perform a simple germination test before planting season.
Soumil Yarlagadda @unsplash
Place 10 seeds on a damp paper towel, fold it over them, and put the towel inside a loosely closed plastic bag or container. Keep it somewhere warm and check periodically for germination.
If eight out of 10 seeds germinate, you have approximately an 80 percent germination rate. If only a few sprout, you can sow more heavily or replace that batch with fresher seed.
Make Seed Saving Part of Your Garden Routine
You don’t need to save seeds from everything you grow. Start with one or two easy crops and learn how their seeds develop and mature.
Once you become comfortable with the process, you can experiment with additional vegetables, flowers, and herbs. You can also begin selecting seeds from plants that perform especially well in your particular garden.
Seed saving turns the end of one growing season into the beginning of another. That handful of dry bean seeds or carefully labeled packet of tomato seeds is more than leftover material from this year's harvest. It’s the starting point for next year's garden, saved from plants you already know can thrive in your growing conditions.