


5 fool-proof ways to germinate seeds
/(updated 1/1/2025)
It’s seed starting season here in much of the Northern Hemisphere! If you have been eagerly anticipating the day you could begin taking this important step to implement the planning you have been doing for your spring garden, you’re not alone!
Want better germination rates?
Grab the free Seed Germination Success Checklist below.
Many people choose to buy seedlings from the store, but this can be expensive, time consuming, and limiting in terms of the availability of plants you are able to purchase from your local nursery or home improvement store. Purchasing seeds from reputable seed catalogs gives you the most variety of choices, and in many cases growers will offer both money-back guarantees and free bonus seeds for your purchase! You can, alternatively, participate in a seed exchange, buy seeds from growers on Etsy, or break open those seed packets you haven’t used in years, but here you may run into some problems with germinating those seeds. Learning how to germinate seeds is the first hands-on step toward turning garden plans into healthy plants.
If you’ve ever planted seeds that never sprouted, you’re not alone. Most germination failures happen because of just a few simple mistakes. I created a quick checklist to help you avoid them.
One of the questions I often get asked by students in our gardening courses is how to germinate seeds. Sometimes I hear from students who have tried, unsuccessfully, to sprout seeds that they’ve had sitting around for a while. As a fellow seed hoarder, I’ve run into the problem myself, and in those cases it’s more than likely that seeds that just won’t germinate despite your best efforts are either just extremely slow to germinate (e.g., curry leaf, whose seeds can take up to 6 months to sprout!) or are no longer viable. In the case of the latter, unfortunately, you just have to throw out the seeds (or throw them in your compost heap – they may yet surprise you and come to life). Even if you do get old seeds to grow, they are more likely to be weak and experience problems with pests, diseases, or poor growth.
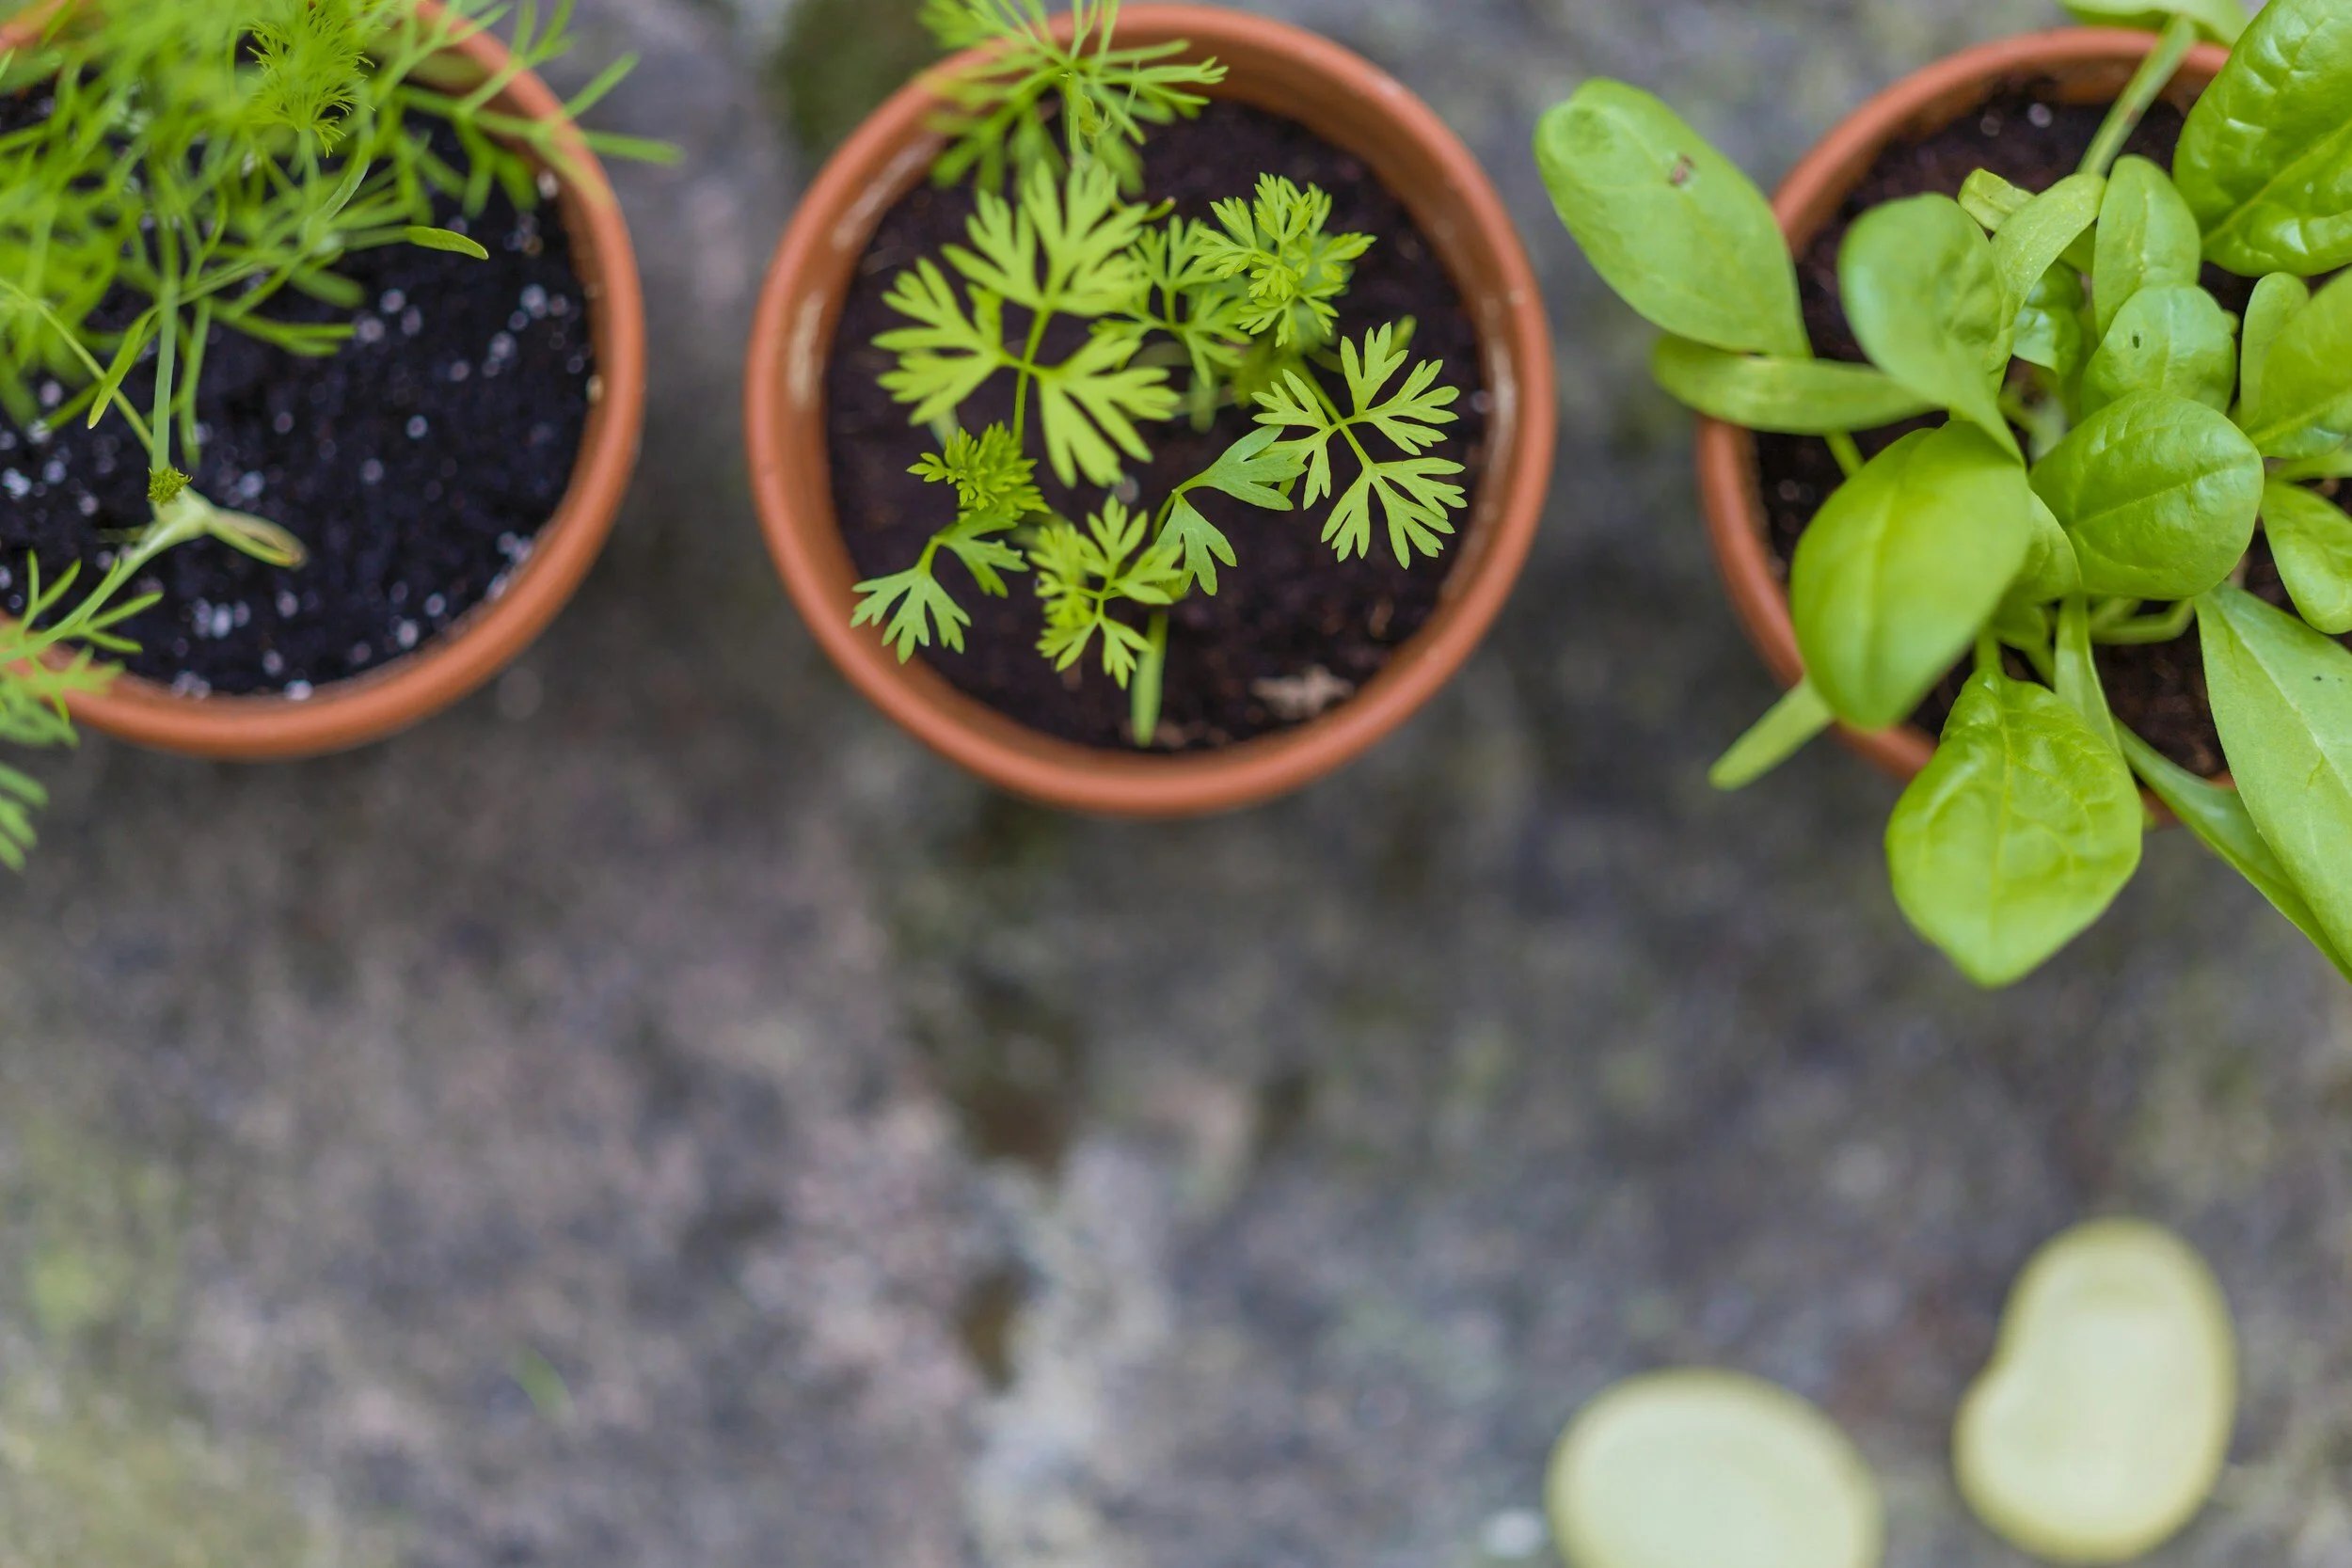
In many cases, your seeds just need a little extra nurturing to come out of their pods. Here are 5 fool-proof methods I’ve used to germinate seeds that were still alive. If you’re wondering how to germinate seeds more reliably, these methods can significantly improve success rates. If you’re just beginning your growing journey, you may also find my guide on how to start an edible food garden at home helpful for planning the rest of your garden once those seedlings are ready.

The paper towel method
This method will often get seeds to germinate much faster than planting in soil or seed starting mix.
Choose a paper towel that will hold its shape when wet. Moisten it thoroughly with water, then squeeze it out so that it’s damp but not dripping wet.
Put your seeds on the paper towel and fold it over
Put the folded paper towel with seeds in a Ziploc bag or you can use cling wrap to cover it completely.
Place on a sunny windowsill (it’s better to leave them indoors so you can monitor them and make sure the paper towel doesn’t dry out or start to show signs of mold. If it starts to dry out, spritz with water. If it starts to show signs of mold, air out the plastic bag. You may need to place something in it so that can it remain open.
Check the progress of your seeds in 3-5 days (check the packaging, if planting from a seed packet, to see average germination time).
Once the seeds have sprouted, place in a planting medium. Don’t delay, as they may start to become embedded in the paper towel, making them hard to remove and prone to damage. If this happens, however, you can always plant the seedling along with a bit of the paper towel into the planting medium.
The water (presoaking) method.
This method exposes the seed’s embryo to moisture, helping it to grow more quickly than just planting it straight into the soil or other planting medium. It works best with larger seeds like cilantro or squash but can work with virtually any but the tiniest seeds.
Pour hot tap water into a shallow container (water should not be too hot – comfortably hot is preferable to piping hot water)
Empty a packet of seeds into the water and spread them out
Let stand for 24 hours only (any longer and they may rot), then transplant seed into the pre-moistened potting medium.
You can also carefully snip the very tip of large seeds to speed up the penetration of water. Ensure that you don’t damage the seed’s embryo.
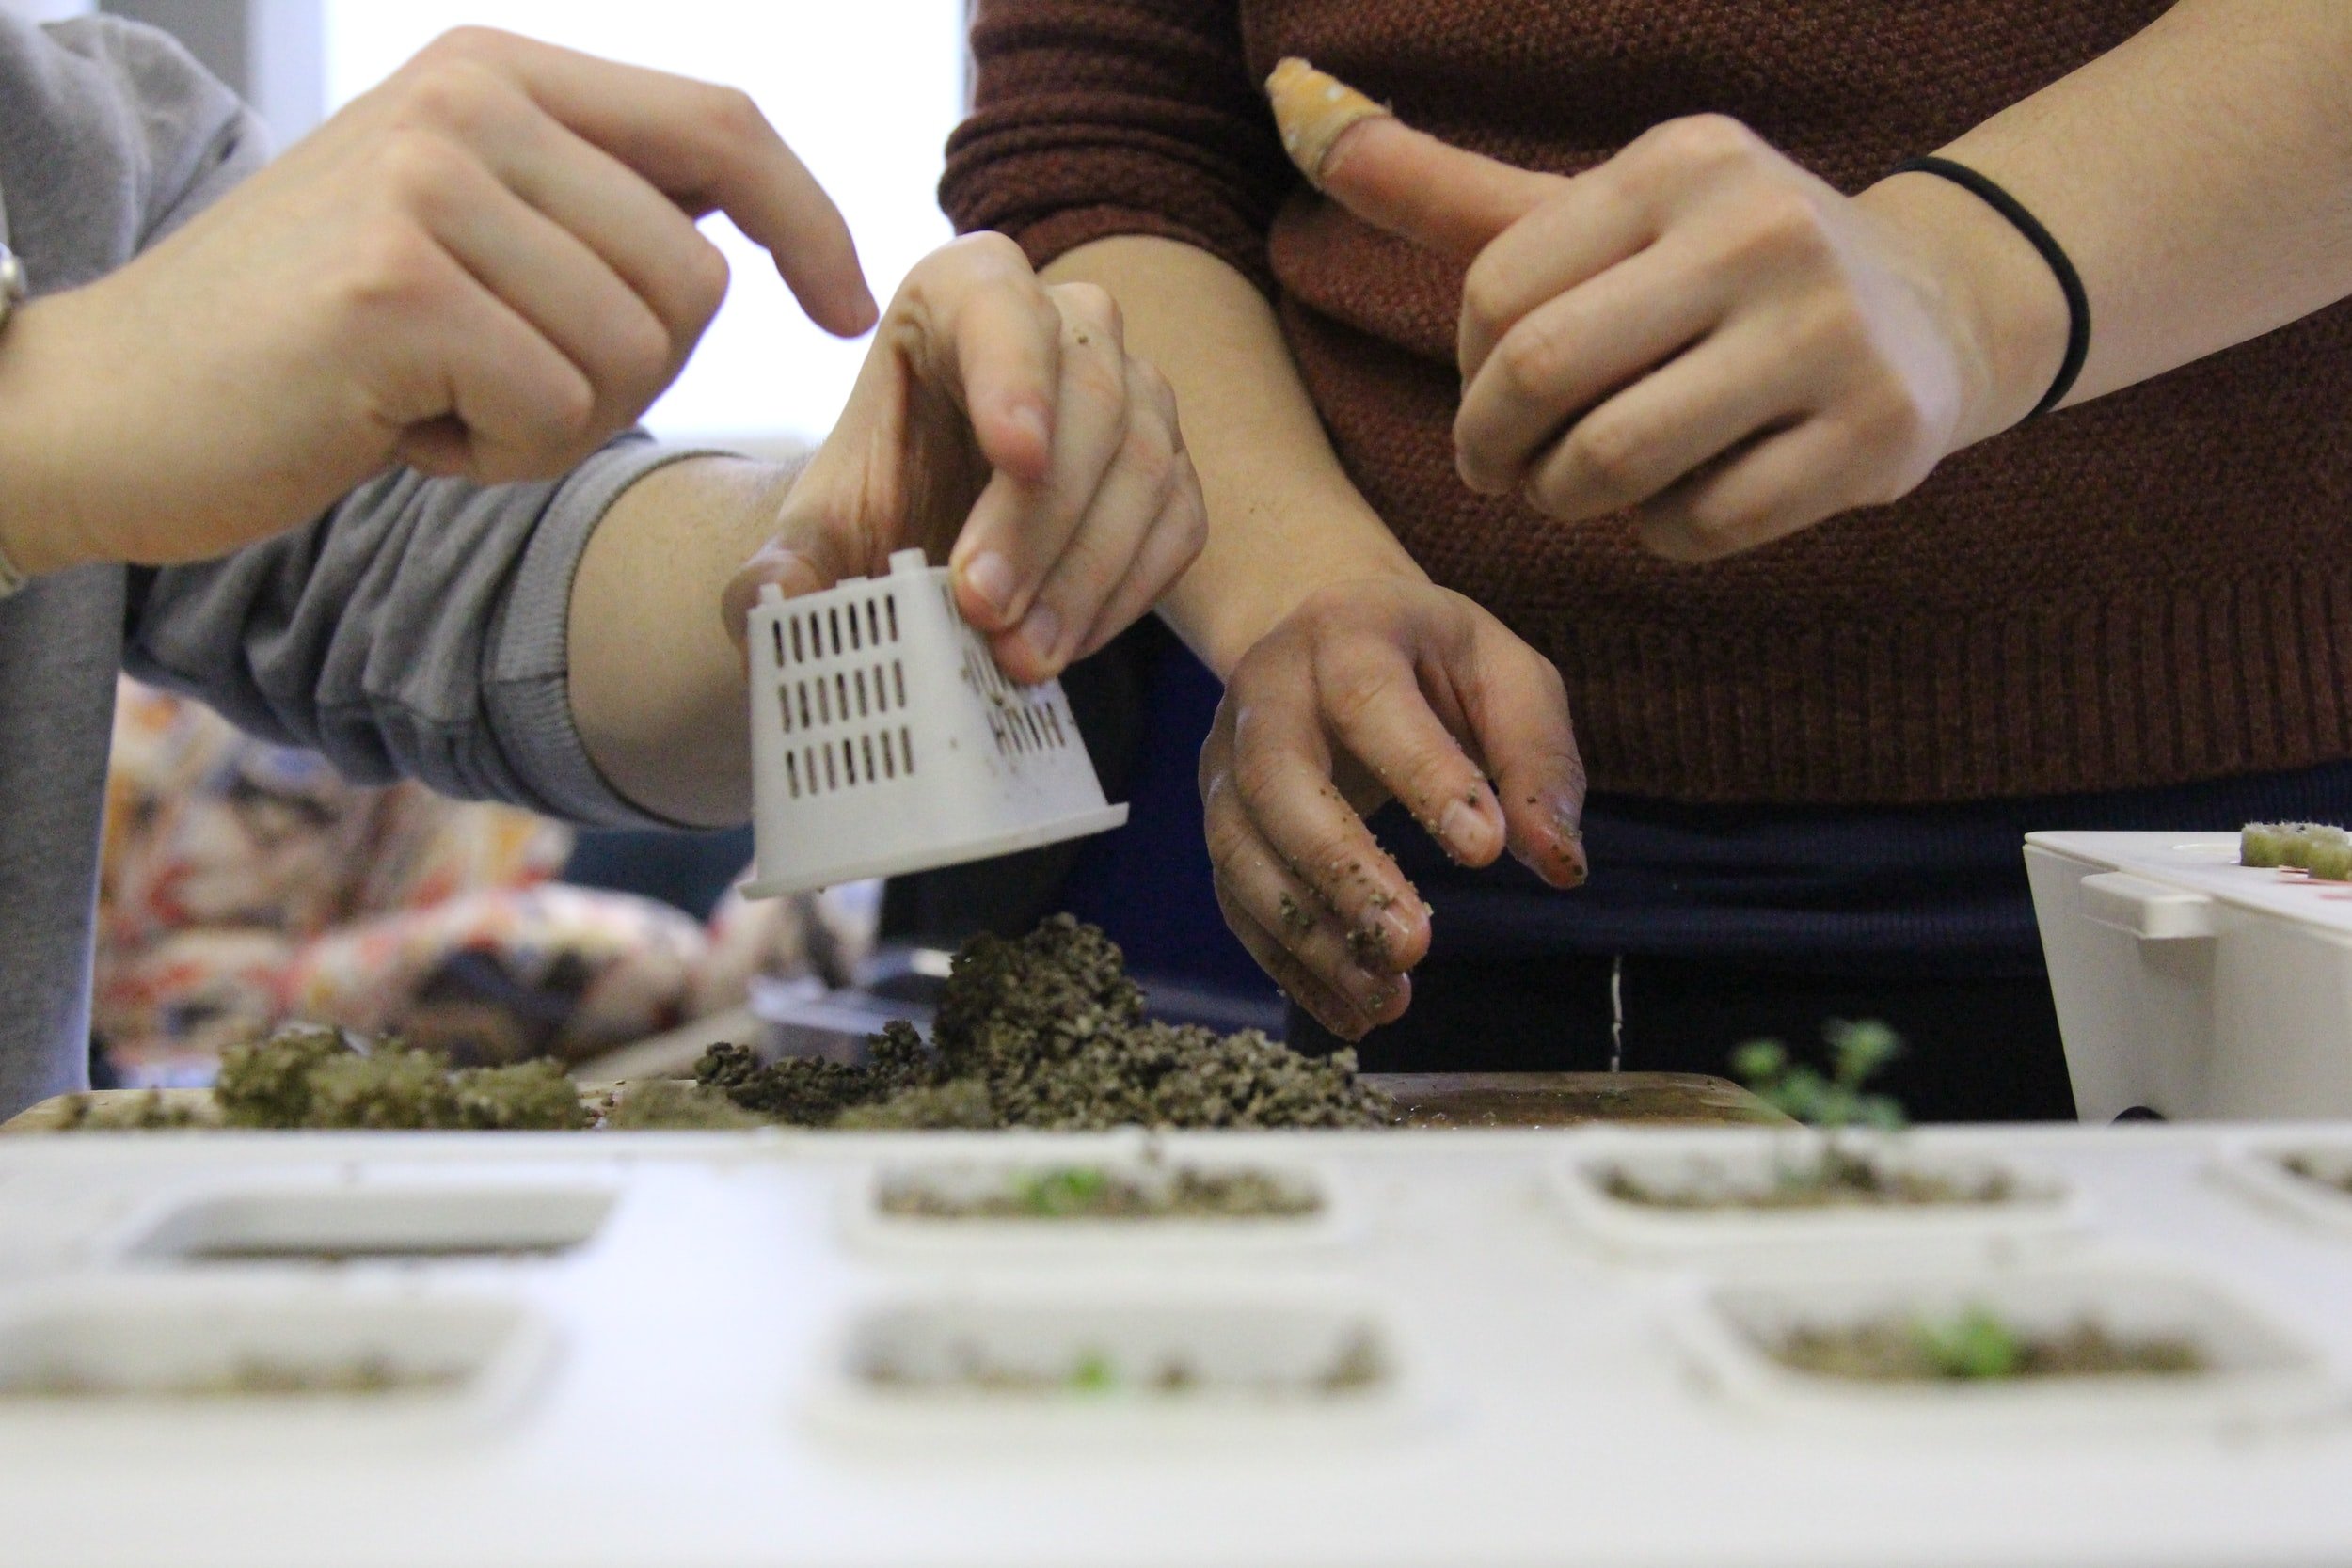
The next two methods work similarly: fill your container with the mix, moisten the mix with water, pat down to get rid of air pockets, plant and cover your seeds.
If the seed is large, you can use a finger, chopstick, or other small stick to create a hole in the center. Drop several seeds in and cover them with the mix, around 1/2 in or 1 cm deep (later you’ll thin the seedlings down to one per container). If the seeds are tiny, sprinkle a few on top of the soil and use a chopstick or other small tool to lightly cover with the planting medium.
Water from the top with a spray bottle to avoid damaging the tender seedlings when they emerge or use a tray and add water to let the seedlings soak up the moisture from below. These techniques are especially useful if you’re still learning how to germinate seeds that need extra moisture or warmth.
Tip: Many seeds fail because gardeners skip one simple preparation step.
Download the Seed Germination Checklist so you don’t miss it.
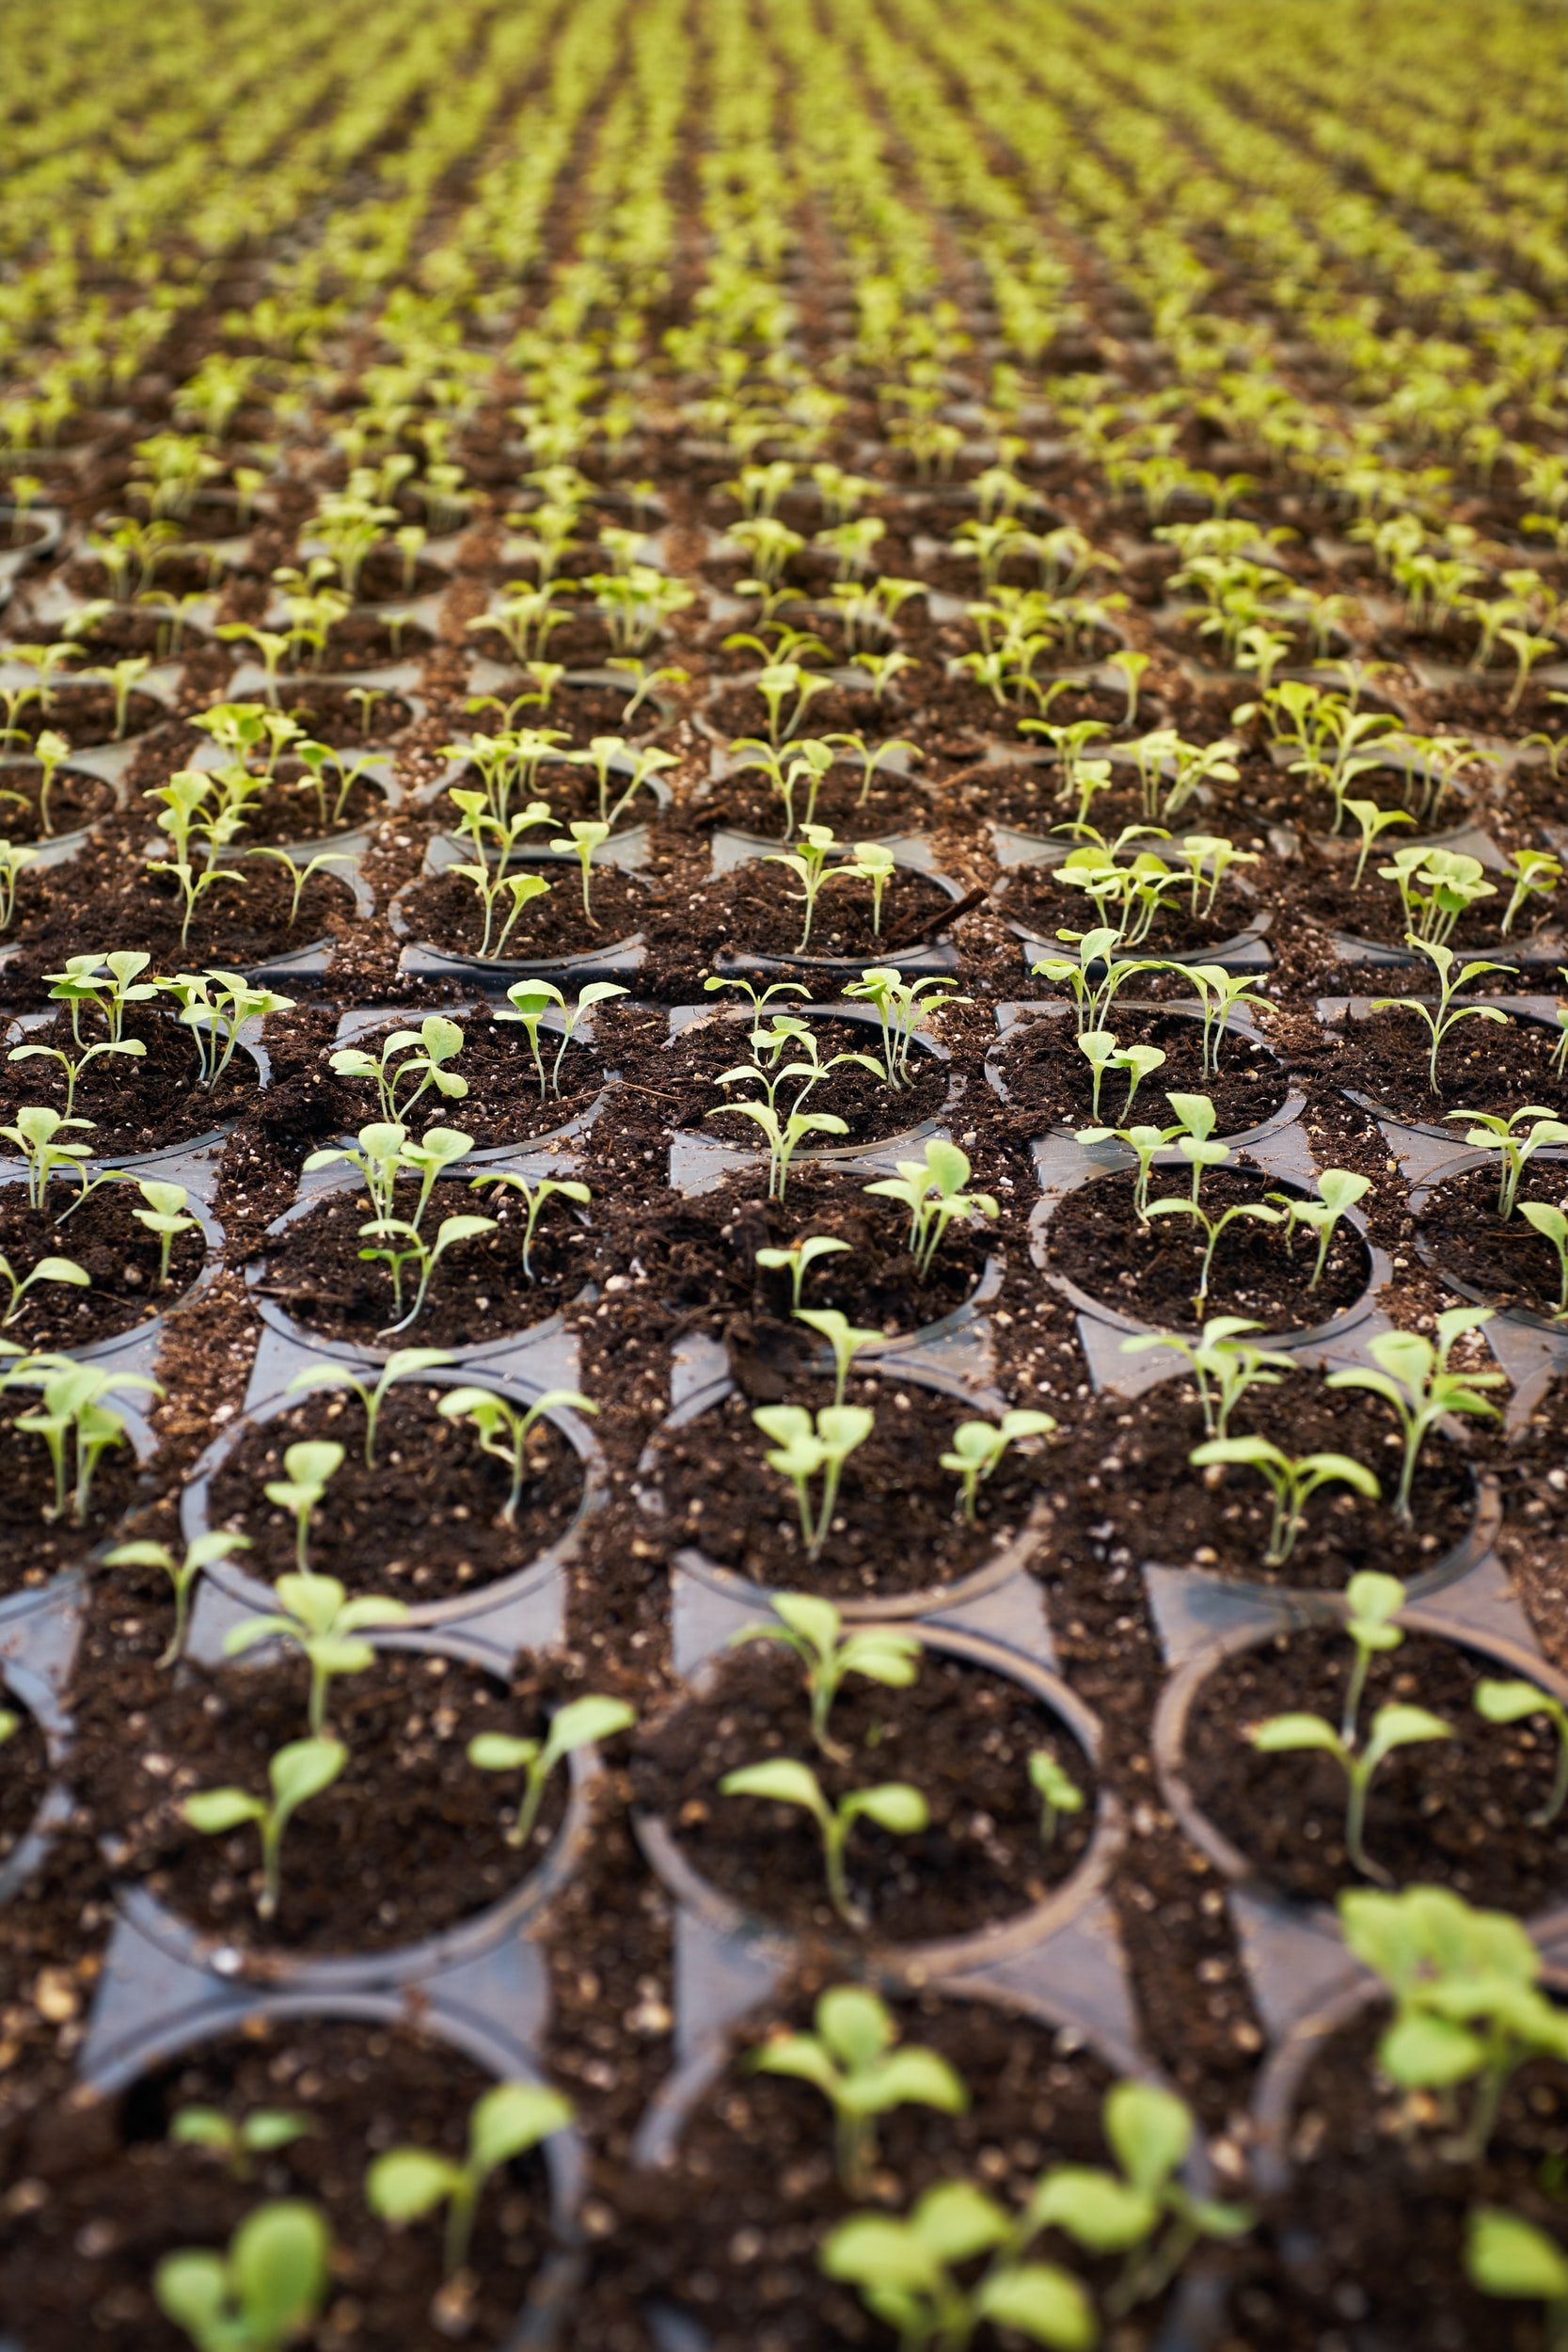
Seed starting mix
Most people start their seeds with a commercial seed starting mix, and this is perfectly fine for getting your plants off to a good start. Commercial seed starting mixes generally contain compost, fertilizers, and other materials including organic materials like peat moss and inorganic materials like vermiculite or perlite, which help with drainage.
Choosing the right medium is an important step in learning how to germinate seeds evenly and prevent early seedling problems. Some seed starting mixes also contain additional ingredients, like chemicals to help the mix retain water, or even beneficial microbes. These ‘extras’ are not necessary to get your seedlings off to a good start; they are better for ensuring healthy growth after the seedlings have developed their first ‘true’ set of leaves.
The only real disadvantage to using seed starting mix is the cost. While an 8-quart bag isn’t terribly expensive, it won’t be enough to start a large flat of seeds. Luckily, it’s easy and inexpensive to make your own DIY seed starting mix, and you don’t even need soil for it, because seeds contain all the nutrients the plant will need for the first couple of weeks of its life.
To make your own soilless seed starting mix, combine the following ingredients in roughly equal amounts:
Perlite
Vermiculite
Coco coir (or sphagnum peat moss, but only if you already have it on hand)
You will see peat moss as in ingredient in many seed starting mixes. In many cases, however, you should avoid using peat moss because of the harm its use causes to the environment. Peat, which is extracted from bogs, fens and marshes, is the partially decomposed remains of ancient plants and animals. Peatlands in Europe have taken thousands of years to form. They contain five times more carbon than forests and when they are disturbed or harvested, they release CO₂ into the atmosphere, exacerbating climate change. For this reason, the UK government implemented a partial ban on the use of peat by amateur farmers in 2024, with a complete ban on all peat-based gardening products scheduled for 2030.
A better option is coco coir, which has a similar texture as peat. It is made from the hairy fibers of the outside of the coconut, which are often discarded after use. Coco coir is an environmentally-friendly alternative to peat that also reuses a product that would normally go to waste, so my recommendation is to use it instead of peat whenever you are making your own seed starting mix, unless you already have peat on hand and want to use it up. If you’re growing hydroponically, coco coir can be a much better alternative to starting and nurturing seedlings than peat.
Potting soil mix
Commercial potting mixes may not contain soil at all, so pay attention to the ingredient list when you are making your purchase. While it will do just fine in many cases for starting seeds, it is coarser than seed starting mix and may contain ingredients like bark. It may also be too good at retaining moisture, which means that your seedlings could become waterlogged and rot if you don’t monitor them carefully. Again, your seedlings don’t need extra nutrients for at least the first 2-3 weeks after they emerge, so while using potting soil isn’t necessarily a bad thing and can save you the trouble of repotting them later, it’s best to repot in potting soil mix well after your seedlings have grown and developed their first true set of leaves.
Also, if you are using a commercial potting soil mix, always amend it with compost and other organic and inorganic ingredients to improve its structure and performance.
Hydroponic substrates
Hydroponic growing is a great alternative to to those who don’t want to mess with soil, who have a strictly indoor growing operation, or who are short on space (you can grow a lot more in less space with hydroponics). There are many different kinds of planting mediums used in hydroponic growing, including rockwool/stonewool, oasis cubes, vermiculite, perlite, coconut coir, peat, composted bark, pea gravel, sand, expanded clay pellets, lava rock, fiberglass insulation, sawdust, pumice, foam chips, polyurethane grow slabs and rice hulls.

Try one of our printables for your garden!
Each of these growing mediums has positives and negatives, and your choice should take into consideration the size and type of plants you wish to grow and what type of hydroponic system you are using.
Starting seeds in a hydroponic substrate is fairly straightforward, and while some people say you should use seeds that have been tested in hydroponic systems, others say that this isn’t necessary. Whatever planting medium you choose in your hydroponic system, make sure it is thoroughly moistened before planting your seeds, and use a cover to keep them moist while they germinate. Afterwards, you’ll need to add nutrients to the water to keep them healthy. You can opt to transplant the seedlings to soil after they have developed true leaves and their roots are growing outside of the plug.
Once you understand how to germinate seeds using one or more of these different methods, you can adapt your approach to nearly any plant. Whatever method you choose, take care to monitor your seedlings while they are young and vulnerable. Once your seedlings are established, the next step is planning where and how to grow them in your garden. If you’re looking for a step-by-step roadmap, see my guide on starting an edible food garden at home, which covers planning, planting, and maintaining a productive garden from start to finish.

Like this? Please pin!
You may also be interested in…


This guide will give you clear, easy steps to successfully grow herbs indoors during the winter season. You’ll learn how to choose beginner-friendly herbs, set up simple growing conditions, and keep them thriving with minimal effort.