


How to take care of your indoor seedlings
/(updated 01/17/2025)
Although the weather may not have begun warming significantly where you live, there’s no reason you can’t start your growing season a little early. Whether you’ve got the itch to grow right now, or you’re interested in getting a jump start on your gardening, there are a few things you can do today to start growing something good and make sure that it thrives well into the warm season.
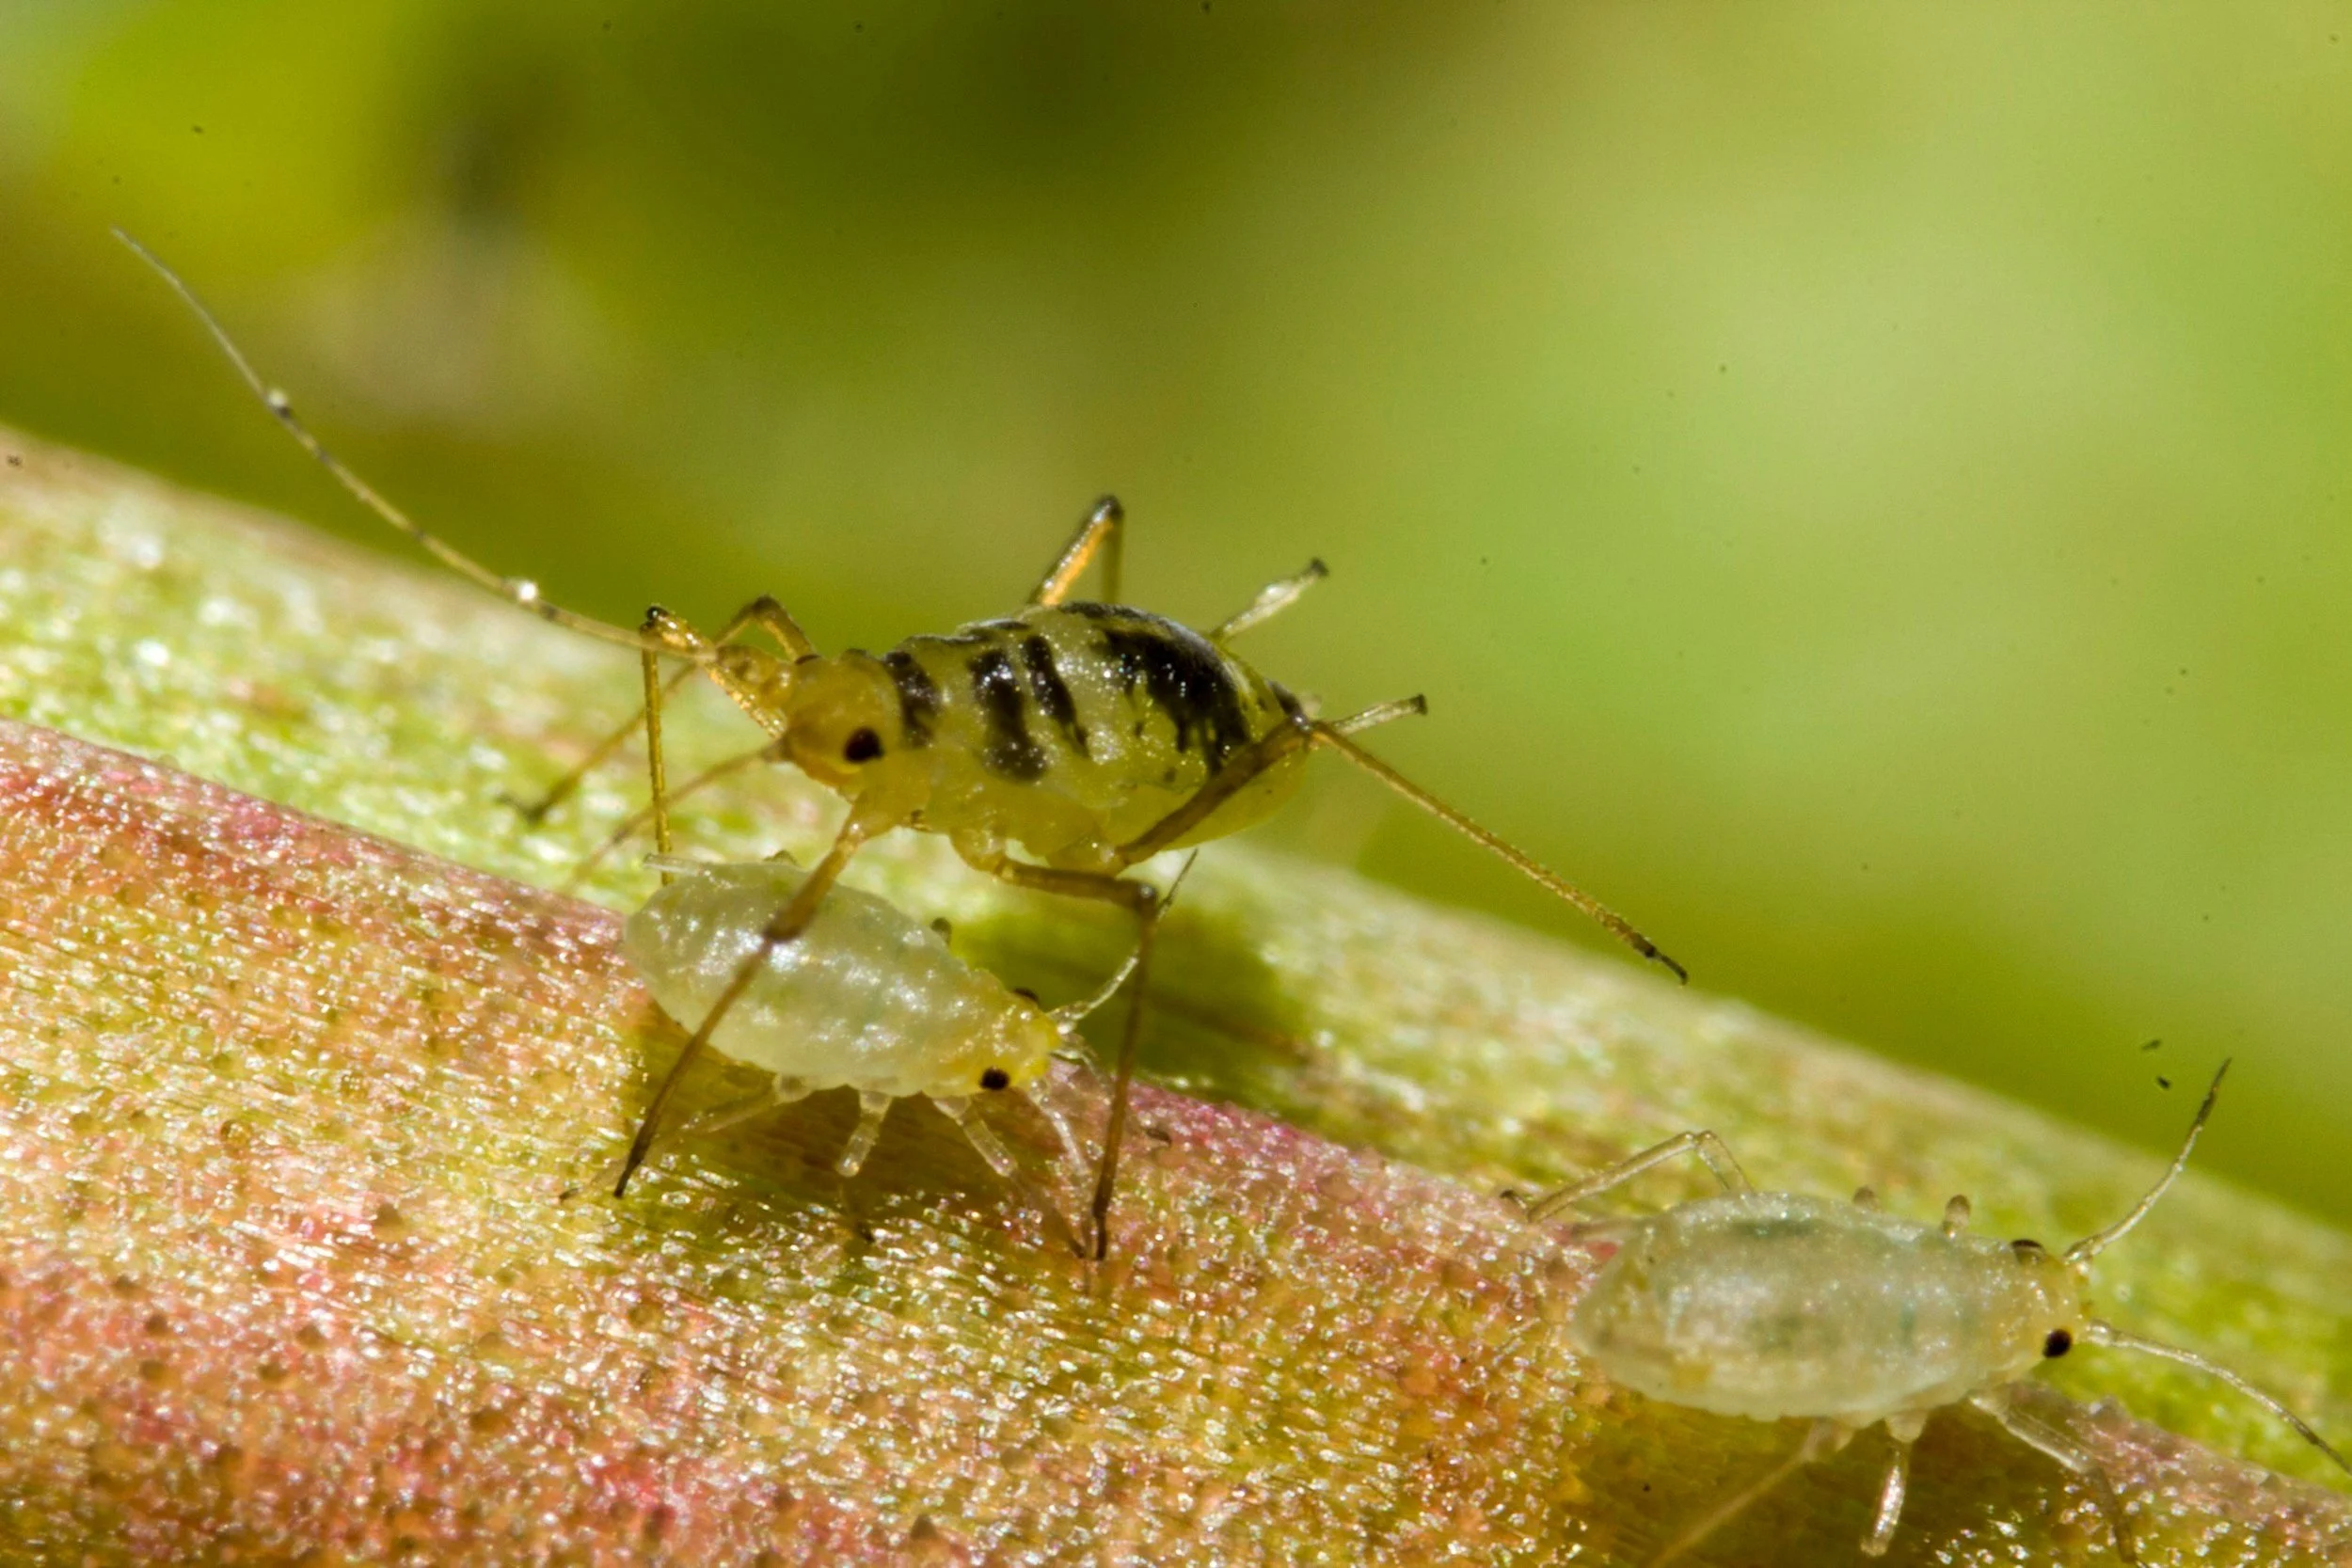
Many newbie gardeners (and even a few experienced ones) think that all you need to germinate some seeds is pot, dirt, water, and maybe a sunny window. Well technically, that’s true, but if that’s all you’re doing, your seedlings won’t get off to a good start. In fact, they’re more likely than not to grow leggy and weak, lacking both the spectrum of nutrients they need to thrive and the strong immune system they should be developing in order to fight off pests and diseases.
Many newbie gardeners (and even a few experienced ones) think that all you need to germinate some seeds is pot, dirt, water, and maybe a sunny window. Well technically, that’s true, but if that’s all you’re doing, your seedlings won’t get off to a good start. In fact, they’re more likely than not to grow leggy and weak, lacking both the spectrum of nutrients they need to thrive and the strong immune system they should be developing in order to fight off pests and diseases.
Many newbie gardeners (and even a few experienced ones) think that all you need to germinate some seeds is pot, dirt, water, and maybe a sunny window. Well technically, that’s true, but if that’s all you’re doing, your seedlings won’t get off to a good start. In fact, they’re more likely than not to grow leggy and weak, lacking both the spectrum of nutrients they need to thrive and the strong immune system they should be developing in order to fight off pests and diseases.
What tools do you need to start seedlings indoors?
The planting medium
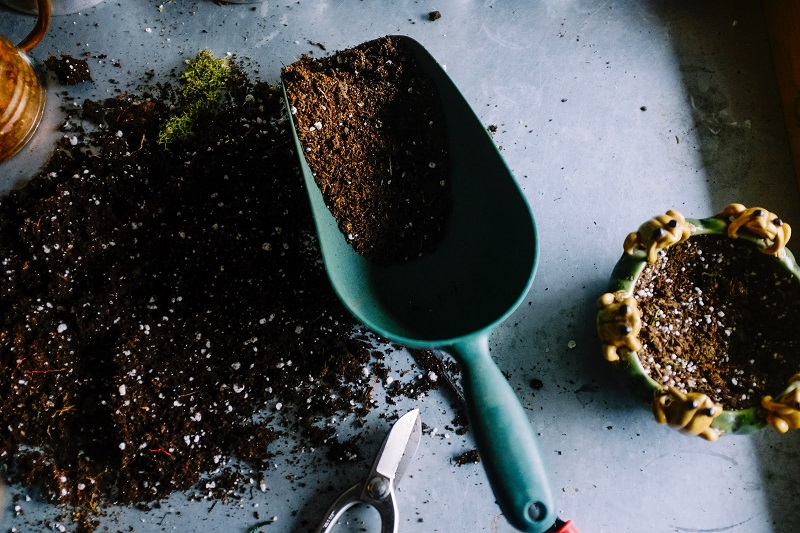
Strong, healthy seedlings start with the right soil mix. Standard potting soil may not provide the nutrients and aeration that your tender seedlings need. For best results, try these:
A seed starter soil mix that is lightweight, nutrient-rich, and well-draining.
The soilless route - your seeds don’t actually need soil to sprout (you can even sprout seeds in a paper towel or moist cotton ball!)
If you do use a soil mix, make sure it is formulated to work with seeds.
Virtually any potting soil that is formulated for container gardening and seed starting will work, but if you are using a potting soil that is not also formulated for seedlings, you will probably not experience good results. Standard potting soil may not provide the aeration that tender seedlings need, and it may have other additives in it (like fertilizer or moisture control) that your seedlings don’t need. A good seed starter soil mix is the best commercial choice for germinating seeds indoors, as it contains all the materials you need to ensure your seeds get off to a strong start.
You can also make your own seed starter mix. Here’s a guide to making your own seed starter mix.
The planting container
Choose containers that make transplanting easier and reduce root damage, like these:
Seedling trays with compartments for 6 or more seeds.
Biodegradable peat pots or pop-up pellets that expand with water and can be planted directly into the soil.
Repurpose household items, like egg cartons or yogurt cups (with drainage holes)..
Seedlings can be planted in many different types of containers, but if you plant them in a container that is large, you will run into problems when it’s time to transplant them, since removing them may damage their roots, which can become entangled. Seedling starter containers and trays contain individual compartments for seedlings. These sit inside of a larger tray that holds several containers, making it easier to water your seedlings. Pots can be transplanted – seedlings and everything – directly into the soil are ideal choices and ensure that the shock of transplanting does minimal damage to your seedlings.
Lighting: natural or artificial?
This is the detail that trips up many novice gardeners. Most of the time, seedlings will not start off well in a sunny window alone, since they tend to grow very leggy (develop long, thin, weak stalks) as they stretch towards the light. Your indoor seedlings need a full-spectrum grow light (which contains the colors we can see, namely red, orange, yellow, green, blue, indigo and violet, as well as UV light, which is produced by the sun). Here are some options:
LED Grow Lights: Energy-efficient, cost-effective, and cool to the touch. Full-spectrum LEDs promote photosynthesis and mimic sunlight.
CFLs (Compact Fluorescent Lights): Best for crops with low light needs. They emit red and blue spectra light but don’t emit much heat.
HID (High-Intensity Discharge) Lights: Powerful but heat-intensive, requiring greater distance from seedlings. They are also expensive.
Using a full spectrum grow light will make a tremendous difference in helping your indoor seedlings start off faster and produce a bigger harvest, as this kind of light comes closest to harnessing the full power of the sun. Since LEDs are inexpensive and widely available, they’ve become the popular choice for many gardeners.

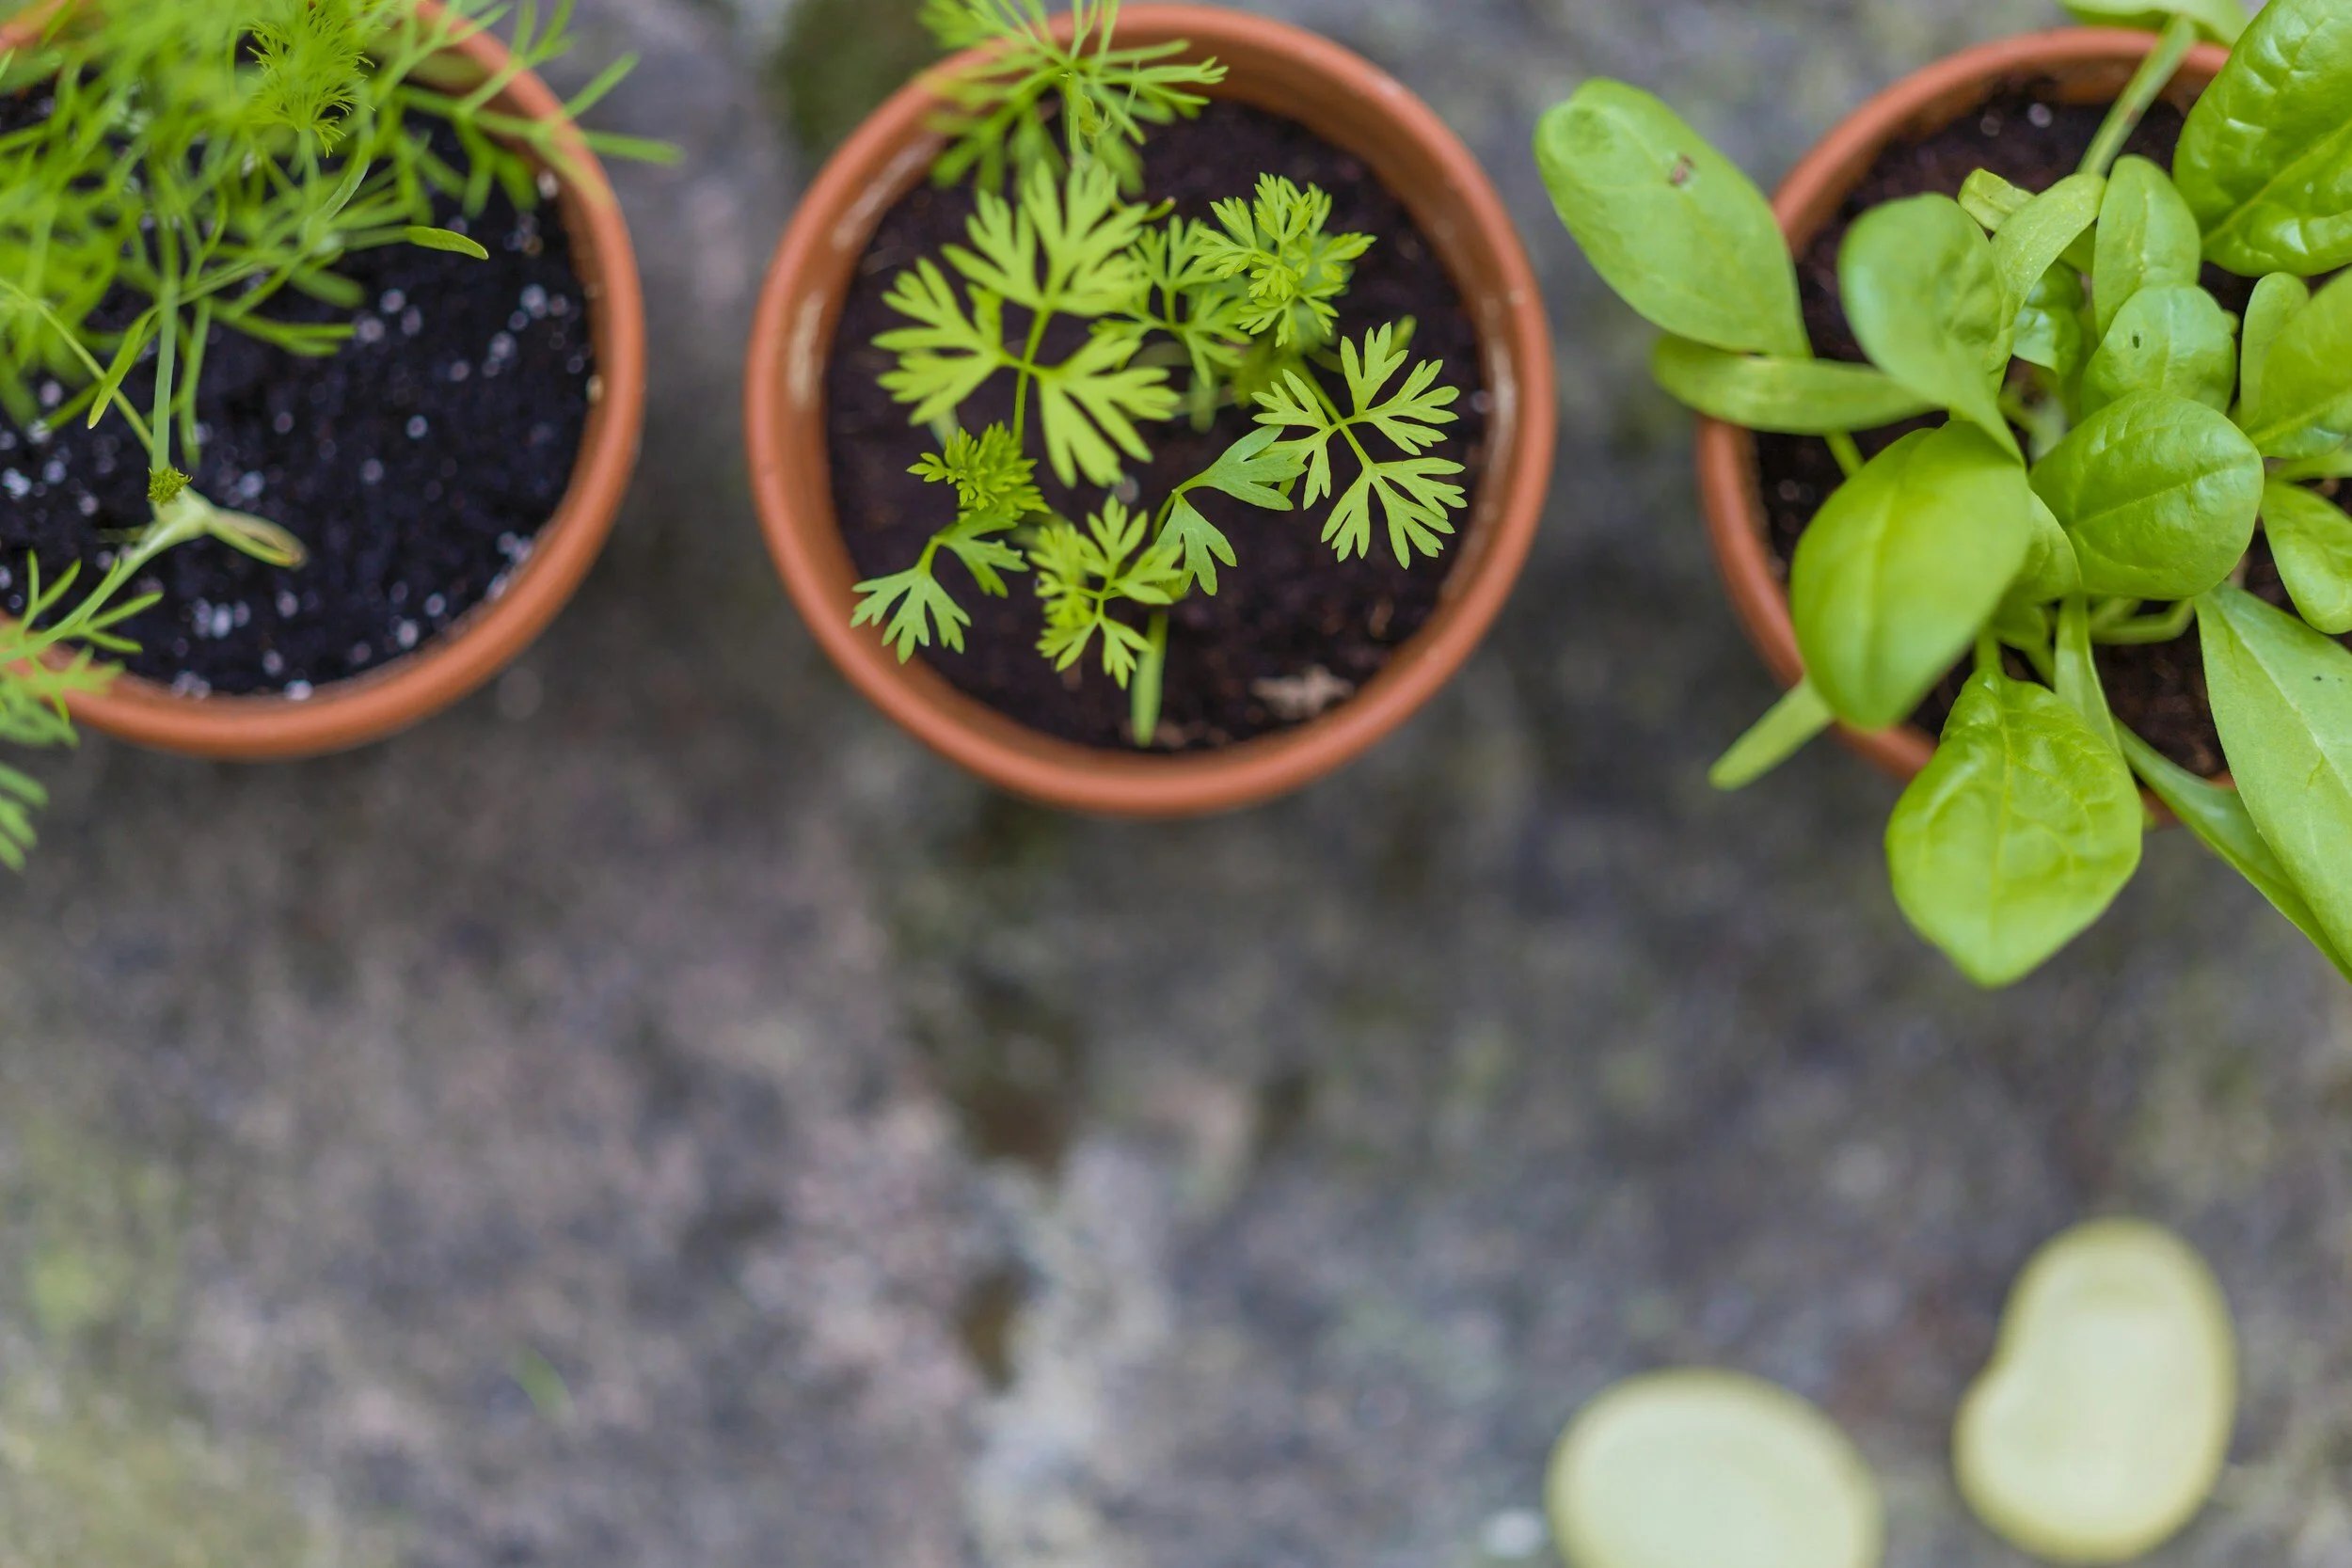
Helena.Chorzewska @Wikimedia Commons
Position grow lights 4-6 inches above seedlings and adjust as they grow to prevent legginess. For sun-loving plants like tomatoes, basil, and peppers, use a timer to provide 12-16 hours of light daily.
Water and air
Watering can either make or break your seedling operation. Water too much and your seedlings will rot before they come up, or if they already have sprouted, will suffer root rot. Don’t water enough and the seedlings will never pop up or worse, your delicate shoots will die before they’ve even had a chance to show you what they can really do.
Watering consistency is critical:
Use a small watering can or mister to keep the soil moist but not soggy.
Water from the bottom by filling the seedling tray to prevent mold and protect delicate shoots.
Incorporate a fan or keep the room ventilated to improve air circulation, discourage mold, and strengthen stems. Some say that using a fan also helps the stalks of your plant grow stronger as they learn how to resist the current around them.
Watering your seedlings is actually pretty simple, if you take a brief moment to observe them every day. If you are using peat pots, you can tell if they’re wet by looking at the outside of the pots. Let them dry out very slightly between watering: you may need to water once a day, or once every other day, but rarely less often.
Using another planting medium? Feel the top of the medium with a finger: does it feel more than just a little dry? Then add a little water.
Some growers use a humidity cover or germinating dome to help with the process of sprouting seedlings, but I have always found that these contributed to the growth of mold or rot if they were not removed as soon as the first seedlings began to sprout. You’ll have to see what works best for your own growing operation.
Nutrients – when should you add them?
At what point should you begin feeding your seedlings? The pod that the seedling emerges from contains all the nutrients that the plant needs when its first set of leaves, called cotyledons, emerge. Once the second leaves, the “true leaves,” emerge though, you should begin watering with a diluted fertilizer. At this point, be sure to
Use a diluted organic liquid fertilizer, such as fish emulsion or kelp-based solutions, once a week.
If you are using a synthetic fertilizer, dilute to one-quarter strength to avoid burning the plants. In fact, I discourage you from using these. They are not only easier to misuse, they also cause a number of environmental problems.
No matter what type of fertilizer you are using, if your seedlings begin to look lanky and tender, cut back on the fertilizer.
Want to learn more?

Bonus Tips for Thriving Seedlings
Label Your Seeds: Use markers or tags to track what you’re growing. Believe me, you’ll regret it if you don’t.
Timing: Research the best planting time for each seed type based on your USDA zone. Our succession planting guide can help with that!
Rotation: Rotate trays every few days to ensure even growth.
Smart Grow Lights: Some newer LED systems can adjust automatically based on plant needs, saving you time and effort.
Learn More
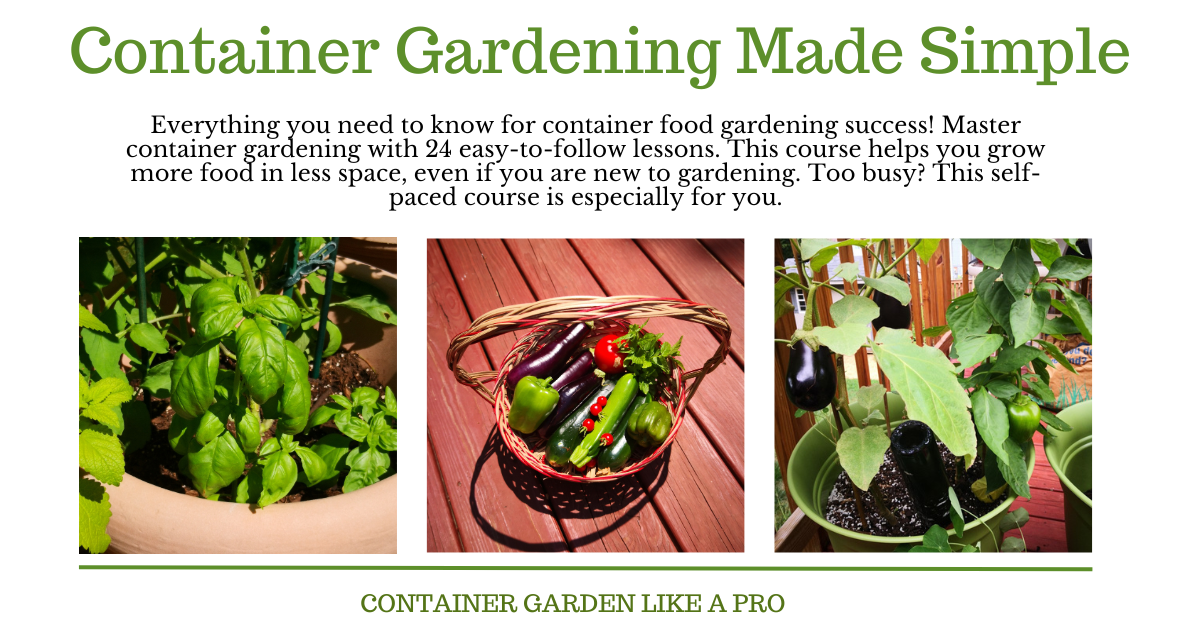
Want more tips and strategies for your garden? Listen to the first free lecture in my online course, Container Garden Like a Pro.
There are countless benefits—both physical and mental—to keeping a garden. So why not get growing?
Like this? Please pin!