


A food garden in winter: 6 things you can do now to harvest in the cold season
/Most people who garden believe that the growing season lasts until the temperature drops below freezing and the dew turns into frost. This is not entirely true; some regions (USDA zones 0-2) have a very short growing season that means they cannot grow vegetables outdoors unless they employ special techniques and plant seeds specially designed for that climate. However, most people, even those residing in places where snowfall occurs every winter (such as Ontario), can continue to garden throughout the entire calendar.
In fact, growing a winter garden is one of the easiest ways to get fresh vegetables during the colder months. You just need to know what plants do best in your area and how to care for them properly.
For decades, I've heard people say that growing veggies in the cold season is impossible without a greenhouse. But then one day, during a research project, I discovered videos online showing farmers harvesting crops in the cold, pulling them out from under the snow. This is how I began my own journey into the world of growing a winter garden. I don't know if I'd call myself a "cold climate" gardener, but I certainly enjoy it when I get to harvest some fresh produce in the dead of winter.
If you have an interest in gardening even in the cold months, if you miss tending plants in the dead of winter, and if you are even just a little curious about how you could grow some of your own food all year round, then consider these 6 things you can do now to have an edible winter garden.
1. Warm up the soil in your garden
In the cold season, you can warm up the soil for planting in a few different ways: first, you can use black plastic to cover the ground and make it around 3⁰ C/ 37⁰ F warmer. lack plastic absorbs sunlight, warming everything that is beneath it. These covers work especially well over clay soil, which typically retains a lot of moisture. If you add a layer of 10cm/4 in. peat moss mulch on top of the plastic, you can warm the soil up by an additional 3⁰ C/ 37⁰ F.
Alternatively, you can use black plastic mulch to warm up the top 5cm/2 inches of soil. It takes about 2 weeks for the mulch to do this in the cold weather.
You can use clear plastic, row covers, or garden fleece to achieve the same effect. Keep in mind, however, fleece doesn't work quite as effectively as plastic and it allows water in. You'll need to strike a balance so that your soil doesn't stay wet for extended periods of time (which will also lead it to freeze more easily).
One other technique for warming your soil in winter is best used before adding soil to your planting spot: using the type of compost that will heat up. Horse manure works very well for this purpose, but isn't that easy to come by (unless you have a horse or know someone who does) and must be cured with straw or hay first (which may take a week or two). Horse manure can also burn the roots of your plants, so you may have to mix a lot of soil in with it to ensure that this doesn't happen. Mushroom compost is a much safer bet, as it can be added directly to your bed or container as a bottom layer, with soil and/or compost on top. Some people use chicken manure for this purpose, but I have found that it doesn't heat up as well as the others. Using heated compost is most effective if you cover your crops with plastic or a row cover after planting.
2. Invest in or make DIY season extenders
Using floating row covers over your soil will help you keep your crops alive all winter. Keep in mind, this method is effective if your soil is not already frozen. Sow seeds in the soil and place the row covers over them, anchoring them down with garden staples (or rocks). You can also use thick plastic sheeting (cut a slit in the sheet and sow seeds in them), cloches (a hard or semi-hard plastic covering that fits right over your plant), or cold frames (a wooden enclosure topped with a window to let in sunlight and preserve heat) to protect your outdoor plants from a hard chill or frost.
use coupon code GREENPROSPEROUS003 for 10% off your order!
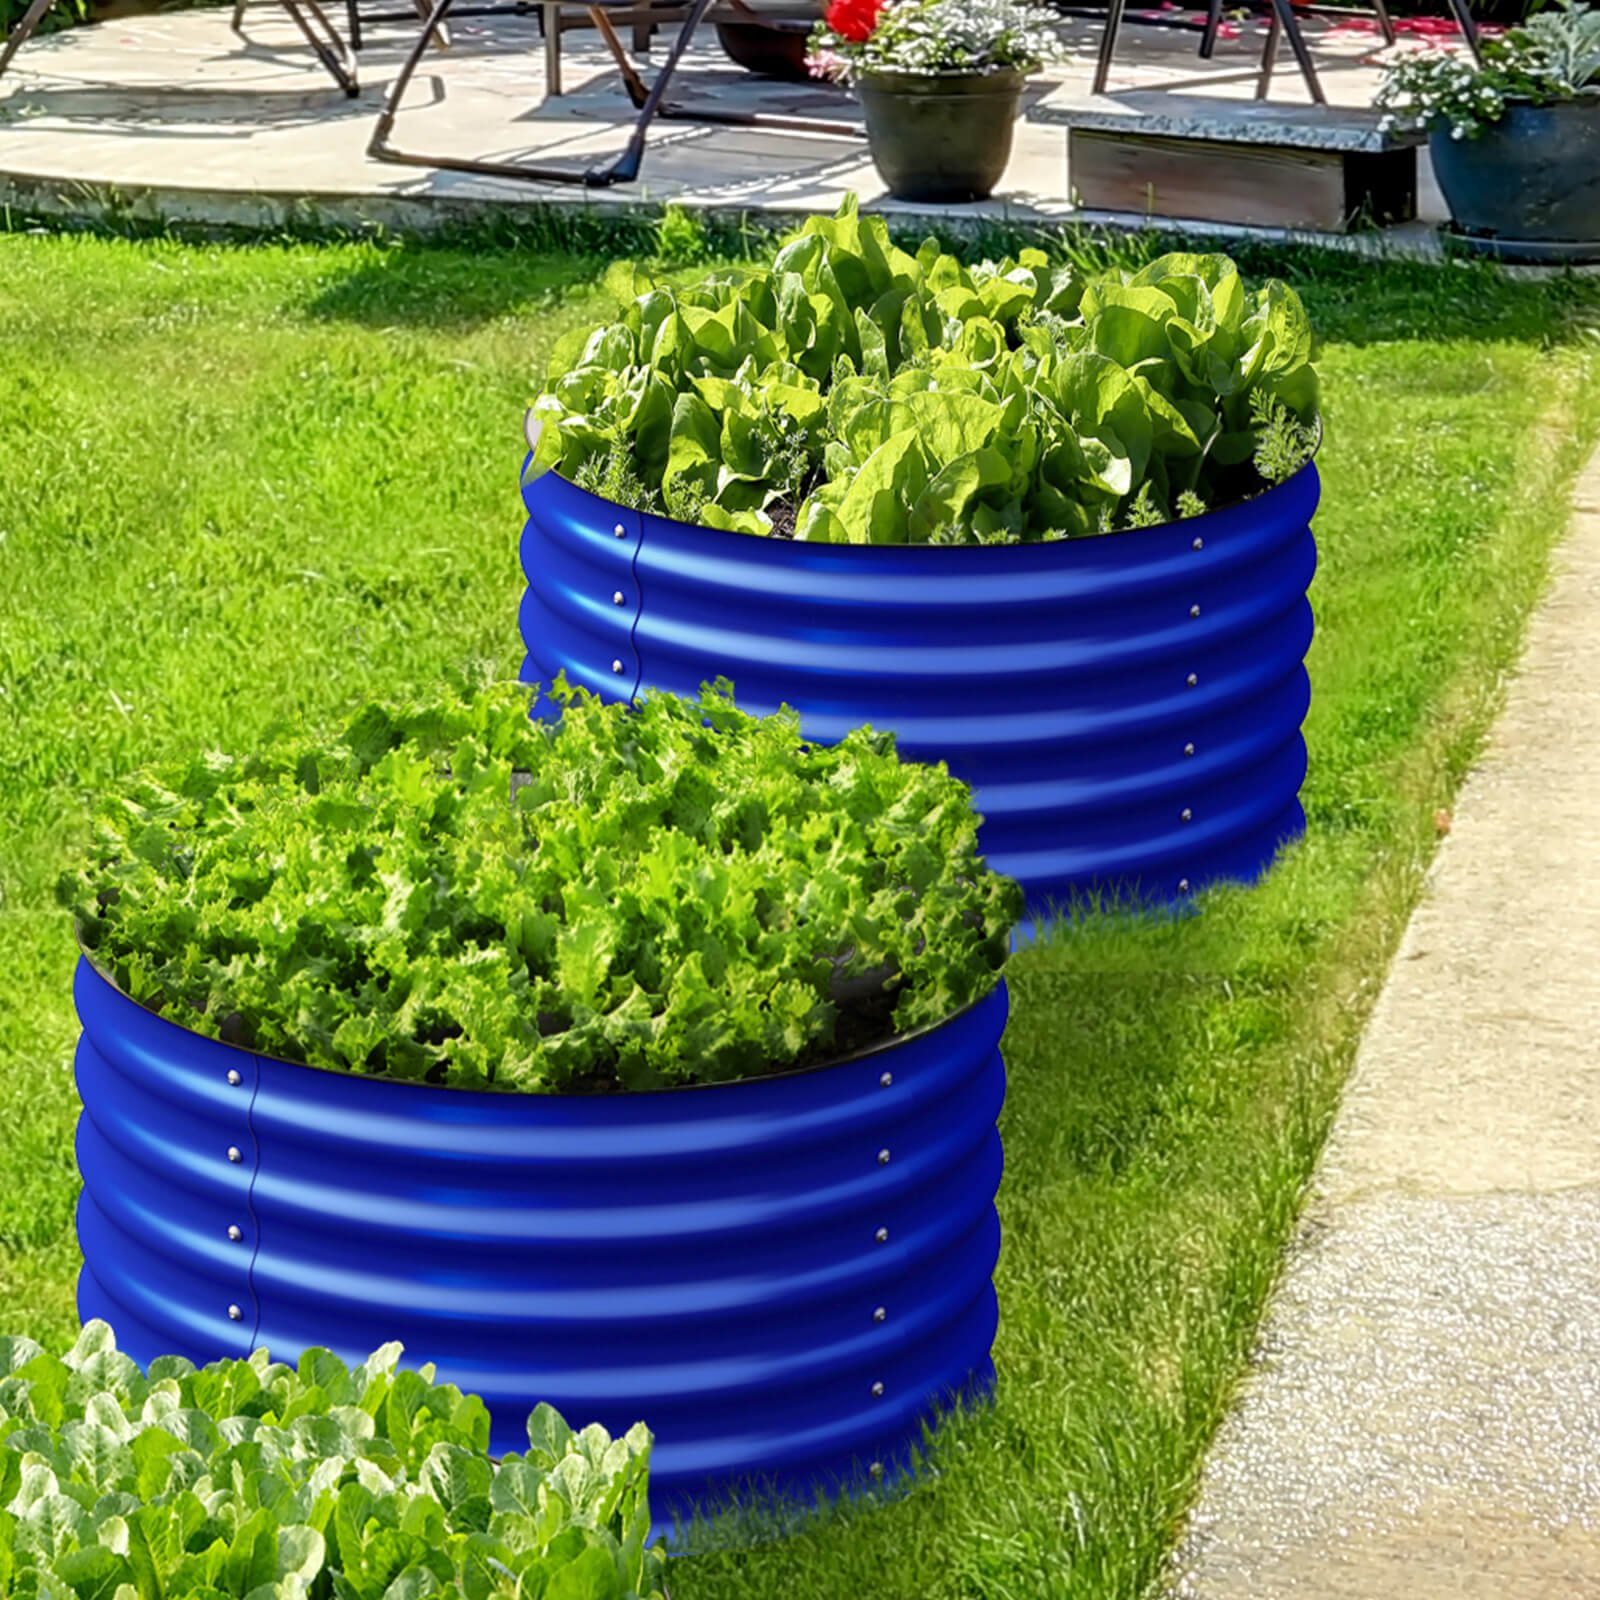
Alternatively, grow your winter crops in a raised bed or large black container. Using a raised garden bed or growing in a black container can warm soil temperatures up to 5⁰ C/41⁰F. F more than using bare earth. Again, stretching a plastic cover over the top of the container and anchoring it securely with clips or bricks will protect your crops from the harsh frost.
Some of the more efficient ways to protect the plants in your winter garden, even in the snow, involve the use of a hot box or a greenhouse. A hot box is basically a sloped box topped with a window. It looks like a tall cold frame. The difference is, it is self-contained and has a bottom. The plants stay warm inside because of the layers of soil, straw, or other substrates you use for planting. You can line it with plastic to keep out the chill. In the past I have lined the bottom of the box with a bed of straw, then a layer of mushroom compost, soil, and another layer of compost on top.
Finally, you can get a greenhouse. Unfortunately, this is not cost-effective for many people who just want to grow a few things, but fortunately, there are many options out there! Mini-greenhouses are more affordable, effective, and allow you to grow a few plants in your yard or on your porch or deck. I have an 8ftx8ft greenhouse that I love! If you want to see the plants I grow in it in my winter garden, and get gardening tips for greenhouse crops, follow @greenprosperous on Instagram.
3. Grow indoors from food scraps
If you're a gardener or garden-lover on Pinterest (as we are!) you'll no doubt have come across many pins about how you can re-grow vegetables indoors from food scraps. I have tried it myself and found that it's absolutely true! It's pretty easy to re-grow lettuce, bok choy, and cabbage from scraps. But these are just a few of the vegetables you can grow from kitchen scraps you'd normally throw away. Check out this infographic by Food Revolution to see a list of 19 vegetables you can re-grow with little effort, along with a breakdown of how to do it. The key to re-growing most of these is changing the water frequently; otherwise you'll end up with rotting scraps.
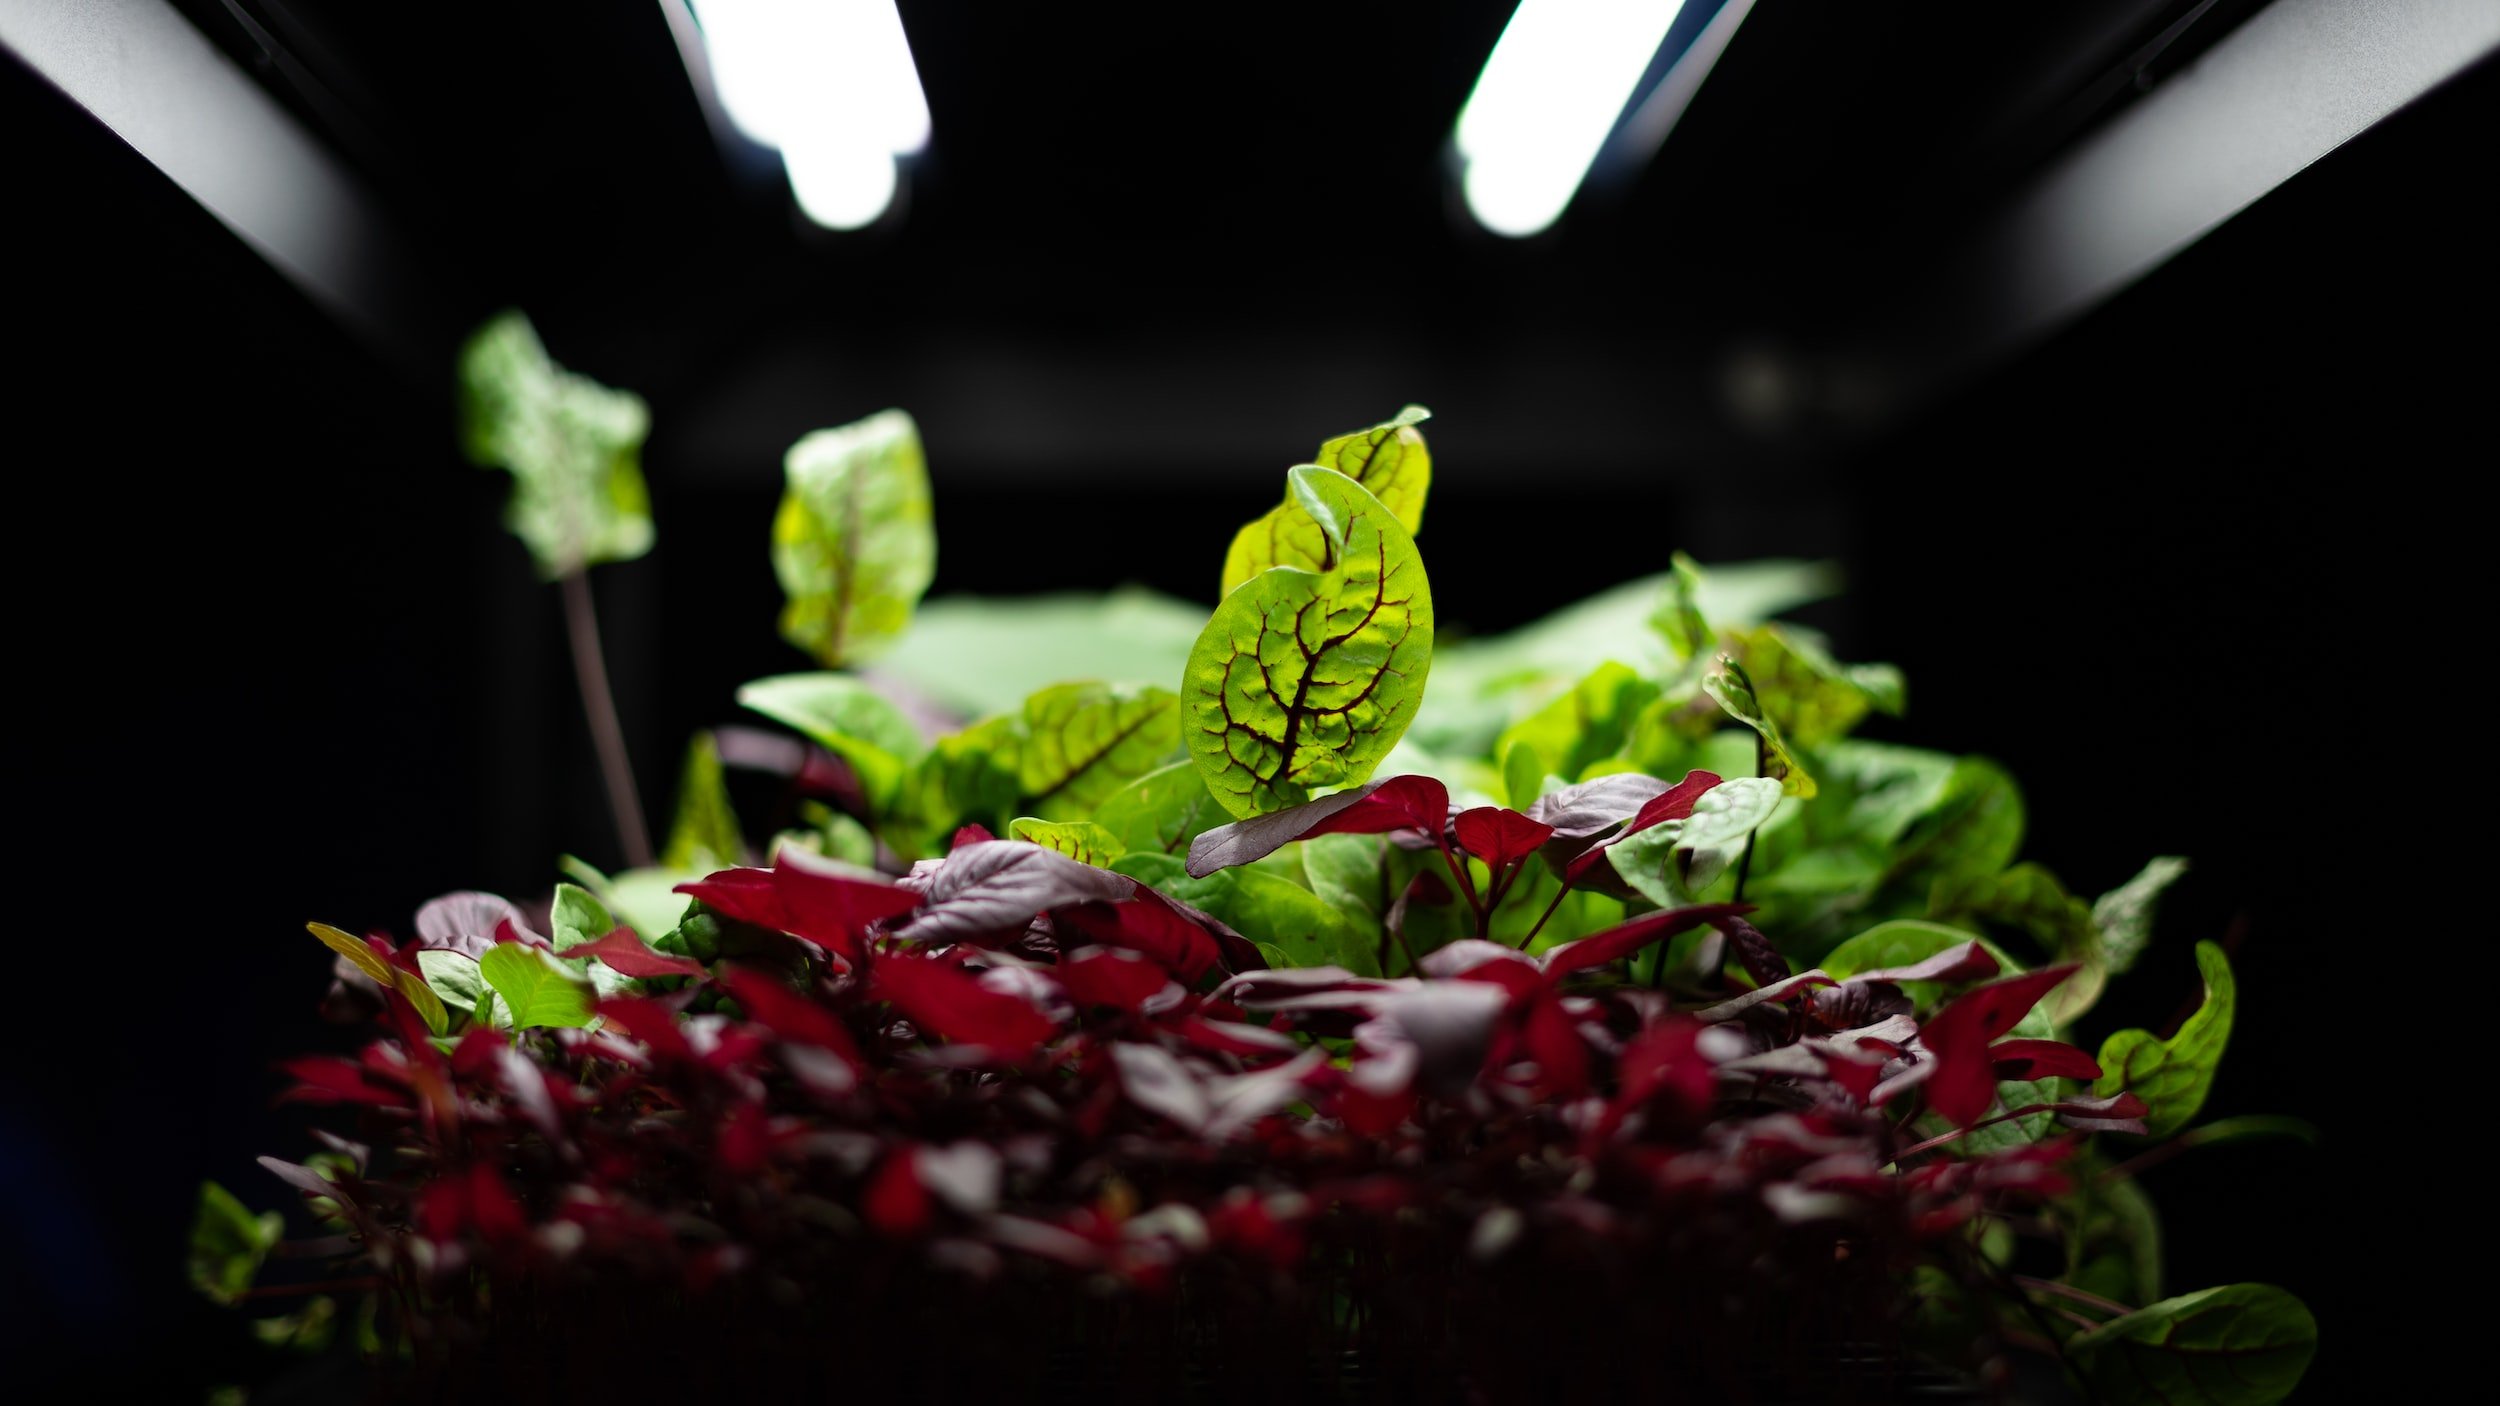
4. Invest in a good grow light
One of the biggest mistakes that newbie gardeners who try to grow food plants indoors is not using an adequate grow light. You can buy pretty basic grow lights from your local nursery or home improvement warehouse, but a much more efficient method is to use one of 4 types of lights: HPS lights (high pressure sodium lights, sometimes called HID, high intensity discharge), Metal Halide lights (also sometimes called HID), fluorescent lights, and LEDs (light emitting diodes). There are advantages and disadvantages to using these different types of lights, which is explained in detail in this blog post by Urban Vine. A great explanation of metal halide lights is here, on the Epic Gardening blog.
Whichever light you choose, make sure you don't hang it so high that your seedlings grow too tall, or so low that it burns your plants.
5. Use the Kratky hydroponic method
I recently learned this method from a fellow Instagrammer. It's simple and doesn't involve a high outlay of cash. Hydroponics is a growing method that uses water and nutrients - no soil involved! The plants draw their nutrients directly from the water. Most hydroponic systems involve a growing setup with timed full-spectrum LED lights, and a pump to circulate the water. Hydroponic systems can cost as little as $50 or run thousands of dollars for more elaborate setups.
The difference with the Kratky method is that you don't need a pump or a fancy setup. A plastic shoebox with a lid works just fine. You'll also need a growing medium (I used growing sponges), plant food, and a good grow light (an ordinary bulb won't do here). Full-spectrum LED lighting works best and you can get some that are relatively inexpensive under $30. Just drill holes in the lid of the box, fill with water and the hydroponic nutrients, insert the (pre-moistened) growing sponges, and drop a few seeds into each growing sponge. Use a plastic cover over each sponge to create a mini-greenhouse effect and speed up germination (I used 30 ml medicine cups but even plastic wrap will do). In a week or so you'll see the seeds starting to sprout. Cull the seedlings so that there is only one seedling per growing sponge.
This is a kind of set it and forget it method of growing, or passive hydroponics. You don't need to add water as the levels drop; as the plants grow they will take up water, leaving a gap. In other words, there will be a gap between the top of the container and the roots of the seedlings, so that some of the roots are suspended in air.
It's a good idea to spray paint the outside of the boxes if they are clear, or cover them with paper, since the light will encourage algae to grow after some time. Also, you can use foil to cover the top of the growing sponge once the seedlings are established to keep mold from growing on the sponge.
I use this method to produce seedlings to transplant into my greenhouse, but you can certainly keep your seedlings growing indoors all winter if you prefer. Leafy greens (including baby greens and Asian greens) work best with this method, as fruiting plants like tomatoes need a lot more energy to grow than this kind of system can provide.
6. Bring your container crops indoors
Finally, you can bring some of your container crops indoors for the winter. I've had varying degrees of success with overwintering warm- or hot-weather vegetables indoors (I've never been able to preserve my tomato plants indoors but did have success with small sweet peppers, curry leaf plants, lettuce, Swiss Chard, mint, oregano, and a few others. Plants like carrots and radishes also do well when moved indoors, as they can tolerate the low light and cooler temperatures more easily.

like this? Please pin!
Before transferring your outdoor vegetables, acclimate them to the indoor temperatures first by leaving them outside during the day and bringing them in at night for a few days before transferring them inside for the rest of the season. Make sure to spray them with an insecticide soap and keep them away from houseplants to prevent spreading pest infestations to them. An LED lamp will also help them thrive indoors during the winter months, since sunlight filtered through a glass pane is usually not enough for indoor plants that are accustomed to being outdoors.
Want to find out more about growing food in winter? Sign up for our mailing list to receive gardening tips and tools, and access to our Free Resources library.